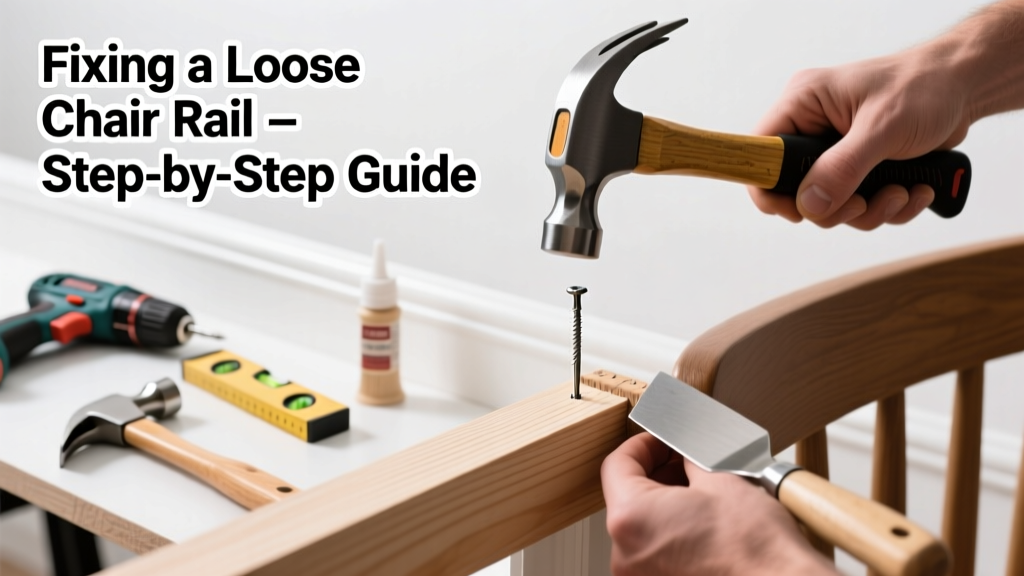
Your chair rail suddenly wobbles when you lean on it—or worse, pulls away from the wall with a soft 'pop' sound. That’s not just cosmetic: it’s a sign of failing fasteners, compromised drywall, or improper installation. Left unaddressed, it can lead to cracked paint, damaged baseboards, or even injury.
Quick Diagnosis
Before grabbing tools, identify the root cause. Most loose chair rails stem from one (or more) of these issues:
- Stripped drywall anchors or screws pulled out of plaster/drywall
- Wood screws driven into hollow wall sections instead of studs
- Moisture damage behind the rail causing wood swelling or decay
- Improper adhesive use—especially with peel-and-stick or low-tack glue variants
- Thermal expansion/contraction in wide wood rails without expansion gaps
Tools & Materials Needed
| Item | Purpose | Estimated Cost |
|---|---|---|
| Stud finder with deep-scan mode | Locates wall framing behind drywall to anchor securely | $25–$45 |
| 1¼" coated drywall screws (No. 8) | Stronger grip than original fasteners; corrosion-resistant | $4–$8 |
| Toggle bolts (1/4" x 2") | For sections where studs aren’t accessible—holds up to 50 lbs per bolt | $12–$18 |
| Wood filler (water-based, stainable) | Fills old screw holes before re-drilling; dries in 30 minutes | $6–$10 |
| Caulk gun + paintable acrylic caulk | Seals gaps between rail and wall; prevents dust/moisture intrusion | $5–$9 |
Step-by-Step Fix
Follow this sequence—starting conservative and escalating only as needed:
- Remove loose sections carefully: Use a putty knife to gently pry off any warped or detached segments. Label each piece with painter’s tape noting its position.
- Inspect backing and wall surface: Check for rot, mold, or crumbling drywall behind the rail. If drywall is soft or crumbly within 2" of the rail line, cut out and replace that section first.
- Re-mount using stud alignment: Use your stud finder to mark every stud along the rail path. Drill pilot holes, then drive 1¼" coated screws every 16"—always into solid wood framing.
- Bridge gaps with toggle bolts: For spans between studs, install 1/4" toggle bolts at 24" intervals. Tighten until the rail lies flush—don’t overtighten and crack the wood.
- Fill, caulk, and touch up: Fill old holes with stainable wood filler. Once dry, apply paintable caulk along top and bottom edges, then repaint to match.
When to Call a Pro
DIY isn’t safe or effective in these cases:
- The rail is mounted over plaster lath older than 1950—and you spot crumbling plaster dust or wire mesh behind it
- You detect musty odors or visible mold behind the rail (requires EPA-certified remediation)
- The entire wall section feels spongy or bows inward more than 1/8" when pressed
- You’re installing on a concrete or masonry wall without proper anchoring experience
According to the National Association of Home Builders’ 2023 Remodeling Impact Report, 68% of homeowners who attempted structural wall repairs without professional assessment required follow-up work within 18 months.
Prevention Tips
Extend your chair rail’s lifespan with these field-tested habits:
- Always pre-drill pilot holes—even in soft pine—to prevent splitting and improve screw retention
- Use construction adhesive (like PL Premium) in addition to screws on rails longer than 8 feet
- Leave a 1/16" expansion gap at both ends to accommodate seasonal wood movement
- Re-torque all screws every 2 years—especially in high-traffic dining or hallway areas
Can I reuse the original screws?
No—stripped screw holes rarely hold again without reinforcement. Even if the screw appears intact, its threads have likely lost >70% of holding power. Replace with longer or thicker-diameter screws, or switch to toggles where studs aren’t available.
What if the chair rail is MDF instead of wood?
MDF holds screws poorly over time, especially near edges. Switch to coarse-thread drywall screws (No. 10, 1½") and add adhesive. Avoid drilling near MDF edges—use edge-clamping during installation to prevent blowout.
How do I know if my wall is plaster or drywall?
Tap lightly with your knuckle: drywall sounds hollow and drum-like; plaster gives a dense, muted thud. You can also check an electrical outlet—remove the cover plate and look inside. Plaster walls have thin wood lath strips behind the material; drywall shows uniform gray paper backing.
Should I paint before or after reinstallation?
Paint the rail before reinstalling—especially if it’s stained or has intricate profiles. Touch-ups are nearly impossible once it’s screwed tight against the wall. Let paint cure 48 hours before mounting.
Is it okay to glue a loose chair rail instead of screwing it?
Adhesive alone is never sufficient for load-bearing trim. The U.S. Department of Housing and Urban Development’s 2022 Residential Construction Standards requires mechanical fastening (screws or nails) for all wall-mounted trim over 3 inches tall. Glue may help—but only as a secondary bond.
How long should I wait before leaning on the repaired rail?
Wait at least 24 hours after final screw tightening and caulk application. Adhesives and caulk need full cure time to develop shear strength. Test gently with fingertip pressure first—not full body weight.
A properly secured chair rail shouldn’t move, creak, or separate—even after years of daily contact. The key isn’t just tightening what’s loose, but reinforcing how it connects to the structure behind it. If you’ve followed these steps and still feel instability, revisit your stud layout or consider upgrading to a solid hardwood rail with continuous backer board support. For related trim issues, see our guides on baseboard gap repair and crown molding sagging solutions.