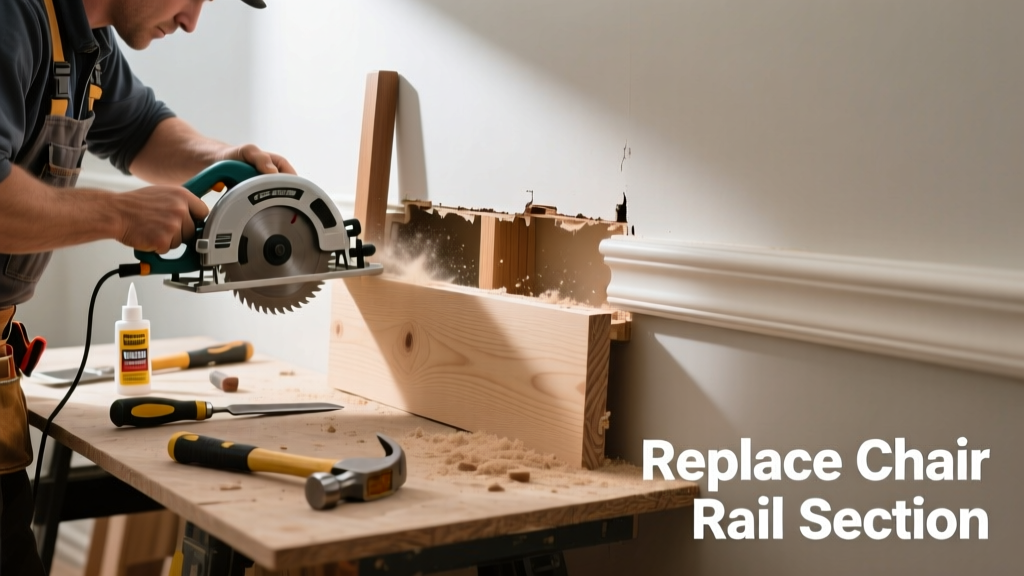
A loose chair rail isn’t just an eyesore—it’s a sign that moisture, impact, or poor installation has compromised part of the molding. If only one section wobbles or pulls away while the rest stays firm, you likely don’t need to rip out the entire rail—just swap the damaged piece.
Quick Diagnosis
Before grabbing tools, confirm the issue isn’t deeper than surface-level. A loose section usually stems from one (or more) of these causes:
- Failed adhesive or dried-out construction adhesive behind the rail
- Rotted or water-damaged drywall or wood substrate beneath the rail
- Loose or missing nails/screws at stud locations
- Cracked or split wood or MDF due to impact or humidity cycling
- Improper expansion gap during original installation causing buckling
Tools & Materials Needed
| Item | Purpose | Estimated Cost |
|---|---|---|
| 10-inch miter saw or coping saw | Cuts replacement molding to precise length and angle | $25–$85 |
| 3-in-1 trim removal tool | Lifts old molding without gouging wall or adjacent trim | $8–$14 |
| 16-gauge finishing nails + nail set | Secures new rail flush and discreetly; nail set prevents dimpling | $5–$12 |
| Construction adhesive (e.g., PL Premium) | Bonds rail to wall surface and resists shear stress better than nails alone | $7–$11 |
| Wood filler + sandpaper (120/220 grit) | Repairs minor gaps or nail holes before painting | $6–$10 |
Step-by-Step Fix
Follow this sequence to replace only the damaged portion—not the whole rail:
- Mark and cut out the damaged section: Use a utility knife to score along both edges of the loose segment. Gently pry it free with the trim tool, working from center outward. Measure the gap precisely—including any overlap at corners—and note the profile (e.g., 2¼" ogee).
- Prepare the substrate: Inspect the wall behind. If drywall is soft or discolored, cut out the compromised area and patch with a ½" drywall patch secured to studs. Let joint compound dry fully before proceeding.
- Cut and test-fit the replacement: Cut new molding using a miter saw—match end angles (typically 45° for corners, square for mid-run). Dry-fit first: hold in place and check for level, alignment, and tight joints.
- Secure the new section: Apply a continuous ¼" bead of PL Premium along the back. Press firmly into place, then drive two 2" 16-gauge nails per foot—staggered top/bottom—into wall studs (locate with a stud finder). Set nails with a nail set.
- Finish and blend: Fill nail holes and minor gaps with wood filler. Sand smooth when dry. Prime and paint to match existing trim—use the same sheen and brand if possible.
When to Call a Pro
DIY works well for isolated damage—but skip the project if you encounter any of these:
- More than 3 feet of rail is loose or warped across multiple studs
- Mold growth or persistent dampness behind the rail (requires moisture remediation)
- Electrical wiring or plumbing running directly behind the rail location
- Historic plaster walls with lath showing signs of detachment (risk of large-scale collapse)
"Over 60% of trim failures stem from inadequate substrate prep—not poor fastening," notes contractor Mike Rafferty in Residential Trim Carpentry Handbook (2022).
Prevention Tips
Extend the life of your chair rail with these practical habits:
- Use construction adhesive in addition to nails—not as a substitute—especially on long runs
- Leave a 1/8" expansion gap at corners and ends to accommodate seasonal wood movement
- Wipe spills near the rail immediately—especially in kitchens and bathrooms where humidity fluctuates
- Inspect annually: tap along the rail with a coin; hollow sounds indicate delamination
Can I reuse the old chair rail section if it’s only loose, not broken?
Yes—if the molding is intact, undamaged, and matches the surrounding profile exactly. Clean off old adhesive with mineral spirits, inspect for warping or cracks, and reattach using fresh PL Premium and new nails into solid studs. But if it’s MDF and swollen, discard it: it won’t hold fasteners reliably.
What type of adhesive works best for chair rail repair?
PL Premium or Liquid Nails Fuze*It are top performers for interior trim. Both bond wood, drywall, and plaster, cure in high humidity, and resist creep under load. Avoid standard wood glue—it lacks gap-filling ability and needs clamping, which is impractical on vertical surfaces.
Do I need to paint the entire rail after replacing one section?
Not necessarily—but matching sheen and color is tricky. If the rail is older than 3 years or has been touched up before, paint the full run for consistency. For newer installations (<18 months), spot-prime and paint just the new piece using leftover paint stored in a sealed jar.
Can I install chair rail over wallpaper?
You can—but it’s risky. Wallpaper adhesive may fail under the rail’s weight or pressure, causing bubbling or peeling later. Remove wallpaper beneath the rail path (at least 2 inches beyond each edge), patch any tears, and prime before installing. See our guide on wallpaper removal before trim installation.
How do I match the exact profile if my chair rail is custom or discontinued?
Take a 6-inch sample to a local millwork shop—they can replicate it using a profile gauge and shaper. Or use a digital caliper to measure nose radius, cove depth, and shoulder height, then search online for "matching chair rail profile" plus those dimensions. Some retailers like Molding Profile Matching Service offer scanning and duplication.
Is it okay to use brad nails instead of finishing nails?
Only for temporary tacking. Brad nails (18-gauge) lack holding power for chair rails, especially in humid areas. They bend easily and pull out under lateral stress—like someone leaning against the rail. Stick with 16-gauge finishing nails driven into studs for lasting security.
Replacing a single damaged chair rail section is one of the most satisfying small repairs—it restores structure, aesthetics, and function without disrupting the rest of your room. Just remember: precision in measurement and patience with adhesive cure time make all the difference. And if you’re working in a rental or historic home, document your process—you’ll thank yourself during the next inspection or resale.