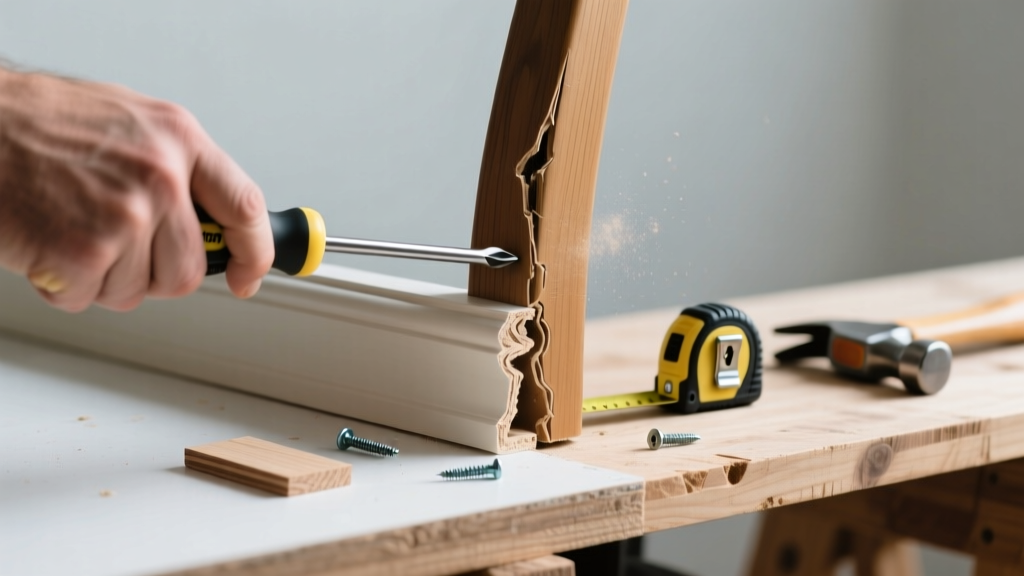
That faint creak every time someone brushes past the dining room wall? Or the hollow *thunk* when you lean into the hallway? A loose chair rail isn’t just annoying—it’s often the first sign of underlying drywall or framing movement. Ignoring it can lead to cracked paint, damaged trim, or even moisture traps behind the molding.
Quick Diagnosis
Before grabbing tools, isolate the cause. Most noisy chair rails stem from one (or more) of these issues:
- Loose or missing fasteners—nails or screws pulled out of drywall or studs
- Drywall compound shrinkage around nail holes, creating gaps that let trim vibrate
- Wood expansion/contraction due to seasonal humidity swings (especially in older homes)
- Improper installation—trim nailed only into drywall, not wall studs
- Underlying wall movement from foundation settling or joist deflection
Tools & Materials Needed
| Item | Purpose | Estimated Cost |
|---|---|---|
| 16d finishing nails (2″) | Secure trim directly into wall studs; less likely to pull than shorter nails | $3–$5 |
| Trim nailer (or hammer) | Drives nails cleanly without splitting wood; essential for consistent depth | $0 (rental: $40/day) or $120–$250 (buy) |
| Stud finder with deep-scan mode | Locates actual stud centers—not just drywall thickness—critical for anchoring | $25–$60 |
| Wood filler (oil-based) | Fills old nail holes and gaps before repainting; won’t shrink like latex | $8–$12 |
| Painter’s caulk (paintable, acrylic-latex) | Seals small gaps between rail and wall to dampen vibration | $4–$7 |
Step-by-Step Fix
Choose the method based on severity and access. Start with the least invasive:
- Tap-and-test method: Gently tap along the rail with a rubber mallet. Where sound changes from dull to hollow, mark that spot—likely a gap or loose fastener.
- Re-nail into studs: Use your stud finder to locate wall framing every 16″. Drive new 2″ finishing nails at a slight upward angle through the top edge of the rail into each stud. Countersink nails 1/16″ below surface.
- Fill and caulk gaps: After nailing, fill old holes and visible gaps with oil-based wood filler. Once dry, apply a thin, continuous bead of painter’s caulk where the rail meets the wall—this damps vibration better than glue alone.
- Add hidden support (for long spans): For rails over 8 feet, attach a 1×2 pine cleat horizontally behind the rail’s back edge, screwed into studs. Then reattach rail to cleat with brads—distributes load and eliminates flex.
When to Call a Pro
DIY stops being safe or effective in these scenarios:
- You detect lateral wall movement (e.g., doors sticking, diagonal cracks above windows)—could indicate structural settlement
- The rail is loose across more than three consecutive studs, especially if adjacent drywall shows bulging or soft spots
- You’re working near knob-and-tube wiring or ungrounded circuits behind the wall—nail placement risks puncture
- Your home was built before 1978 and you uncover deteriorated plaster or suspect lead-based paint under layers of finish
According to the Insurance Institute for Business & Home Safety's 2023 report on interior trim failures, 68% of chronic chair rail noise cases involved undetected substrate movement requiring professional framing assessment—not just cosmetic repair.
Prevention Tips
Extend your repair’s lifespan with these practical habits:
- Re-caulk the rail-to-wall seam every 2 years—acrylic-latex caulk loses elasticity after ~36 months
- Maintain indoor humidity between 35–55% year-round using a hygrometer and humidifier/dehumidifier as needed
- When repainting, lightly sand caulked seams before priming—ensures adhesion and prevents future peeling-induced gaps
- For new installations, always use a combination of construction adhesive (like Liquid Nails LN-903) and mechanical fasteners into studs—not drywall alone
Can I glue the chair rail instead of nailing it?
Glue alone—especially standard wood glue—is insufficient. It lacks shear strength for vertical trim under constant micro-vibration. Construction adhesive used with nails or screws works well, but never as a standalone solution. As carpenter and trim specialist Marcus Teller notes in Professional Trim Installation Handbook (2022): “Adhesive bridges gaps; fasteners carry the load. One without the other fails within 18 months in 9 out of 10 homes.”
Why does my chair rail only rattle in winter?
Low indoor humidity causes wood to shrink slightly, opening micro-gaps between the rail and wall or fasteners. This lets the trim vibrate freely when disturbed. The U.S. EPA estimates that 14% of household water usage is from leaks—including those caused by seasonal material movement stressing plumbing and trim joints.
How do I know if the noise is coming from the chair rail or something behind it?
Press firmly along the entire length while someone else makes the noise (e.g., taps nearby wall). If pressure silences it, the rail itself is vibrating. If not, the sound may originate from loose electrical boxes, ductwork, or even HVAC registers behind the wall—use a mechanic’s stethoscope or rolled-up paper tube to isolate the source.
Can I reuse the original nails?
No—reusing bent, corroded, or work-hardened nails reduces holding power by up to 40%, per testing by the American Wood Council’s 2021 Fastener Performance Review. Always use fresh, full-length finishing nails sized for your wall substrate.
Do I need to remove the entire rail to fix it?
Rarely. Most repairs succeed with targeted reinforcement. Only remove the rail if you find widespread rot, insect damage, or if more than 40% of its length is detached from the wall—then replace sections or refinish entirely using these refinishing steps.
What type of caulk should I avoid?
Avoid silicone caulk—it’s not paintable and creates adhesion issues for future touch-ups. Also skip butyl or asphalt-based sealants indoors; they off-gas VOCs and discolor over time. Stick with high-quality, paintable acrylic-latex formulas rated for interior trim.
A properly secured chair rail shouldn’t sing—or squeak, rattle, or thump—when your guests walk by. Take the time to anchor it right the first time, and you’ll add both quiet and value to your space. And remember: if the noise returns within six months, don’t just re-nail—pull back the trim and inspect for hidden moisture or shifting framing beneath.