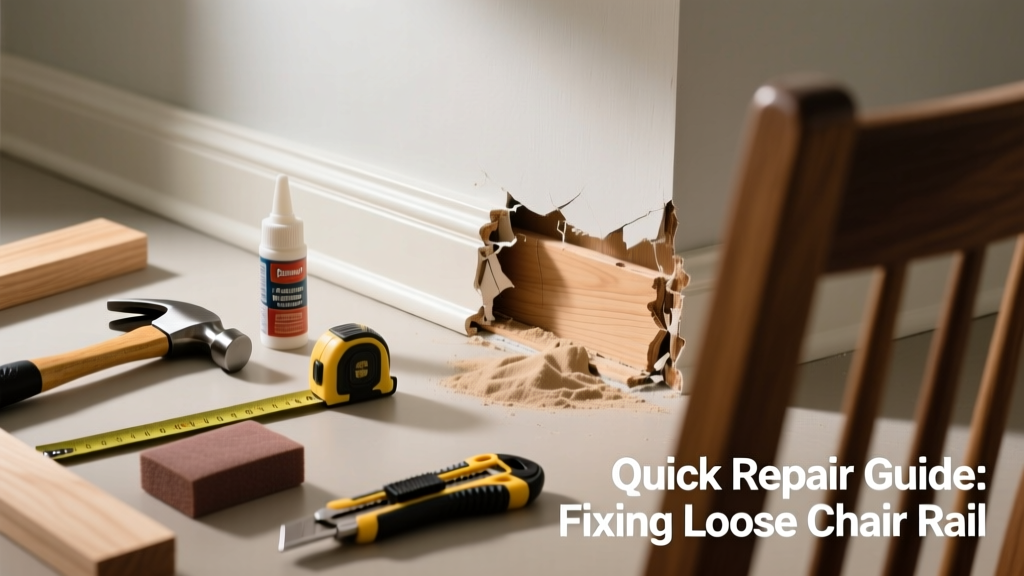
A loose chair rail in the kitchen isn’t just unsightly—it’s a sign of underlying moisture exposure, poor fastening, or substrate failure. Since kitchens see high humidity, frequent cleaning, and accidental bumps, this trim is especially prone to coming undone near countertops or sink zones. Ignoring it invites warping, mold behind the rail, or even tile grout cracking if it’s mounted over backsplash.
Quick Diagnosis
Before grabbing tools, identify the root cause:
- Visible gaps or movement only at screw/nail locations (loose fasteners)
- Entire section wobbles—even where fasteners are intact (failed adhesive or rotted drywall backing)
- Discoloration or swelling near the rail (moisture infiltration from sink or dishwasher)
- Cracked caulk or grout at rail-to-backsplash junction (water bypassing seal)
- Squeaking or creaking when pressed (loose substrate or bowed stud)
Tools & Materials Needed
| Item | Purpose | Estimated Cost |
|---|---|---|
| 3-in-1 trim tool or stiff putty knife | Removes old caulk and gently lifts rail without chipping paint or tile | $8–$15 |
| 16-gauge finish nails + nail set | Re-secures rail flush to wall; less likely to split wood than screws in narrow profiles | $6–$10 |
| Construction adhesive (kitchen-rated, mildew-resistant) | Bonds rail to drywall or backer board; handles thermal expansion and humidity swings | $12–$18 |
| Laser level or 4-ft bubble level | Ensures rail stays perfectly horizontal after reattachment—critical near cabinets | $25–$45 |
| Painter’s tape & microfiber cloth | Protects adjacent cabinets and countertops during repair; cleans adhesive smears | $4–$7 |
Step-by-Step Fix
Choose the method based on severity and substrate condition:
- Method 1: Tighten existing fasteners — Use a magnetic bit holder to drive slightly longer (1¼") coated finish nails into original holes. Tap each nail flush with a nail set, then fill with paintable acrylic caulk.
- Method 2: Reinforce with adhesive + nails — Remove rail fully using the trim tool. Clean dust and old glue from back and wall. Apply zigzag beads of PL Premium Polyurethane Adhesive (rated for wet areas) every 8" along the back. Press rail into place, clamp lightly with painter’s tape, then add finish nails at 12" intervals.
- Method 3: Replace damaged section — Cut out warped or water-swollen segment with a flush-cut saw. Measure and cut new matching rail (MDF or PVC recommended for kitchens). Prime ends, bond with adhesive, and face-nail through top edge into studs using 1½" corrosion-resistant screws.
When to Call a Pro
Don’t risk DIY if you observe any of these:
- More than 3 feet of rail detaches with minimal pressure (indicates widespread drywall delamination)
- Mold growth visible behind the rail or musty odor present (requires EPA-certified remediation per Indoor Air Quality Association 2022 guidelines)
- Rail mounts directly over tile grout lines that are cracked or missing—re-tiling may be needed before reinstallation
- You hit hollow sound across multiple studs while tapping—possible missing or shifted framing behind backsplash
Prevention Tips
Kitchen chair rails fail faster than elsewhere due to steam, splashes, and temperature swings. Extend longevity with these habits:
- Apply silicone-based caulk (not standard acrylic) where rail meets backsplash—renew every 18 months
- Wipe rail weekly with damp microfiber cloth—not vinegar or bleach, which degrade adhesives
- Install a small exhaust fan above the sink if humidity regularly exceeds 60% (per ASHRAE Standard 62.2-2022)
- Use PVC or primed MDF rail instead of raw pine—less prone to swelling in humid air
Can I glue the chair rail without nails?
Yes—but only if the wall substrate is solid, non-porous, and dry. Drywall alone can’t hold adhesive long-term under kitchen conditions. According to the International Residential Code R702.3.5 (2021), decorative trim must be mechanically fastened when installed in high-moisture areas unless specifically engineered for adhesive-only attachment.
How do I match the paint color after repair?
Scrape a tiny chip from an inconspicuous spot (e.g., underside near cabinet hinge), take it to a paint store for spectrophotometer matching. Avoid relying on memory or photos—kitchen lighting skews perception. Most major brands offer free touch-up kits for matched sheens (eggshell or satin recommended for kitchens).
Will tightening the nails crack my tile backsplash?
Not if you avoid driving nails within 1" of grout lines. Use a stud finder to locate framing first—if no stud aligns, use wall anchors rated for tile (like TOGGLER SnapSkrews). Never hammer directly into grout; that’s how hairline cracks start.
Can I install chair rail over existing tile?
Yes, but only with proper prep: clean tile thoroughly with denatured alcohol, roughen glaze lightly with 220-grit sandpaper, and use a tile-rated construction adhesive like Liquid Nails LN-903. Skip nails entirely—vibration risks cracking.
How long does adhesive take to cure in a humid kitchen?
PL Premium requires 24 hours for initial grab and 7 days for full bond strength at 70°F and 50% RH. In kitchens averaging 75°F and 65% RH, extend curing time by 25%—so wait 30 hours before light contact and 9 days before wiping down.
The U.S. EPA estimates that 14% of household water usage is from leaks—including hidden moisture behind trim that accelerates adhesive failure (WaterSense Report, 2023).
What’s the best caulk to use between rail and countertop?
100% silicone caulk with mold inhibitor (e.g., GE Advanced Silicone II). Acrylic latex shrinks and pulls away from dissimilar materials like wood and granite. Apply with a steady hand using a 1/8" caulk nozzle, then tool with a damp fingertip dipped in rubbing alcohol—not water—to prevent streaking.
Once resecured and caulked, test the rail weekly for the first month by pressing firmly along its length. If you hear or feel any give, revisit the adhesive bond or check for hidden moisture behind the wall. A properly repaired kitchen chair rail should last 8–12 years—especially if you swap out sponge cloths for microfiber and run your range hood during cooking to reduce ambient humidity. For related fixes, see our guides on loose kitchen cabinet hinge and water-damaged drywall in kitchen.