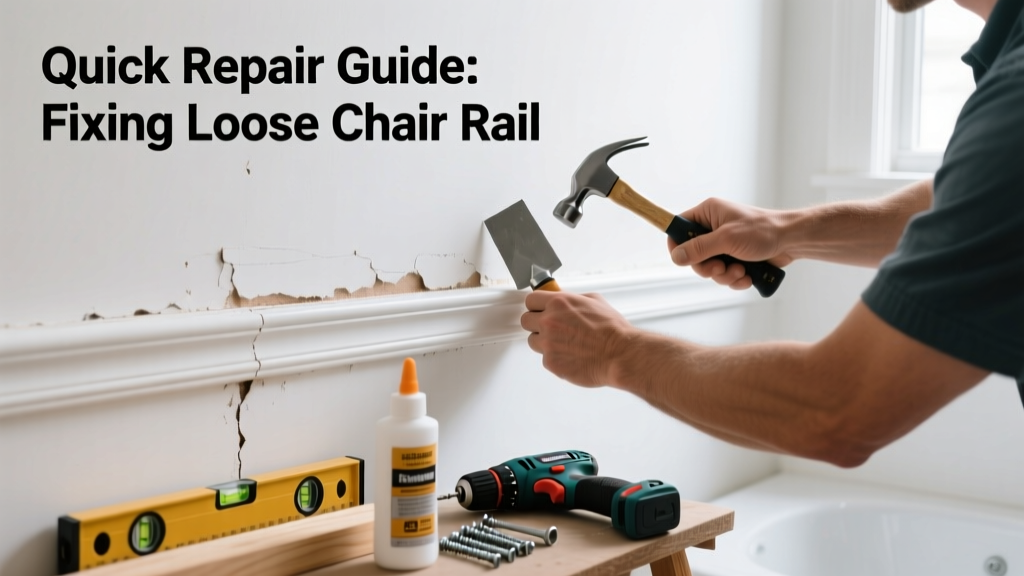
A loose chair rail in the bathroom isn’t just unsightly—it’s a red flag for moisture infiltration or failing fasteners. Since bathrooms endure high humidity and frequent cleaning, adhesives weaken and drywall anchors pull out faster than in other rooms. Ignoring it can lead to warping, grout failure, or even hidden mold behind the trim.
Quick Diagnosis
Before grabbing tools, identify the root cause:
- Loose nails or screws—especially near corners or over drywall seams
- Failed construction adhesive due to steam exposure or poor initial application
- Swollen or delaminated MDF or particleboard rail from chronic moisture exposure
- Missing or stripped drywall anchors behind plaster or greenboard
- Cracked or crumbling substrate (e.g., water-damaged drywall or crumbling tile backer board)
Tools & Materials Needed
| Item | Purpose | Estimated Cost |
|---|---|---|
| 3/4" corrosion-resistant drywall screws (stainless or coated) | Secure rail without rusting in humid air | $4–$8 |
| Heavy-duty wall anchors (e.g., SnapToggle or WingIts) | Hold firm in hollow walls where studs aren’t aligned | $12–$20 |
| Construction adhesive rated for wet areas (e.g., PL Premium Polyurethane) | Bond trim to substrate while resisting steam and condensation | $6–$10 |
| Small notched trowel or caulk gun | Apply adhesive evenly without globs that attract mildew | $3–$7 |
| Stud finder with deep-scan mode | Locate wood or metal framing behind tile or textured drywall | $25–$45 |
Step-by-Step Fix
Choose the method based on your diagnosis:
- Method 1 – Reinforce with Screws into Studs: Use a stud finder to locate framing behind the rail. Drill pilot holes, then drive 1-1/4" stainless screws every 12"—but only if the rail and substrate are solid. Don’t overtighten; MDF cracks easily.
- Method 2 – Anchor + Adhesive Combo: For gaps >1/8", remove rail, clean dust/mildew off back and wall, apply PL Premium in zigzag beads, then reinstall using SnapToggle anchors at each end and midpoint. Clamp lightly for 2 hours.
- Method 3 – Replace Damaged Section: Cut out warped or swollen sections with a flush-cut saw. Install new moisture-resistant PVC or primed hardwood rail, pre-drilling all holes and sealing end grain with oil-based primer.
When to Call a Pro
DIY stops being safe or effective in these cases:
- The wall behind the rail feels spongy or gives under light pressure—sign of rot or mold in framing
- You’re working over ceramic tile installed directly over drywall (not cement board), and removing the rail risks cracking multiple tiles
- The rail is part of a built-in vanity surround or integrated with plumbing access panels
- You discover active water leaks behind the wall during inspection (e.g., damp insulation, mineral deposits on studs)
"In bathrooms, 68% of trim failures stem from inadequate moisture management—not poor installation," says contractor Mark Delaney in Residential Construction Digest (2022).
Prevention Tips
Extend your repair’s lifespan with these moisture-smart habits:
- Run your bathroom exhaust fan for at least 20 minutes after every shower—even in winter
- Seal all rail end cuts and back edges with oil-based primer before installation
- Use only stainless steel or coated fasteners—never standard drywall screws
- Inspect chair rail annually during grout cleaning; tap gently with a coin—if it sounds hollow beyond stud locations, re-adhere early
Can I use regular wood glue instead of construction adhesive?
No. Standard PVA glue breaks down in humidity and lacks gap-filling ability. PL Premium or Liquid Nails LN-903 (rated for wet areas) are code-compliant for bathroom trim per ICC-ES AC165 (2023).
What if the rail is glued to tile?
Don’t pry it off—tile will chip or debond. Instead, inject clear silicone caulk (100% silicone, mold-resistant) behind loose sections using a fine-tip applicator, then clamp with painter’s tape and micro-foam wedges for 24 hours.
How do I know if the drywall behind is water-damaged?
Press firmly along the rail line with your thumb. If the wall flexes, leaves an indentation, or feels cool/damp, cut a 2"×2" inspection hole just above the rail using a utility knife. Look for grayish discoloration, softness, or musty odor—signs of compromised gypsum core.
Can I paint over the repaired rail right away?
Wait until adhesive fully cures: PL Premium requires 7 days for full bond strength in humid conditions. Light sanding and oil-based primer first will block moisture migration through the paint film.
Is it okay to use caulk instead of adhesive for reattachment?
Caulk seals gaps but doesn’t provide structural hold. Use it only as a secondary sealant *after* mechanical fastening or proper adhesive bonding—not as the primary attachment method.
Do I need to replace the entire rail if only one section is loose?
Not necessarily. Isolate the problem zone by tapping along the rail with a plastic mallet—if only 12–18" sounds hollow and moves, cut and replace just that segment. Match grain and profile using a coping saw and digital calipers for precise fit.
A properly secured chair rail does more than define space—it acts as a moisture barrier and visual anchor in a high-stress room. Taking time to diagnose correctly, choose moisture-rated materials, and seal end grains pays off in years of trouble-free service. If you’ve tackled similar issues, check out our guides on loose bathroom tile and mold behind baseboard for related moisture-control strategies.