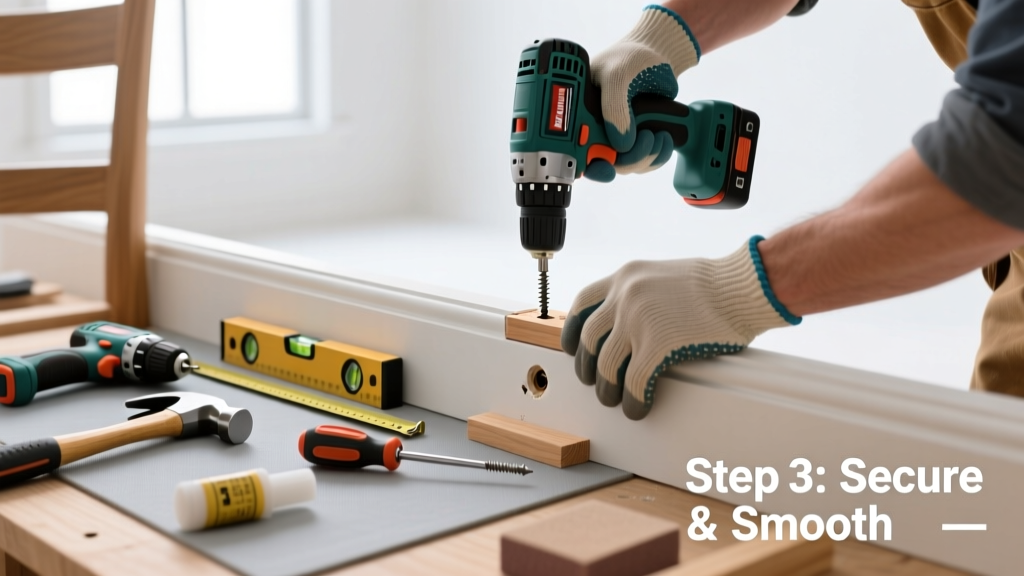
A loose chair rail isn’t just unsightly—it’s a sign of underlying issues like shifting drywall, failing adhesive, or deteriorating fasteners. Left unaddressed, it can lead to cracked paint, warped trim, or even moisture trapping behind the molding. The good news? Most cases are simple, low-cost fixes you can complete in under 60 minutes.
Quick Diagnosis
Before grabbing tools, identify the root cause. A loose chair rail rarely fails for just one reason—here are the most common culprits:
- Loose or missing nails or screws (especially near corners or seams)
- Drywall anchors pulling out due to repeated vibration or weight
- Wood shrinkage or warping from humidity swings
- Adhesive failure in glue-only installations (common with MDF or pre-finished rails)
- Stud misalignment during original installation, leaving sections unsupported
Tools & Materials Needed
| Item | Purpose | Estimated Cost |
|---|---|---|
| 16-gauge finishing nails (1½") | Secure rail to studs without splitting wood | $4–$8 |
| Stud finder with deep-scan mode | Locate framing behind drywall accurately | $25–$45 |
| Wood filler (paintable, interior) | Hide nail holes and reinforce weak spots | $3–$7 |
| Caulk gun + paintable acrylic caulk | Seal gaps and add subtle adhesion | $5–$12 |
| Clamps (2–3 bar clamps or spring clamps) | Hold rail flush while fastening | $10–$25 |
Step-by-Step Fix
Choose the method that matches your rail’s construction and condition. Start with the least invasive option and escalate only if needed:
- Re-nail into Studs: Use your stud finder to locate framing. Drill pilot holes slightly smaller than your nails, then drive 1½" finishing nails at 12" intervals—always hitting solid wood. Set nails with a nail set and fill.
- Reinforce with Screws: For heavier or warped rails, countersink #6 x 1¼" trim screws every 16". Pre-drill and use matching screw caps or paintable filler.
- Glue-and-Clamp Method: If nails won’t hold (e.g., on plaster or thin drywall), apply construction adhesive (like Liquid Nails LN-903) in 1" beads along the back. Clamp tightly for 24 hours.
- Replace Failed Anchors: If old toggle bolts or plastic anchors are spinning, remove them, patch the hole with drywall repair mesh and joint compound, then reinstall with snap-toggle anchors rated for 50+ lbs.
When to Call a Pro
Don’t risk structural integrity or cosmetic damage in these scenarios:
- The rail is pulling away more than ⅛" over a continuous 3-foot span
- You hear cracking sounds when pressing on the rail—or see adjacent drywall bulging
- The wall behind the rail feels spongy, damp, or discolored (possible water damage or mold)
- More than three consecutive studs are missing or damaged behind the rail line
According to the National Association of Home Builders’ 2022 Trim Installation Standards, chair rail fasteners must engage framing at minimum 16" on-center—and any deviation beyond two missed studs requires professional re-framing assessment.
Prevention Tips
Extend the life of your chair rail with these proactive habits:
- Inspect annually—run your hand along the rail to catch early looseness before paint cracks appear
- Maintain indoor humidity between 35–55% year-round to minimize wood expansion/contraction
- Use finish nails instead of brads for initial installation—they resist pull-out better
- Apply a bead of paintable caulk behind the top edge before nailing to cushion against minor wall movement
Can I reuse the existing nails?
No—bent, corroded, or previously driven nails have compromised holding power. Always replace with new 16-gauge finishing nails or trim screws. Re-driving old nails risks splitting the rail or enlarging wall holes.
What if my chair rail is attached to plaster instead of drywall?
Plaster walls demand extra care. Use masonry anchors or plaster washers with screws—not standard drywall anchors. Drill slowly with a masonry bit, and avoid over-tightening. Consider adding a backing strip of ¼" plywood behind the rail for long-term support.
Do I need to repaint after fixing it?
Yes—if you’ve filled nail holes or applied caulk, sand lightly and spot-prime before repainting. Skipping primer leads to visible patches. For best results, feather the paint 6" beyond the repair zone using the same sheen and batch as the original wall.
How long does construction adhesive take to cure?
Liquid Nails LN-903 reaches handling strength in 4 hours but needs 24 hours for full bond strength. Don’t remove clamps before 24 hours—even if it feels secure earlier. Cold or humid conditions extend cure time by up to 50%.
Can I install chair rail over wallpaper?
Not safely. Wallpaper creates an unstable substrate that prevents proper adhesion or fastener grip. Remove wallpaper completely, repair the wall surface, and prime before installing or reattaching trim. See our guide on wallpaper removal for prep steps.
Is there a difference between chair rail and wainscoting repair?
Yes—wainscoting often includes panels, stiles, and rails with multiple attachment points. A loose chair rail is typically a single horizontal piece; wainscoting may require panel re-gluing, frame reinforcement, or moisture barrier inspection. For complex setups, refer to our wainscoting repair guide.
A tight, level chair rail does more than protect walls—it signals craftsmanship and attention to detail. With the right tools and a methodical approach, most looseness is reversible in a single afternoon. Just remember: if the rail moves when you lean on it, or if you spot powder or crumbling plaster behind it, pause and consult a licensed contractor. Small repairs today prevent big headaches—and costly drywall rebuilds—tomorrow.