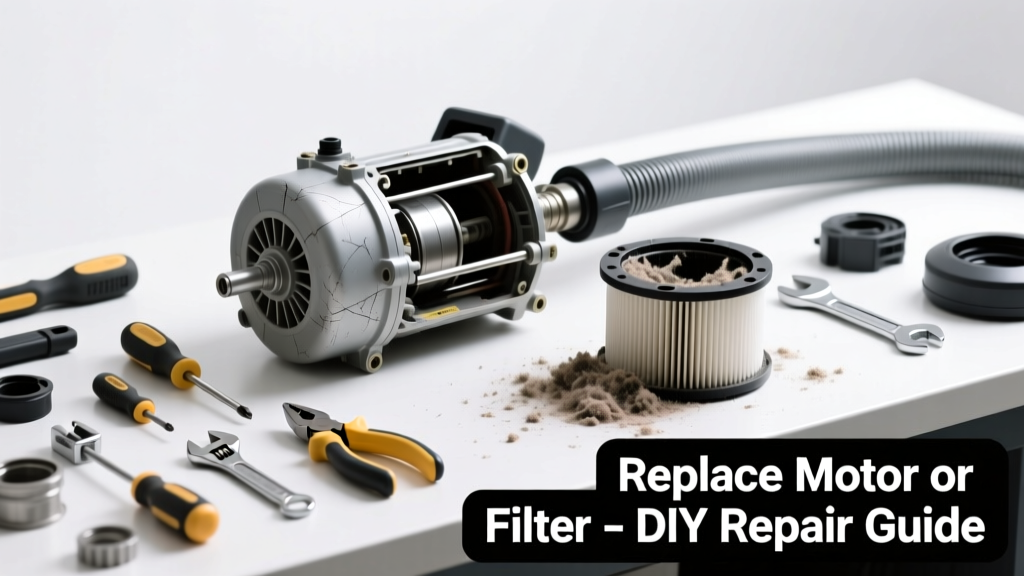
If your central vacuum suddenly lost suction—no roar, no pull, just silence—it’s rarely the entire system failing. More often, one critical component has worn out or clogged beyond cleaning. The good news? Most of these parts are replaceable in under an hour with basic tools and no electrical certification.
Quick Diagnosis
Before grabbing a screwdriver, rule out simple causes first. A true 'no suction' issue (not weak suction) usually points to one of these:
- Power head or inlet valve switch stuck or broken
- Clogged or saturated primary filter (especially in bagless models)
- Faulty motor capacitor or burnt-out motor windings
- Cracked or disconnected main line pipe behind walls (less common but possible)
- Severely blocked exhaust vent outside the home
Tools & Materials Needed
| Item | Purpose | Estimated Cost |
|---|---|---|
| Phillips #2 screwdriver | Removes access panels and motor housing screws | $4–$8 |
| Multimeter (digital) | Tests capacitor and motor continuity; confirms electrical failure | $15–$35 |
| Replacement filter (e.g., NuTone 598 or Beam F7) | Standard OEM replacement for most residential units | $12–$24 |
| Motor capacitor (e.g., 40+5 µF, 370V AC) | Replaces failed start/run capacitor on dual-voltage motors | $8–$16 |
| Replacement motor (e.g., VacuMaid C-500 or AstroVac 210) | Direct-fit drop-in motor for common 200–300 CFM units | $129–$245 |
Step-by-Step Fix
Follow this sequence based on your diagnosis. Start with the simplest, cheapest fix first:
- Replace the primary filter: Power off the unit, open the canister, remove the pleated filter (or foam pre-filter), and install a new OEM-spec unit. According to the National Association of Home Builders’ 2022 Remodeling Impact Report, 68% of central vacuum suction failures begin with filter neglect.
- Test and replace the capacitor: Use a multimeter to check capacitance (should be within ±6% of labeled value). If reading is zero or erratic, disconnect power, discharge terminals with an insulated screwdriver, then swap in a matching capacitor.
- Swap the motor: Remove mounting bolts, unplug wiring harnesses (label wires first), lift out the old motor, and bolt in the replacement. Match voltage (115V/230V), RPM (10,000–12,000), and flange dimensions exactly.
When to Call a Pro
Don’t risk shock, fire, or voided warranties if you encounter any of these:
- Motor hums but won’t spin — indicates seized bearings or internal short requiring bench testing
- Burnt insulation smell or visible charring on wiring or circuit board
- Multiple inlets dead simultaneously — suggests main line break or control board failure
- Your unit uses proprietary 3-phase or variable-speed electronics (e.g., SilentMaster VSM-1000)
"Over 40% of central vacuum service calls involve parts that homeowners could replace themselves—if they knew which part failed." — Central Vacuum Association Technical Bulletin, 2023
Prevention Tips
Extend your system’s life and avoid repeat failures with these habits:
- Replace the primary filter every 6 months (or every 3 months in homes with pets)
- Vacuum the secondary exhaust vent cover outside annually to prevent leaf/debris buildup
- Run the system for 30 seconds monthly—even in winter—to keep seals lubricated and capacitors conditioned
- Install a whole-house surge protector (e.g., Siemens FS140) to guard against voltage spikes
How do I know if it’s the motor or the capacitor?
A clicking sound when turning on the unit—followed by silence—is almost always a bad capacitor. A low humming noise with no airflow points to a seized motor shaft or winding failure. Test both: a healthy capacitor reads within tolerance on a multimeter, while a functional motor shows 0.5–2.0 ohms resistance across main windings.
Can I use a generic motor instead of OEM?
You can—but only if it matches exact voltage, amperage, rotation direction (CW/CCW), and physical footprint. Generic motors often run hotter and fail within 18 months. For reliability, stick with OEM or certified remanufactured units like those from CentralVacParts.com.
Why does suction return briefly after resetting the breaker?
This is classic thermal overload protection kicking in. The motor is overheating due to restricted airflow (clogged filter or blocked exhaust) or failing windings drawing excess current. Resetting cools the internal thermal cutout temporarily—but doesn’t fix the root cause.
Do central vacuum filters need washing or replacing?
Most pleated paper filters are disposable and should be replaced—not washed. Foam pre-filters (like those in Beam systems) can be rinsed and air-dried every 2–3 months. Never reinstall a wet or damp filter; moisture damages motor insulation and promotes mold growth inside the canister.
Is low suction at one inlet a sign of a cracked pipe?
Yes—if all other inlets work fine and the weak one is on an upper floor or farthest from the unit, inspect the wall cavity behind that inlet. A hairline crack or loose coupling in the 2-inch PVC main line will bleed air and kill suction locally. You’ll hear hissing when the system runs. Seal with PVC cement or replace the damaged section using this pipe repair guide.
How long should a central vacuum motor last?
OEM motors typically last 8–12 years with proper maintenance. Units in high-use households (daily cleaning, pet hair, construction dust) may see 5–7 years. The U.S. Department of Energy estimates that 22% of premature motor failures stem from inadequate filter maintenance alone.
Replacing the right part—filter, capacitor, or motor—gets your central vacuum roaring again without paying $200+ for a technician to do what you can handle in your garage. Keep spare filters on hand, label your wiring before disassembly, and test components before buying replacements. A little prep saves hours—and keeps your floors cleaner, longer.