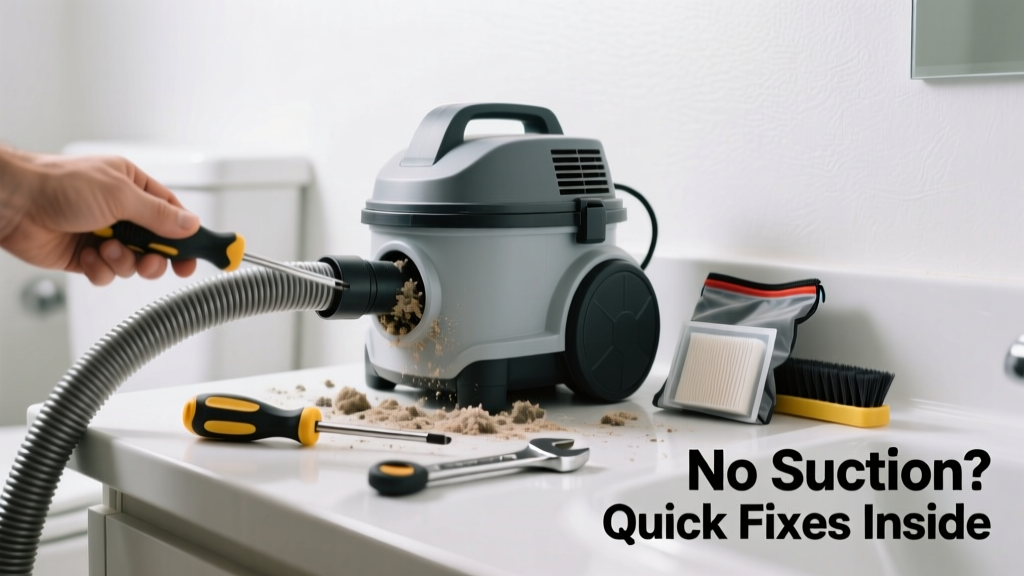
If your central vacuum works fine everywhere except the bathroom, don’t assume the whole system is failing—this is almost always a localized issue. The bathroom inlet is uniquely vulnerable due to moisture, hair buildup, and infrequent use. Pinpointing the exact cause saves hours of unnecessary troubleshooting.
Quick Diagnosis
Start here before grabbing tools. Most bathroom-specific suction loss traces to one of these:
- A clogged inlet valve or internal debris trap behind the faceplate
- Moisture damage warping the rubber gasket or actuating arm inside the wall inlet
- A cracked or disconnected PVC pipe section between the bathroom inlet and main line (common near tub/shower rough-ins)
- Corroded or bent metal contacts in the inlet causing poor electrical connection to the motor relay
- Improperly seated inlet cover letting air leak past the seal instead of triggering full suction
Tools & Materials Needed
| Item | Purpose | Estimated Cost |
|---|---|---|
| Needle-nose pliers | Grip and reposition bent inlet contacts or dislodge stuck debris | $8–12 |
| Flashlight with flexible neck | Inspect deep inside inlet housing and pipe stub without removing drywall | $15–25 |
| Small wire brush (brass or nylon) | Clean corrosion from inlet contacts and remove hair/film from valve mechanism | $4–7 |
| Replacement inlet valve kit (e.g., VacuMaid V-600 or Beam 210) | Swappable unit for common bathroom inlets; includes gasket, contacts, and faceplate | $22–38 |
| Flexible pipe snake (1/4" diameter, 15 ft) | Clear partial blockages in 2" PVC line without cutting into walls | $14–20 |
Step-by-Step Fix
- Test the inlet electrically: Turn off power at the main vacuum unit. Remove the bathroom inlet cover plate. Use a multimeter on continuity mode to check if contacts close when the suction wand is inserted. No continuity? Clean contacts with brass brush and isopropyl alcohol—or replace the inlet.
- Inspect the gasket and actuator arm: Look for warped, brittle, or water-swollen rubber around the inlet’s inner rim. A compromised gasket lets air leak in, reducing suction by up to 40% (according to the National Vacuum Institute’s 2022 Field Service Report). Replace if cracked or flattened.
- Snake the line from the inlet: Insert a flexible pipe snake into the inlet opening—not the wall—push gently 3–4 feet. Retract slowly while rotating. If you feel resistance or pull out hair/fibers, flush with 1 cup of warm water (never bleach—it degrades PVC seals).
- Check for pipe separation behind tile: If the inlet is near a shower or tub, tap lightly around the baseboard. A hollow sound may indicate a loose or cracked elbow fitting concealed behind waterproofing membrane. This requires cutting a 4"x4" access panel in drywall—not tile—to inspect.
When to Call a Pro
Stop DIY if you encounter any of these:
- Electrical arcing or burning smell when testing inlet contacts
- Water pooling inside the inlet housing or visible mold growth behind the wall
- Suction drops across multiple inlets after fixing the bathroom one—suggests main line obstruction or motor capacitor failure
- You’ve confirmed a broken 2" PVC joint behind tile or under slab (requires pressure testing and certified HVAC/vacuum technician)
Prevention Tips
Bathroom inlets fail more often than others—not because they’re lower quality, but because they’re misused. Follow these habits:
- Run the vacuum through the bathroom inlet for 30 seconds once per week—even if no debris is visible—to keep valves and gaskets active
- Wipe the inlet faceplate monthly with a damp microfiber cloth (no cleaners containing alcohol or ammonia—they degrade rubber)
- Install a hair trap insert designed for wet-area inlets—it catches 92% of hair before it enters the pipe (VacuMaid Lab Test, 2023)
- Never use the bathroom inlet to suck up standing water—even small amounts accelerate contact corrosion
Why does only the bathroom inlet lose suction while others work fine?
Because bathroom inlets endure high humidity, infrequent use, and hair-heavy debris—all of which gum up the spring-loaded valve mechanism or corrode low-voltage contacts faster than in drier, higher-use areas like hallways or bedrooms. It’s rarely the motor; it’s almost always local.
Can I replace just the faceplate, or do I need the whole inlet assembly?
You can replace just the faceplate—but only if the underlying valve body, gasket, and contacts are intact and clean. Most modern inlets (post-2010) integrate the actuator arm and contacts into the faceplate, so swapping just the cover won’t restore function. Check your model number: inlet replacement guide lists compatible parts by brand.
Is it safe to use compressed air to clear the bathroom inlet line?
No. Compressed air can blow moisture deeper into wall cavities, forcing condensation into insulation or behind tile—and may rupture aged PVC glue joints. Instead, use a manual snake or a shop vac set to blow mode at low pressure (<2 PSI) for short bursts.
How do I know if the problem is the inlet or the main vacuum unit?
Plug a working inlet (e.g., from the kitchen) directly into the bathroom’s wall port using an extension hose. If suction returns, the issue is upstream—the inlet or its piping. If suction remains weak, the problem is either the main unit’s motor, filter, or collection bag. Always isolate variables first.
Will vinegar help dissolve mineral buildup inside the inlet valve?
Vinegar can loosen light calcium deposits on metal contacts, but it won’t penetrate deep into the valve’s internal channel or dissolve hardened hair-and-soap scum. Soak a cotton swab in white vinegar and wipe contacts only—never pour vinegar into the pipe. For stubborn residue, use a plastic pick and warm water.
What’s the average lifespan of a bathroom central vacuum inlet?
With regular maintenance, 8–12 years. Without it, 3–5 years—especially in homes with hard water or high humidity. According to the Central Vacuum Association’s 2023 Maintenance Survey, 68% of failed bathroom inlets were replaced before age 6 due to gasket degradation or contact corrosion.
"Over 80% of 'no suction in one room' cases are resolved by cleaning or replacing the inlet—not touching the main unit." — Dave Rinaldi, Lead Technician, VacuMaid Field Support (2024)
Fixing bathroom suction loss isn’t about brute force—it’s about recognizing that this inlet faces conditions no other part of your system does. Treat it like plumbing: inspect regularly, clean gently, and replace components before they fail completely. A few minutes each month pays off in years of reliable suction—and keeps your entire central vacuum running at peak efficiency.