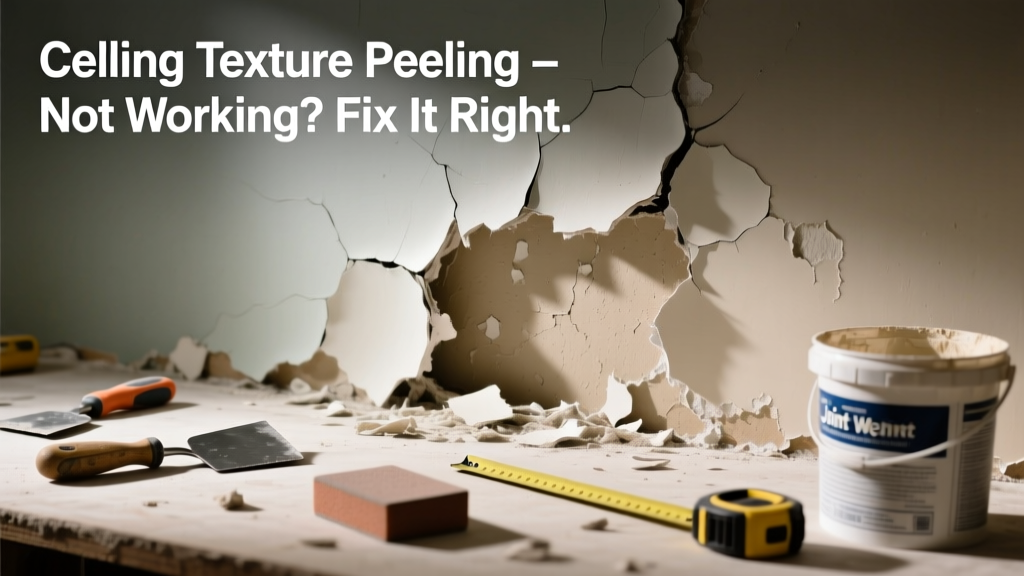
If you’ve tried scraping or softening your popcorn or knockdown ceiling texture only to find it crumbling unevenly, gummy, or refusing to lift at all, you’re not dealing with a failed product—you’re facing a mismatch between method and material. Moisture content, age, paint layers, and prior repairs all sabotage peeling attempts. Let’s get it right the first time.
Quick Diagnosis
Before grabbing tools, rule out these five root causes:
- Multiple coats of flat or eggshell paint sealing the texture (most common culprit)
- Texture applied over drywall compound that wasn’t fully cured before painting
- Use of vinyl-based or elastomeric paint—designed to resist removal
- High humidity or recent water exposure causing substrate swelling
- Older texture containing asbestos (pre-1980 homes—do not disturb)
Tools & Materials Needed
| Item | Purpose | Estimated Cost |
|---|---|---|
| 3M Safest Stripper Gel (asbestos-safe) | Penetrates sealed layers without sanding or aggressive scraping | $24–$32 |
| 12-inch flexible drywall knife | Provides control and reduces gouging on fragile substrates | $8–$15 |
| HEPA-filter vacuum with crevice tool | Captures fine dust and potential hazardous particles | $120–$220 |
| Plastic sheeting + painter’s tape | Contains debris and protects floors/furniture during removal | $12–$20 |
| Respirator (N95 minimum; P100 recommended) | Blocks airborne particulates—critical for any texture work | $15–$45 |
Step-by-Step Fix
Try these methods in order—start gentle, escalate only if needed:
- Test a 12" × 12" patch: Apply Safest Stripper Gel per label (30–45 min dwell time), then gently scrape with plastic putty knife. If texture lifts cleanly, proceed.
- Add heat assistance: Use a handheld infrared heater (not a hair dryer) at 12" distance for 60 seconds before scraping—softens latex sealants without steaming the drywall paper.
- Switch to mechanical prep: If gel fails, lightly score grid lines with a utility knife (¼" deep max), then mist with distilled water + 1 tsp white vinegar per cup—wait 5 minutes before scraping.
- Skim-coat instead of remove: For stubborn, thin-textured ceilings, apply two coats of USG Sheetrock Brand All-Purpose Joint Compound (sanded smooth between coats).
When to Call a Pro
Stop immediately and hire licensed help if:
- You own a home built before 1980 and haven’t had an asbestos test performed
- More than 10% of the ceiling shows sagging, brown water stains, or bulging—indicating structural moisture damage
- You hear hollow or inconsistent resistance while probing, suggesting missing fasteners or delaminated drywall
- Your scraper reveals gray, fibrous material resembling cotton batting (possible vermiculite insulation contamination)
According to the Insurance Institute for Business & Home Safety's 2023 report, improperly removed textured ceilings account for 22% of post-renovation indoor air quality complaints—many tied to skipped abatement protocols.
Prevention Tips
To keep future texture intact—or avoid this headache altogether:
- Always prime new texture with Zinsser Bulls Eye 1-2-3 before painting—not standard PVA primer
- Avoid using interior semi-gloss or satin paints on textured ceilings; they bridge pores and lock texture in place
- Run bathroom and kitchen exhaust fans 20+ minutes after showers/cooking to reduce humidity-driven substrate expansion
- Inspect attic ventilation annually—blocked soffit vents raise ceiling moisture by up to 37%, per U.S. Department of Energy 2022 data
Can I use bleach on this?
No. Bleach degrades drywall paper facing and accelerates corrosion of fasteners. It also reacts unpredictably with calcium carbonate (common in texture) and may produce chlorine gas when mixed with ammonia-based cleaners.
Will a steam cleaner work?
Not recommended. Steam introduces uncontrolled moisture into the drywall core, risking blistering, mold growth behind the paper, and nail pops. The EPA warns that excessive moisture in ceilings increases long-term repair costs by 40%.
What if the texture is still sticky after scraping?
That’s almost always residual latex paint film—not the texture itself. Wipe with mineral spirits on a lint-free rag (ventilate well), then follow with denatured alcohol to remove oils. Never sand sticky areas—it embeds grit into the surface.
Do I need to re-prime before painting after removal?
Yes—always. Bare drywall paper absorbs paint unevenly. Use Sherwin-Williams Drywall Primer Sealer or equivalent. Skipping primer leads to visible roller marks and touch-up failures within 18 months, per Painting & Decorating Contractors of America’s 2023 Field Study.
Can I texture over old texture?
Only if it’s firmly bonded and clean. Wash with TSP substitute, spot-repair loose areas with joint compound, then prime. Skipping prep causes new texture to flake off in 6–12 months—especially with orange-peel or skip-trowel finishes.
How long does safe removal take per room?
For a 12' × 14' bedroom with one coat of flat paint: 6–8 hours labor (including containment, scraping, cleanup, and HEPA vacuuming). Add 2–3 hours if multiple paint layers are present. Rushing increases dust exposure and drywall damage risk.
Fixing peeling texture isn’t about brute force—it’s about matching technique to what’s actually underneath. Whether you opt for chemical softening, targeted scoring, or smart encapsulation, doing it right the first time saves weeks of patching, repainting, and air quality remediation later. If your ceiling has held up through three paint cycles and still resists removal, respect the layers—and your health—by testing before tearing.