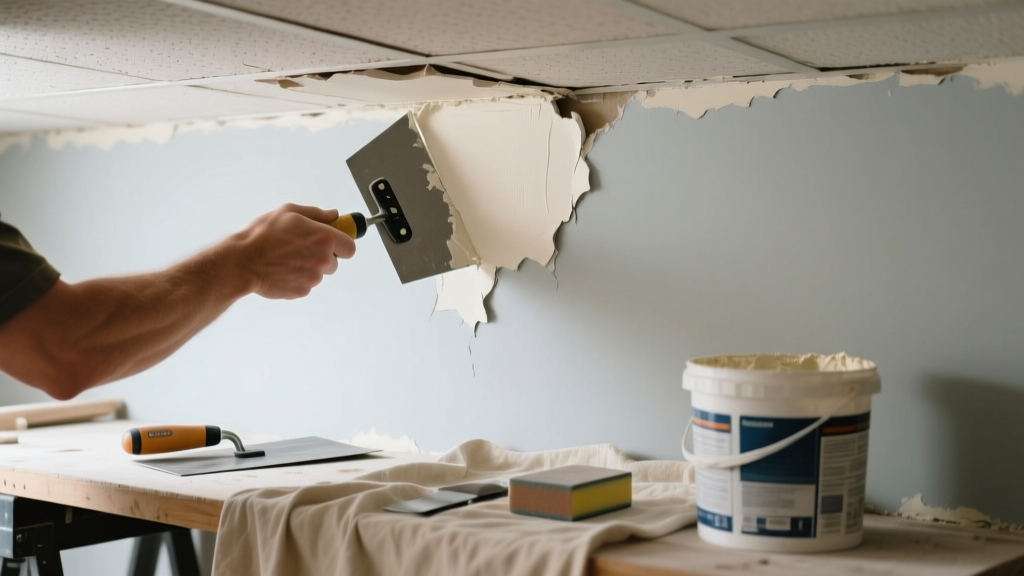
That flaky, curling patch on your ceiling isn’t just ugly—it’s a warning sign that moisture, age, or poor adhesion has compromised the texture layer. Ignoring it invites mold growth, further delamination, and potential drywall damage beneath. This guide walks you through replacing only the failing section—not the whole ceiling—saving time and money.
Quick Diagnosis
Before grabbing tools, confirm why the texture is peeling. Most cases trace back to one or more of these root causes:
- Water intrusion from roof leaks, plumbing above, or condensation buildup
- Old age: Popcorn or knockdown textures applied before 1980 may contain asbestos (do not sand or scrape without testing)
- Poor original application—thin mud layer, insufficient drying time, or incompatible primer
- High humidity in bathrooms or laundry rooms without proper ventilation
- Previous paint layers sealed over unprimed texture, trapping moisture underneath
Tools & Materials Needed
| Item | Purpose | Estimated Cost |
|---|---|---|
| Dust mask (N95) and safety goggles | Protects lungs and eyes during scraping; critical if asbestos is suspected | $8–$15 |
| Putty knife (4" and 10") | Removes loose texture and applies new mud smoothly | $6–$12 |
| Texture spray kit (orange peel or knockdown) | Matches existing pattern; avoid popcorn unless confirmed asbestos-free | $22–$38 |
| Joint compound (all-purpose, lightweight) | Fills voids and builds base for texture; dries faster and sands easier | $10–$18 |
| Primer (oil-based or shellac-based) | Seals repaired area and prevents flashing; essential for stain-blocking | $14–$24 |
Step-by-Step Fix
Work in a well-ventilated room with drop cloths and a sturdy ladder. Never stand on the top two rungs. Follow these steps in order:
- Isolate and test: Use a utility knife to cut a clean square around the peeling area (minimum 6" beyond visible damage). Lightly mist with water to suppress dust, then gently scrape away all loose texture down to bare drywall paper. If material crumbles easily or feels chalky, send a sample to an EPA-accredited lab per asbestos-testing-procedure.
- Repair substrate: Apply joint compound with the 10" knife, feathering edges at least 12" outward. Let dry 24 hours. Sand lightly with 120-grit paper—no dust clouds. Wipe with damp cloth.
- Prime and texture: Seal with oil-based primer (e.g., Zinsser Cover Stain). Once dry, use your spray kit to replicate the surrounding texture. Hold nozzle 12–18" from surface and apply in overlapping passes. Let cure 48 hours before painting.
- Match finish: Paint with same sheen and color as ceiling. Use a roller nap matching the original (usually 3/8" for orange peel, 1/2" for knockdown). For seamless blending, extend paint 18" beyond repair zone.
When to Call a Pro
Some situations require licensed expertise—not DIY courage. Call a contractor if:
- The peeling covers more than 4 sq ft or spans multiple joist bays
- You find sagging drywall, brown staining, or musty odors indicating active water intrusion
- Asbestos testing returns positive—or you’re in a pre-1980 home and haven’t tested yet
- Electrical boxes, recessed lights, or HVAC ducts are exposed or compromised during removal
"Over 62% of ceiling texture failures stem from unresolved moisture—not aging alone," says building scientist Dr. Lena Cho in the Journal of Home Performance (2022).
Prevention Tips
Stop future peeling before it starts. These habits make a measurable difference:
- Install a bathroom exhaust fan rated for at least 1 CFM per square foot and run it 20 minutes after showers
- Check attic ventilation annually—soffit and ridge vents should provide balanced airflow
- Keep indoor relative humidity between 30–50% year-round using a hygrometer and dehumidifier if needed
- Never paint over unprimed texture—always seal with PVA or oil-based primer first
Can I use bleach on this?
No. Bleach doesn’t stop peeling—it only masks surface mold and damages drywall paper. It also prevents proper adhesion of new joint compound. If you see black specks under the texture, test for mold with an ERMI-certified lab kit instead.
How long does the repair take to fully cure?
Joint compound needs 24 hours minimum before sanding; texture spray requires 48 hours before painting. Oil-based primer takes 3–4 hours to dry to the touch but 24 hours to fully cure. Rushing any step causes cracking or flashing.
Will the new texture match exactly?
Exact matches are rare—but close ones are achievable. Practice on cardboard first. Adjust spray pressure, distance, and overlap until the pattern mimics adjacent areas. If mismatch persists, consider repainting the entire ceiling panel (not full room) for visual consistency.
Do I need to remove all old texture or just the peeling part?
Only remove what’s actively failing—and a 2" buffer around it. Removing healthy texture invites unnecessary dust, labor, and risk of damaging underlying drywall seams. Focus on clean edges and solid substrate.
Can I texture over painted drywall?
Yes—but only after thorough cleaning and light sanding. Glossy paint repels texture spray. Scuff with 150-grit sandpaper, wipe with TSP substitute, then prime with bonding primer like STIX by Benjamin Moore.
What if the drywall paper tears during scraping?
Small tears (<1/4") can be sealed with thinned joint compound and a skim coat. Larger tears require drywall patching: cut out damaged paper, apply mesh tape, then three thin coats of mud. Let each dry fully before sanding.
A well-executed partial texture replacement looks invisible—not like a bandage. It’s not glamorous work, but it stops decay in its tracks and buys years before full ceiling renovation. For deeper issues like chronic leaks or structural movement, pair this fix with a follow-up inspection from a certified home energy auditor—especially if you’ve had two or more texture failures in different rooms within 18 months. You’ll find more on related repairs like ceiling-water-stain-removal and drywall-joint-compound-drying-time in our repair library.