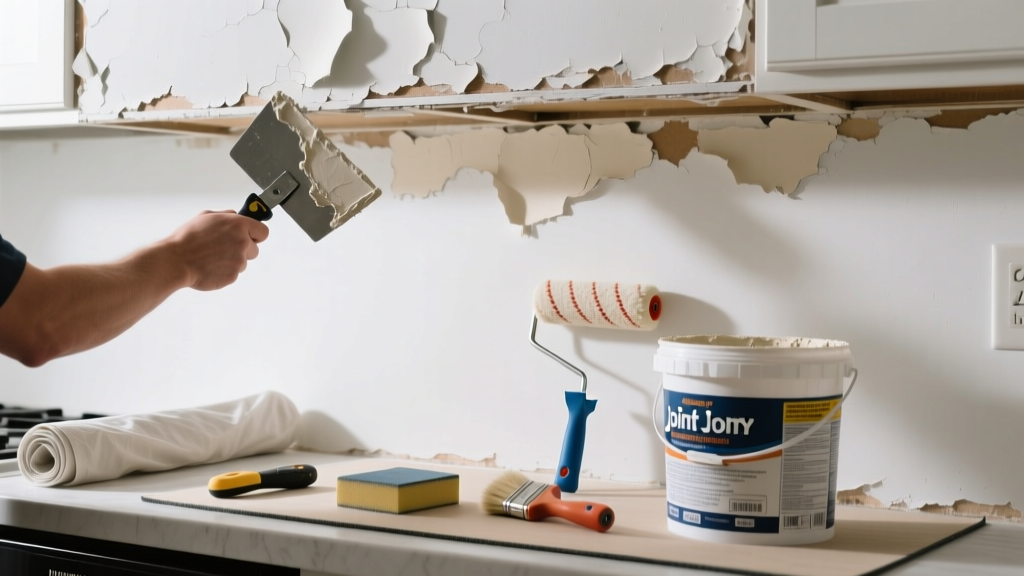
That flaky, chalky patch on your kitchen ceiling isn’t just an eyesore—it’s a red flag. Moisture from boiling pots, steam from dishwashers, and temperature swings make kitchens prime territory for ceiling texture failure. Ignoring it invites mold, structural damage, and worse peeling down the line.
Quick Diagnosis
Kitchen ceiling texture peels for specific, fixable reasons—not random wear. Pinpointing the cause prevents repeat failures:
- Chronic moisture exposure (steam from stovetop, dishwasher vent leaks)
- Improper original application (texture applied over unprimed drywall or damp substrate)
- Water intrusion from roof leaks or upstairs plumbing (check attic access if possible)
- Age-related binder breakdown—especially in pre-1990 popcorn textures with degraded adhesive
- Poor ventilation: kitchens with no exhaust fan or undersized ducting see 3x more texture failures (ASHRAE Standard 62.2, 2022)
Tools & Materials Needed
| Item | Purpose | Estimated Cost |
|---|---|---|
| Dust mask (N95) + safety goggles | Protects against inhalation of old texture dust (may contain asbestos in homes built before 1980) | $12–$25 |
| 12-inch drywall knife & pole sander | Removes loose texture without gouging drywall; pole sander reaches high spots safely | $18–$42 |
| Joint compound (lightweight, all-purpose) | Fills voids and provides smooth base for retexturing or painting | $14–$22 |
| Texture spray kit (orange-peel or knockdown) | Matches common kitchen ceiling finishes; avoid popcorn kits unless verified asbestos-free | $28–$65 |
| Oil-based primer (e.g., Kilz Original) | Seals moisture-prone areas and prevents bleed-through; water-based primers often fail here | $24–$36 |
Step-by-Step Fix
Don’t rush this—kitchen ceilings demand moisture-resistant prep. Follow these methods in order, skipping steps only if the damage is minimal (under 2 sq ft and fully dry):
- Test for moisture: Use a non-penetrating moisture meter (like the Protimeter Surveymaster) on the peeling area and adjacent dry sections. Readings above 15% indicate active moisture—stop and address source first.
- Remove loose texture: Scrape gently with a plastic putty knife (metal can tear paper facing). Vacuum debris with a HEPA-filter shop vac—never dry sweep. Wipe surface with TSP substitute (e.g., Krud Kutter) to remove grease film.
- Prime and seal: Apply oil-based primer within 2 hours of cleaning. Let cure 24 hrs. Skip latex primer—it blisters under kitchen humidity.
- Retexture or smooth: For small patches, use a sponge or brush to blend new orange-peel texture. For larger areas (>4 sq ft), apply lightweight joint compound, sand smooth, then spray match-texture. Let dry 48 hrs before painting.
When to Call a Pro
Some situations aren’t DIY-safe—even for experienced homeowners:
- You find wet insulation or sagging drywall above the peel (sign of ongoing leak)
- Your home was built before 1980 and you haven’t had texture tested for asbestos (required by EPA before disturbance)
- Peeling covers >10 sq ft and recurs within 6 months after repair
- You detect musty odors or visible black specks behind peeled areas (mold growth)
"In kitchens, texture failure is rarely cosmetic—it's almost always a symptom of hidden moisture. If you're patching more than once in two years, the real problem is upstream." — Mike R., Master Drywall Contractor, 27 years' experience, Chicago
Prevention Tips
Stop recurrence by tackling root causes—not just symptoms:
- Install a ducted range hood vented outdoors (not recirculating), rated at ≥300 CFM for gas stoves
- Run the exhaust fan for 15 minutes after cooking ends—humidity lingers longer than you think
- Check dishwasher air gap and drain hose for kinks or disconnections (a top cause of slow kitchen ceiling moisture)
- Apply vapor-retardant paint (e.g., Sherwin-Williams Harmony) over sealed texture—reduces moisture absorption by 40% (UL Environment Report, 2021)
Can I use bleach on this?
No. Bleach doesn’t kill mold roots in drywall and degrades texture binders. It also produces toxic fumes when mixed with kitchen cleaners. Use a registered fungicide like Concrobium Mold Control instead—and only after fixing the moisture source.
Is popcorn texture safe to remove myself?
Only if lab-tested and confirmed asbestos-free. Homes built before 1980 have a 65% chance of asbestos in ceiling texture (U.S. EPA Asbestos NESHAP Guidance, 2020). Hire a certified abatement contractor if uncertain—fines for improper removal start at $25,000.
Why does only my kitchen ceiling peel—not the living room?
Kitchens average 2–3x higher relative humidity than other rooms due to boiling, steaming, and dishwasher cycles. That constant cycling stresses texture adhesion far more than ambient household conditions.
Can I just paint over peeling texture?
Temporarily—but it’ll bubble and flake within weeks. Paint bridges gaps but doesn’t bond to unstable substrate. Always remove loose material and seal with oil-based primer first.
How long does the full repair take?
Allow 3–4 days minimum: Day 1 (diagnose/moisture test), Day 2 (scrape/prime), Day 3 (dry/texture), Day 4 (dry/paint). Rushing drying time is the #1 reason for re-peeling.
What’s the cheapest long-term fix?
A properly installed, ducted exhaust fan ($180–$320 installed) pays for itself in avoided repairs within 18 months. According to the National Association of Home Builders’ 2023 Remodeling Impact Report, 72% of kitchen texture failures were eliminated after upgrading ventilation.
Fixing peeling kitchen ceiling texture isn’t about covering up—it’s about listening to what the ceiling is telling you. Every flake points to moisture, age, or installation flaws that, if left unaddressed, will worsen faster in this high-humidity zone. Do the prep right, match the environment, and your repair won’t just hold—it’ll outlast the next appliance upgrade. For related help, see our guide on fixing dishwasher leaks under the sink and installing a range hood vented outdoors.