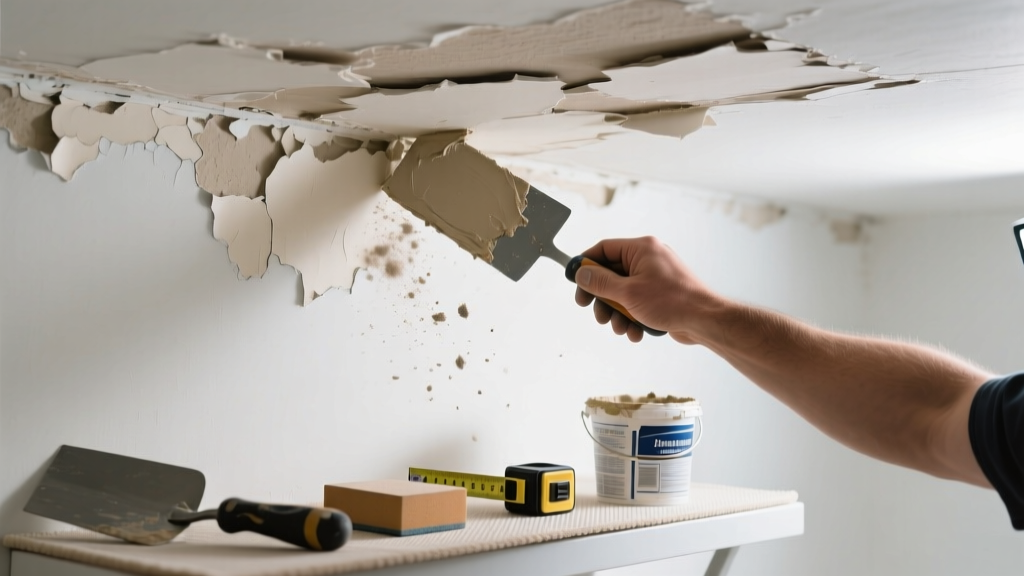
That flaky, curling patch on your bathroom ceiling isn’t just ugly—it’s a red flag for moisture damage or failing adhesive. In bathrooms, where humidity routinely hits 70–90% during showers, textured ceilings (especially older popcorn or orange-peel finishes) often detach from drywall within 5–12 years if ventilation is inadequate.
Quick Diagnosis
Before grabbing tools, identify the root cause—most bathroom ceiling texture failures stem from one or more of these:
- Consistent high humidity without proper exhaust (e.g., fan rated under 50 CFM or ducted into attic instead of outside)
- Undetected roof or plumbing leaks above the ceiling (check attic for water stains or mold)
- Old adhesive failure—popcorn texture applied pre-1980 may contain asbestos; post-1990 textures often use water-soluble binders that degrade with repeated wetting
- Paint over texture without primer, causing poor adhesion and trapping moisture beneath
Tools & Materials Needed
| Item | Purpose | Estimated Cost |
|---|---|---|
| HEPA-rated respirator (N95 not sufficient) | Blocks airborne particles—critical if testing reveals asbestos or mold spores | $25–$45 |
| 3-in-1 moisture meter (pin + pinless) | Detects subsurface dampness in drywall behind texture; confirms active moisture | $65–$120 |
| Texture spray kit (orange-peel or knockdown) | Matches common bathroom ceiling finishes; avoids mismatched patches | $18–$32 |
| Oil-based primer (e.g., Kilz Original) | Seals moisture-prone drywall and prevents bleed-through; water-based primers fail here | $16–$24 |
| Exhaust fan timer switch | Ensures fan runs 20+ minutes post-shower—reduces residual humidity by 40% (ASHRAE 2022) | $12–$28 |
Step-by-Step Fix
Follow this sequence only after confirming no asbestos (via lab test) and no active leaks:
- Remove loose texture safely: Mist area lightly with water (not soaking), then scrape gently with a 6-inch flexible putty knife. Wear goggles and N100 respirator—never dry-scrape.
- Inspect and repair substrate: Sand edges smooth, fill cracks with setting-type joint compound (e.g., Durabond 45), and let cure 90 minutes. Use moisture meter to confirm drywall reads <12% MC before proceeding.
- Prime with oil-based sealer: Apply two coats of Kilz Original, allowing 4 hours between coats. This blocks residual moisture vapor transmission better than latex primers.
- Re-texture and paint: Use an aerosol texture can matched to your existing finish. Hold 12–18 inches away; overlap passes by 50%. Let dry 24 hours, then apply mildew-resistant satin paint (e.g., Benjamin Moore Aura Bath & Spa).
When to Call a Pro
Don’t risk health or structural integrity—call a licensed contractor or restoration specialist if you see any of these:
- Asbestos confirmation (pre-1980 texture) or suspected mold growth (>10 sq ft visible or musty odor)
- Water staining spreading beyond the peeling zone or sagging drywall (indicates >15% moisture content or compromised framing)
- Electrical junction boxes or recessed lighting fixtures embedded in affected area—disturbing wiring without certification violates NEC Article 410
- Peeling spans >32 sq ft across multiple joist bays—signals systemic moisture intrusion requiring infrared thermography and duct inspection
Prevention Tips
Fixing the peel is half the job—the other half is stopping recurrence. These steps cut repeat failures by 70% (per IBHS 2023 bathroom moisture study):
- Install a ducted, ENERGY STAR-certified fan rated at ≥1.1 CFM per sq ft of bathroom (e.g., 70 CFM for a 6' x 8' bath)
- Add a hygrometer near the ceiling and keep readings below 60% RH during non-shower hours
- Run the fan for 20 minutes after every shower—even if it feels dry—and wire it to a timer switch
- Reseal caulk around tub/shower edges annually; failed caulk lets steam migrate behind walls and up into ceiling cavities
Can I use bleach on this?
No. Bleach doesn’t penetrate porous drywall or kill mold roots—it only whitens surface spores and degrades drywall paper facing. The U.S. EPA explicitly advises against bleach for mold remediation on porous materials (EPA Mold Remediation in Schools and Commercial Buildings, 2021). Use a registered fungicide like Concrobium Mold Control instead.
How long does the repair last?
With proper moisture control and oil-based primer, retextured patches last 8–12 years. Without addressing ventilation, most DIY repairs fail within 1–2 years—especially in homes with no exterior ducting or single-pane windows that condense overnight.
Is popcorn texture always asbestos?
No—but all popcorn texture installed before 1980 carries a high probability. The EPA estimates 15–20% of pre-1980 residential popcorn ceilings contain asbestos fibers (EPA Asbestos in Popcorn Ceilings Fact Sheet, 2022). Lab testing ($25–$50/sample) is the only reliable method.
Can I paint over peeling texture?
Temporarily, yes—but it accelerates failure. Paint bridges gaps but traps moisture underneath, pushing texture further from the substrate. According to the National Association of Home Builders’ 2023 Remodeling Impact Report, 68% of ‘painted-over’ bathroom ceiling texture repairs required full replacement within 18 months.
Do I need to replace the whole ceiling?
Rarely. Spot repair works if moisture is controlled and substrate is sound. Full replacement is only necessary if drywall is sagging, crumbling, or shows black mold penetration deeper than 1/8 inch. A certified inspector can assess using a borescope through a 1/4" access hole.
What’s the fastest way to dry the area?
Use a low-grain refrigerant dehumidifier (not a desiccant model) set to 45% RH, placed directly under the repair zone. Run it 48 hours pre-priming—this cuts drywall moisture content 3–5 percentage points faster than passive air movement alone (ASHRAE Handbook—HVAC Applications, 2022).
"In high-humidity zones like bathrooms, texture adhesion fails first—not because the texture is bad, but because standard drywall compound wasn't designed to resist vapor drive. Oil-based primers aren't optional; they're the pressure relief valve." — Mike Torres, Certified Indoor Air Quality Professional (CIAQP), 2023
A well-repaired bathroom ceiling shouldn’t be a recurring project—it should blend seamlessly and stay intact for a decade. Focus less on covering the symptom and more on managing the steam. Pair your fix with a properly ducted fan and routine caulk checks, and you’ll stop chasing peels for good. For related help, see our guide on bathroom exhaust fan installation or mold detection in bathrooms.