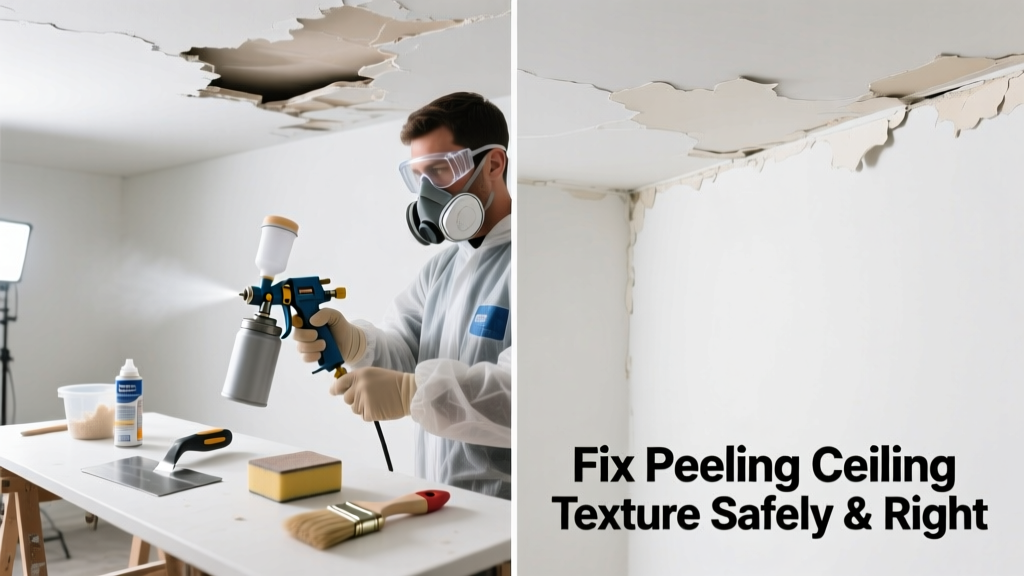
That chalky, flaking patch on your ceiling isn’t just ugly—it’s a red flag. Peeling texture often signals moisture intrusion, poor adhesion, or aging materials, and ignoring it can lead to stains, mold, or even drywall failure. The good news? Most small- to medium-sized areas can be repaired in a weekend with basic tools and careful prep.
Quick Diagnosis
Before grabbing a scraper, identify the root cause. Peel-back isn’t random—it follows patterns tied to underlying problems:
- Moisture from roof leaks, attic condensation, or bathroom exhaust venting into insulation
- Paint incompatibility—latex over oil-based primer or old enamel without proper scuff-sanding
- Improper original application: texture sprayed too thin, applied over dusty or glossy surfaces
- Structural movement: minor settling or truss uplift causing hairline cracks that loosen texture bonds
- Age-related binder breakdown—especially in popcorn or acoustic textures installed before 1980 (test for asbestos if pre-1978)
Tools & Materials Needed
| Item | Purpose | Estimated Cost |
|---|---|---|
| Dust mask (N95) + safety goggles | Protects against airborne particles during scraping and sanding | $8–$15 |
| Wide drywall knife (12") | Removes loose texture cleanly without gouging drywall paper | $12–$22 |
| Joint compound (all-purpose) | Fills voids and provides base for new texture; choose lightweight for easier sanding | $14–$24 per 5-gal bucket |
| Texture spray can (orange peel or knockdown) | Matches existing finish; test on cardboard first | $12–$18 per can |
| 320-grit sanding sponge | Smoother finish than sandpaper; minimizes dust and avoids tearing drywall paper | $6–$10 |
Step-by-Step Fix
Match the method to your ceiling’s condition and texture type. Don’t rush prep—90% of failures stem from skipping this stage.
- Isolate and contain: Seal HVAC vents in the room, lay plastic sheeting on floors/furniture, and tape edges with painter’s tape. Run a fan near an open window (not toward the ceiling) to create negative air pressure.
- Scrape gently: Use the 12" knife at a shallow 15° angle—never dig. Stop when you hit solid, non-crumbling substrate. If paper tears or gray gypsum shows, stop and assess for water damage.
- Prime bare spots: Apply Zinsser Gardz or Kilz Original (oil-based) to exposed drywall paper and scraped areas. Let cure 24 hours—this seals porous zones and prevents 'flashing' after painting.
- Feather and texture: Skim-coat with all-purpose joint compound using a 16" taping knife. Sand smooth with 320-grit sponge. Then spray texture to match adjacent areas—hold can 18" away, overlap passes by 50%, and practice on scrap drywall first.
- Paint uniformly: Use same sheen and batch of paint as the rest of the ceiling. A mist coat (50/50 paint/water) helps blend repaired areas before full coverage.
When to Call a Pro
Some situations go beyond DIY safety or skill limits—and delaying professional help risks bigger damage.
- Peeling covers more than 4 sq ft and feels spongy or damp to the touch (possible active leak or rot)
- You find black, fuzzy growth behind texture (confirmed mold)—the EPA advises licensed abatement for areas >10 sq ft
- Cracks wider than 1/8" run across seams or corners, especially with sagging (sign of compromised framing or hangers)
- Your home was built before 1978 and you haven’t tested for asbestos—asbestos testing is required before disturbance
- Repaired texture keeps failing within 6 months despite correct prep (points to chronic humidity or hidden plumbing leak)
Prevention Tips
Fixing texture is temporary unless you address why it failed. Prevention hinges on moisture control and surface integrity:
- Maintain indoor humidity between 30–50% year-round—use a hygrometer and dehumidifier in basements or humid climates
- Ensure bathroom and kitchen exhaust fans vent outside, not into the attic—inspect ducts annually for kinks or disconnected joints
- Check roof flashing and shingles every spring for missing tabs or rusted nails near vents and chimneys
- Never skip primer before painting ceilings—especially over patched drywall or old texture
- If repainting, lightly scuff-sand with 220-grit paper first, even over flat paint, to ensure mechanical bond
Can I use bleach on this?
No—bleach doesn’t penetrate porous drywall or kill mold roots, and it degrades drywall paper and joint compound binders. According to the U.S. EPA’s Mold Remediation in Schools and Commercial Buildings (2022), detergent-and-water cleaning followed by thorough drying is safer and more effective for surface mold on intact drywall.
Will painting over peeling texture work?
Temporarily—but it’ll fail. Paint bridges gaps but doesn’t re-adhere loose material. Within weeks, bubbling and new flaking appear. As drywall contractor Mike Rinaldi told Pro Remodeler (2021): “You can’t paint over failure. You have to remove the symptom and treat the disease.”
How long does the repair last?
With proper moisture control and prep, repairs last 10–15 years. But if the root cause (e.g., unvented bathroom fan) remains, expect recurrence in 6–18 months. The Insurance Institute for Business & Home Safety’s 2023 report found that 68% of repeat ceiling texture failures traced back to unresolved ventilation issues.
Do I need to replace the whole ceiling?
Rarely. Unless there’s widespread water saturation, sagging, or crumbling gypsum core, spot repair is structurally sound and cost-effective. Full replacement averages $2.50–$4.50/sq ft vs. $0.75–$1.50/sq ft for targeted repair—including labor and materials.
Can I rent a texture sprayer instead of buying a can?
Yes—and it’s smarter for large jobs. Rental units ($35–$65/day) deliver consistent orange peel or knockdown finishes and reduce overspray. Just remember to clean them immediately after use; dried compound clogs nozzles fast. For best results, pair with a hopper gun and practice on cardboard until pattern and density match your ceiling.
What’s the fastest way to match existing texture?
Take a 2"×2" sample (scrape carefully around edges) to a local paint store—they can analyze the pattern under magnification and recommend matching spray cans or custom-mixed texture compounds. Some stores even offer free on-site texture matching via digital imaging.
"More than half of ceiling texture failures we see aren’t about technique—they’re about skipping the moisture diagnosis. Always check above and behind first." — Sarah Chen, Certified Indoor Environmental Consultant, IAQ Solutions Group (2022)
A well-repaired ceiling shouldn’t draw attention—it should disappear into the room. Take time with each step, especially priming and drying times, and don’t hesitate to pause and reassess if something feels off. And if you’re unsure whether that damp spot is just condensation or a slow roof leak, roof leak detection or attic inspection checklist are smart next steps before the next coat goes on.