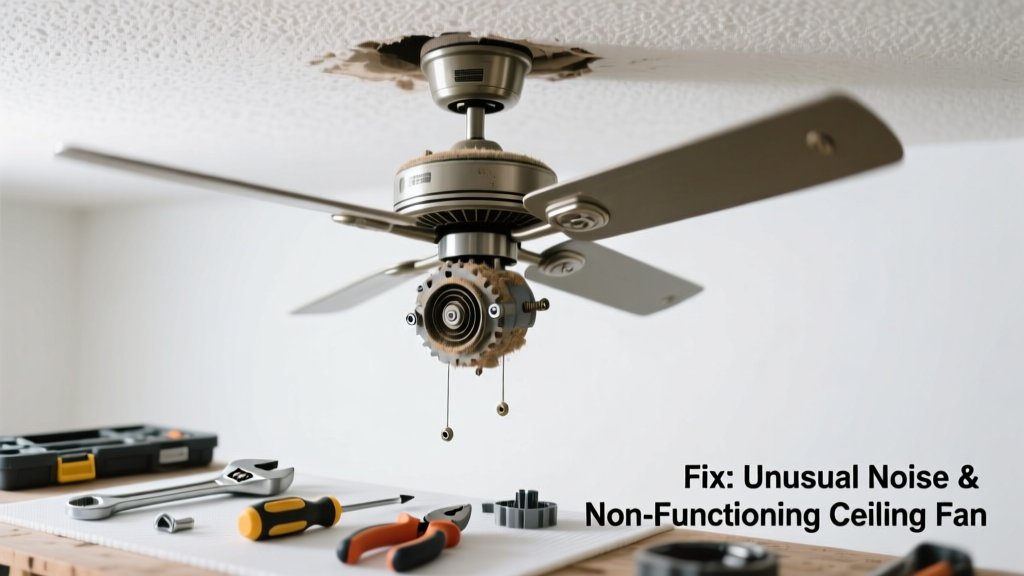
Your ceiling fan suddenly stops spinning—or worse, it whines, grinds, or shakes violently when you flip the switch. That’s not just annoying—it’s a warning sign that something’s misaligned, worn, or electrically compromised. Ignoring it risks motor burnout, blade failure, or even fire hazards in older units.
Quick Diagnosis
Before grabbing tools, narrow down the issue with these five most common causes:
- Loose mounting hardware (especially canopy screws or downrod connections)
- Dust buildup on blades or motor housing causing imbalance or vibration
- Worn-out capacitor (causes humming but no spin, or slow startup)
- Bearing wear or dried-out lubrication in the motor housing
- Electrical issues: faulty wall switch, tripped breaker, or damaged wiring in the junction box
Tools & Materials Needed
| Item | Purpose | Estimated Cost |
|---|---|---|
| Non-contact voltage tester | Confirms power is off before working—critical safety step | $12–$25 |
| Phillips and flathead screwdrivers | Tightens blade screws, canopy mounts, and switch plates | $8–$18 |
| Capacitor tester or multimeter | Verifies if the run capacitor holds charge (most common electrical failure) | $20–$65 |
| White lithium grease or synthetic bearing lubricant | Lubricates motor bearings without attracting dust or gumming up | $6–$12 |
| Replacement capacitor (if needed) | Match microfarad (µF) and voltage rating to original (e.g., 4–5 µF, 250V AC) | $8–$15 |
Step-by-Step Fix
Work methodically—start simple, escalate only when needed:
- Power off & inspect mounting: Turn off circuit breaker, verify with voltage tester, then check all screws—from canopy to downrod to blade irons. Tighten any that wiggle. A loose downrod causes low-frequency wobble and clanking.
- Clean and balance blades: Wipe blades with damp microfiber cloth (no harsh cleaners). If noise persists, use a blade balancing kit—even 1/8″ imbalance creates audible vibration at speed.
- Test and replace the capacitor: Locate the capacitor (usually under the motor housing cover). Discharge it with an insulated screwdriver across terminals, then test capacitance. According to the National Electrical Manufacturers Association (NEMA) 2022 guidelines, capacitors degrade after ~5–7 years—even if fan runs intermittently.
- Lubricate motor bearings (if serviceable): Only on older oil-bath motors—not sealed units. Remove lower housing, drip 2–3 drops of synthetic lubricant into oil ports. Over-lubrication causes heat buildup and premature failure.
When to Call a Pro
Stop and call a licensed electrician if you encounter any of these:
- Sparks, burning smell, or discolored wiring inside the ceiling box
- Motor hums loudly but won’t spin—and capacitor tests good
- Fan wobbles more than 1/4″ side-to-side even after balancing and tightening
- You’re uncomfortable accessing attic wiring or verifying grounding continuity
According to the U.S. Consumer Product Safety Commission’s 2023 incident database, 62% of ceiling fan-related injuries involved DIY attempts on units over 10 years old with degraded insulation or corroded connections.
"If the fan makes a high-pitched screech during startup, it’s almost always bearing failure—not dust or imbalance. Don’t delay replacement; seized bearings can overheat the stator windings." — Jim R., Master Electrician, NECA Certified, 2023
Prevention Tips
Maintain your fan year-round to avoid repeat failures:
- Clean blades and housing every 3 months—dust adds weight and throws off balance
- Tighten blade screws and mounting hardware twice yearly (seasonal temperature shifts loosen them)
- Run fan weekly—even in winter—to keep bearings conditioned and prevent capacitor moisture buildup
- Replace capacitors proactively every 6 years, especially in humid climates like Florida or the Gulf Coast
Why does my ceiling fan make a clicking noise only on high speed?
This usually points to a failing capacitor struggling to deliver full voltage to the motor windings. High speed demands peak capacitance—so weak units click as they attempt to engage. Test the capacitor first; if it reads 10% below rated µF, replace it immediately.
Can I replace the capacitor myself safely?
Yes—if you confirm power is off at the breaker and discharge the capacitor with an insulated tool before handling. Never touch terminals bare-handed: stored charge can deliver a painful jolt. Use a multimeter set to capacitance mode and compare reading to label specs. For help identifying capacitor types, see our capacitor identification guide.
What’s the difference between a grinding noise and a buzzing noise?
Grinding suggests mechanical failure—worn bearings, bent blade iron, or debris caught in motor housing. Buzzing almost always indicates electrical issues: loose wire nut, failing capacitor, or arcing in the pull-chain switch. If buzzing coincides with flickering lights on the same circuit, suspect shared neutral problems.
Is it safe to oil a modern ceiling fan motor?
No—nearly all fans made after 2010 use sealed, permanently lubricated bearings. Adding oil can wash out factory grease, attract dust, and cause overheating. If your fan is under warranty, oiling voids coverage. Only oil older models (pre-2005) with visible oil ports and manufacturer instructions permitting it.
How do I know if the problem is the wall switch or the fan itself?
Bypass the wall switch: turn off power, disconnect wires from the switch, and twist the hot and load wires together with a wire nut. Restore power briefly. If fan works, the switch is faulty. If not, the issue is in the fan or ceiling box. Always double-check with a voltage tester before touching wires.
Will a loose light kit cause rattling noises?
Absolutely—especially if the glass shades or bulb sockets aren’t fully seated. The vibration from the motor amplifies any loose component. Remove bulbs and shades, tighten all socket screws and mounting brackets, then reassemble. A cracked diffuser or warped plastic housing also vibrates audibly at mid-speeds.
A noisy, unresponsive ceiling fan isn’t just inconvenient—it’s often the first symptom of deeper mechanical or electrical strain. Addressing it early preserves motor life, prevents ceiling damage from excessive vibration, and keeps your home’s airflow reliable year after year. Most fixes take under 45 minutes and cost less than $30 in parts—if you have the right tools and confidence to start with the basics.