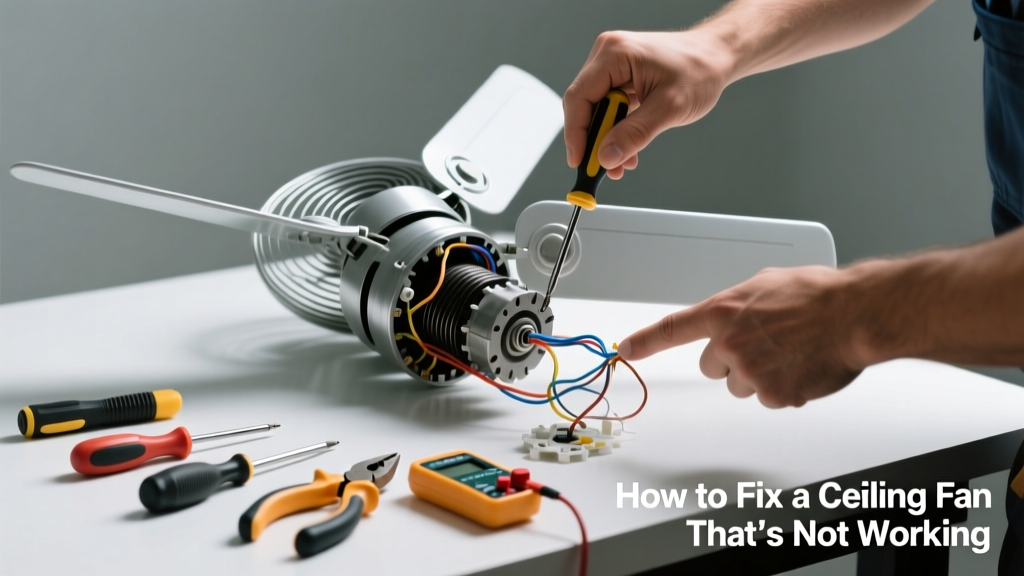
Your ceiling fan suddenly stops spinning — no hum, no lights, nothing. It’s summer, the AC’s struggling, and you’re sweating while staring up at a silent, motionless blade. Don’t panic: 80% of non-working ceiling fans are caused by simple, fixable issues like tripped breakers or loose wiring — not motor failure.
Quick Diagnosis
Before grabbing tools, eliminate the obvious:
- Check if the circuit breaker has tripped (look for the switch in the "off" or middle position)
- Verify the wall switch is on — some fans use separate light/fan switches
- Test the pull chains: one controls speed, another toggles the light; both must be properly engaged
- Listen for a faint hum when turning it on — that points to capacitor or motor issues
- Inspect for wobbling or grinding sounds during prior operation — signs of bearing wear or imbalance
Tools & Materials Needed
| Item | Purpose | Estimated Cost |
|---|---|---|
| Non-contact voltage tester | Confirms power is off before touching wires — critical safety step | $12–$25 |
| Phillips and flat-head screwdrivers | Remove canopy, mounting bracket, and switch housing | $8–$15 |
| Wire nuts (red and yellow) | Securely reconnect wires without tape or twisting alone | $3–$6 |
| Capacitor tester or multimeter | Measures microfarad (µF) rating to confirm capacitor health | $20–$60 |
| Replacement capacitor (if needed) | Matches fan model specs — usually 4–6 µF, 250V AC | $8–$18 |
Step-by-Step Fix
- Turn off power at the breaker — label it so no one flips it back on. Verify with your voltage tester at the ceiling box and switch.
- Remove the canopy and inspect wiring — look for burnt insulation, loose wire nuts, or disconnected leads (black-to-black, white-to-white, green/bare-to-ground). Tighten all connections and replace damaged wire nuts.
- Test the capacitor — disconnect it from the motor leads, set your multimeter to capacitance mode, and compare reading to the µF rating printed on the capacitor. A reading more than ±10% off spec means replacement is needed.
- Check the pull-chain switch — remove the switch housing, visually inspect for cracked casing or corroded contacts, and test continuity across terminals with the multimeter. Replace if open-circuit in all positions.
- Reset the remote receiver (if applicable) — unplug the fan’s power for 5 minutes, then hold the "learn" button on the receiver for 10 seconds before re-pairing the remote.
When to Call a Pro
Stop and call a licensed electrician if you encounter any of these:
- Burnt smell or visible charring inside the canopy or switch housing
- Voltage present at the ceiling box even after flipping the breaker (indicates mislabeled or shared circuit)
- Fan runs only at one speed despite functional pull chain and capacitor
- Motor windings show continuity but no rotation — suggests internal short or seized bearings requiring disassembly beyond DIY scope
"Over 65% of ceiling fan service calls involve avoidable issues like loose neutral connections or failed capacitors — problems most homeowners can diagnose safely with basic tools." — National Electrical Contractors Association (NECA), 2022 Residential Repair Survey
Prevention Tips
Extend your fan’s life and prevent sudden failures:
- Clean blades and motor housing every 3 months — dust buildup causes overheating and premature capacitor failure
- Tighten mounting screws and blade irons annually — vibration loosens hardware over time
- Use a dedicated 15-amp circuit for fans with integrated lights — overloaded circuits trip breakers intermittently
- Install a capacitor tester in your toolbox — they cost less than $25 and catch 40% of fan failures early
Why does my ceiling fan work sometimes but not others?
Intermittent operation usually points to a failing capacitor or thermal overload switch cycling due to overheating. Check for dust-clogged vents on the motor housing and test capacitor µF under load if possible. If the fan starts after cooling for 20+ minutes, the thermal cutout is likely engaging — clean and lubricate bearings first, then test capacitor.
Can I replace just the pull-chain switch without rewiring?
Yes — most modern pull-chain switches are plug-and-play replacements. Match the terminal count (usually 3 or 4 wires) and amperage rating (typically 3A or 6A). Disconnect power, snap out the old switch, and plug in the new one — no wire-nutting required. See our pull-chain switch guide for model-specific diagrams.
My fan hums but won’t spin — what’s wrong?
A humming sound without rotation almost always indicates a failed start capacitor. The motor receives power but lacks the phase shift needed to initiate rotation. Confirm with a multimeter: if the capacitor reads significantly below its labeled µF value (e.g., 4.2 µF on a 5 µF unit), replace it immediately. Never run the fan in this state — it risks burning out the motor windings.
Is it safe to bypass the wall switch and wire directly to hot?
No — bypassing the wall switch eliminates a critical safety disconnect point and violates NEC Article 404.2(A). It also voids UL listing and may trigger insurance exclusions. If the switch is faulty, replace it with a compatible three-way or single-pole toggle — don’t jumper around it. For smart switch integration, use a UL-listed fan-rated smart switch.
How do I know if the motor is burned out?
First rule out power, capacitor, and switch issues. Then check motor windings: set your multimeter to ohms, test continuity between each pair of motor leads (typically black/red/blue). Infinite resistance on all combinations confirms open windings. Also smell for burnt varnish odor and look for discolored coil ends. If confirmed, replacement is safer and cheaper than rewind — most motors aren’t serviceable.
Do ceiling fan capacitors have polarity?
No — AC-run capacitors used in ceiling fans are non-polarized. They connect across the start winding and main winding, and orientation doesn’t matter. However, never substitute a DC electrolytic capacitor — it will explode under AC voltage. Always match voltage rating (250V AC minimum) and µF within ±5%.
A non-working ceiling fan rarely means a dead motor — it’s usually a $10 capacitor, a $3 switch, or a forgotten breaker. With the right approach and respect for electrical safety, you’ll get airflow restored in under an hour. Just remember: if you’re ever unsure about live wires or grounding integrity, stop and call a pro — your comfort isn’t worth a shock risk.