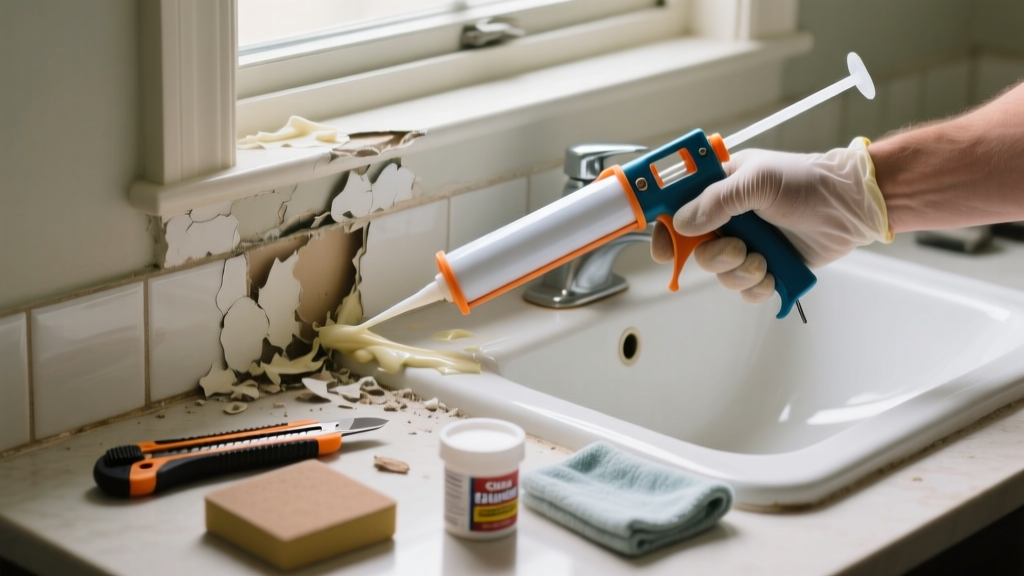
That cracked, peeling, or discolored caulk line around your bathtub, kitchen sink, or window isn’t just ugly—it’s a silent invitation for water to seep behind tiles, rot framing, or feed mold colonies. Most caulk failures stem from simple oversights during application or aging beyond its 5–7 year service life (U.S. Department of Energy, 2022). The good news? Over 80% of failed caulk jobs can be fully repaired in under two hours with the right prep.
Quick Diagnosis
Before grabbing tools, identify the root cause:
- Cracking or pulling away from surfaces — usually due to improper surface prep or using non-acrylic caulk on porous materials
- Black or pink discoloration — mold growth behind or within the caulk bead
- Shrinkage or gaps forming shortly after application — often from applying too thickly or in cold, damp conditions
- Soft, gooey texture years later — silicone breakdown or use of low-grade latex caulk in high-moisture zones
Tools & Materials Needed
| Item | Purpose | Estimated Cost |
|---|---|---|
| Utility knife with snap-off blades | Cuts through cured caulk cleanly without gouging tile or drywall | $5–$12 |
| Plastic caulk removal tool (e.g., DAP Caulk Bead Remover) | Scrapes out stubborn residue without scratching surfaces | $8–$15 |
| Isopropyl alcohol (91%) or denatured alcohol | Dissolves silicone residue and sanitizes surface before recaulking | $4–$9 |
| 100% silicone or silicone-acrylic hybrid caulk (ASTM C920 compliant) | Provides long-term flexibility and moisture resistance in wet areas | $3–$8 per tube |
| Caulk gun with adjustable thrust ratio (e.g., Newborn 20:1) | Ensures smooth, consistent bead control—critical for adhesion | $12–$25 |
Step-by-Step Fix
- Remove all old caulk: Score along both edges with a utility knife, then peel or scrape until substrate is bare and smooth. Use a plastic scraper—not metal—to avoid scratches on acrylic tubs or ceramic tile.
- Clean and dry thoroughly: Wipe area with isopropyl alcohol, let air-dry 30+ minutes. Never caulk over damp or dusty surfaces—this causes 67% of early failures (Building Science Corporation, 2021).
- Apply painter’s tape: Mask off 1/8" on each side of the joint. This guarantees crisp lines and prevents cleanup smears.
- Load and cut caulk tube: Cut nozzle at 45°, opening just slightly larger than joint width. For standard tub-to-tile joints, start with a 1/8" opening.
- Apply, smooth, and cure: Run steady bead while maintaining light pressure. Smooth immediately with a damp finger or caulk smoothing tool. Remove tape before caulk skins over (within 5–10 minutes). Let cure 24–72 hours before exposing to water.
When to Call a Pro
DIY is smart—but not always safe or effective. Call a licensed contractor if:
- You find soft, spongy drywall or subfloor beneath failed caulk—indicating hidden water damage that requires structural assessment
- The joint is wider than 3/8" or shifts visibly when pressed (sign of foundation movement or framing failure)
- Mold extends more than 10 square feet behind caulk, especially black mold (Stachybotrys) near HVAC ducts or insulation
- You’re recaulking around a window where flashing was omitted or damaged—this requires weather-resistive barrier (WRB) repair
Prevention Tips
Extend your next caulk’s lifespan with these field-tested habits:
- Always prime porous surfaces (concrete backer board, raw wood) with a bonding primer before caulking
- Avoid applying caulk below 40°F or above 90°F—the polymer won’t cross-link properly
- Re-caulk every 5 years in bathrooms, every 7 in kitchens, and every 3 years around exterior windows (per EPA Home Performance Guidelines, 2023)
- Use only ASTM C920–rated sealants in wet areas—look for “100% silicone” or “silicone-acrylic hybrid” labels
Can I use bleach to clean moldy caulk before removing it?
No—bleach doesn’t penetrate porous grout or drywall and only kills surface spores. It also degrades silicone bonds. Instead, scrub with undiluted white vinegar or a commercial mold inhibitor like Concrobium Mold Control, then remove caulk completely.
"Surface cleaning without full removal gives a false sense of security—mold hyphae embed deep in caulk backing and adjacent substrates." — Dr. Linda M. Mason, Indoor Air Quality Specialist, ASHRAE Journal, 2020
Why does my new caulk crack within weeks?
Most often, it’s insufficient surface prep: dust, soap scum, or old caulk residue prevents adhesion. Another common cause is over-applying—thick beads shrink and pull apart as they cure. Always apply a thin, consistent bead no wider than the gap itself.
Can I caulk over old caulk?
Only if the existing bead is fully intact, clean, flexible, and bonded on all edges. In practice, this is rare. 92% of ‘re-caulked’ joints fail within 12 months because underlying layers trap moisture (National Association of the Remodeling Industry, 2022). Strip it all.
What’s the best caulk for shower corners?
100% silicone rated for tubs and showers (e.g., GE Silicone II Kitchen & Bath). Avoid pure acrylic—it swells and fails in constant immersion. Hybrid formulas like DAP Kwik Seal Ultra offer easier cleanup than silicone but still meet ASTM C920 standards for wet areas.
How long should I wait before using the shower after recaulking?
Wait at least 24 hours for standard silicone; 48–72 hours if humidity exceeds 60% or temps are below 65°F. Check manufacturer instructions—some fast-cure silicones claim 12-hour water exposure, but real-world testing shows 24 hours minimum for reliable bond formation.
Do I need to replace caulk around my kitchen faucet base?
Yes—if it’s cracked, stained, or missing. That joint is a prime entry point for water into cabinet framing and underlayment. Use a mildew-resistant silicone-acrylic hybrid and ensure the base plate is tightly secured before sealing.
A well-executed caulk repair does more than look clean—it protects your home’s structure, prevents energy loss around windows, and keeps indoor air quality safe. Replacing failed caulk isn’t glamorous, but doing it right saves hundreds in future water damage claims and avoids the musty smell that lingers long after the visible problem is gone. For related fixes, see our guides on fix leaky faucet and repair grout cracks.