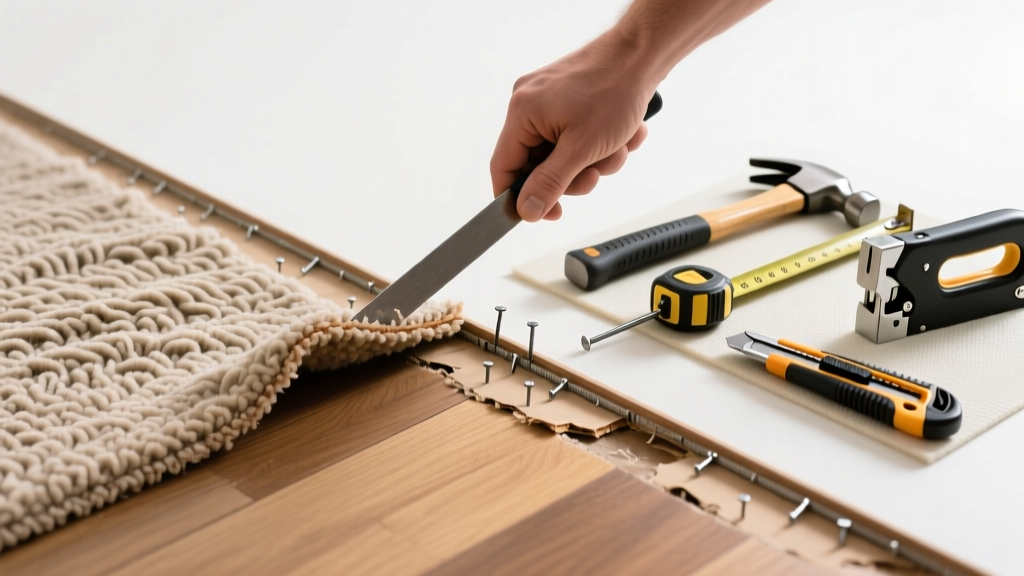
Carpet wrinkles that won’t flatten—even after stretching—often point to a hidden culprit: a broken, bent, or missing tack strip along the perimeter. Unlike loose padding or humidity-related bunching, this issue requires replacing the anchoring hardware itself, not just re-stretching.
Quick Diagnosis
Before grabbing tools, rule out other causes. Persistent wrinkles near walls—especially in high-traffic zones or rooms with recent humidity swings—usually trace back to these four issues:
- Bent or corroded carpet tack strips (most common)
- Gaps between tack strip and subfloor due to warped baseboards or uneven flooring
- Nails pulled through plywood subfloor (common in homes built before 2000)
- Missing tack strip sections where carpet was cut or patched
Tools & Materials Needed
| Item | Purpose | Estimated Cost |
|---|---|---|
| Heavy-duty utility knife | Cuts carpet cleanly away from damaged tack strip without fraying edges | $8–$15 |
| Carpet tack strip (3/4" x 1/2", hardwood or composite) | Replaces failed anchoring system; must match existing nail spacing (typically 1" apart) | $1.25–$2.50/ft |
| 16d galvanized finish nails | Secures tack strip to subfloor without rusting or splitting wood | $6–$9/box |
| Carpet stretcher (knee kicker or power stretcher) | Re-tensions carpet over new tack strip—essential for eliminating ripples | $45–$180 (rental available) |
| Hammer or nail set | Drives nails flush and prevents carpet snagging on protruding heads | $12–$22 |
Step-by-Step Fix
Replacing a faulty tack strip is precise but manageable in under two hours for a 12-foot wall section. Follow these steps in order:
- Lift and secure carpet edge: Use pliers to gently pull carpet away from baseboard, then pin it temporarily with carpet tacks or masking tape to prevent shifting.
- Remove old tack strip: Pry up damaged sections with a flat bar; inspect subfloor for rot or gaps—fill minor voids with construction adhesive and plywood shims if needed.
- Install new tack strip: Align teeth facing toward the room center; nail every 4–6 inches using 16d galvanized nails angled slightly into the subfloor (not straight down).
- Stretch and re-secure: Use a knee kicker starting at one corner, working toward the opposite end while keeping tension even. Trim excess carpet with utility knife if needed.
When to Call a Pro
DIY replacement fails—and can worsen damage—if you encounter any of these red flags:
- Subfloor is soft, spongy, or moldy beneath the tack strip (indicates water damage requiring structural repair)
- Carpet has been stretched multiple times and shows visible fiber fatigue or seam separation
- You’re installing over concrete with no moisture barrier—tack strips require specialized fasteners and vapor testing
- The wrinkled area spans more than three walls or includes stairs (requires power stretcher + experience)
According to the Carpet and Rug Institute’s 2022 Installation Standards Manual, improper tack strip installation accounts for 68% of post-installation carpet failures reported by certified contractors.
Prevention Tips
Extend the life of your new tack strip and avoid repeat wrinkles with these field-tested habits:
- Vacuum baseboard edges monthly to prevent dust buildup that hides early tack strip corrosion
- Use dehumidifiers in basements and crawlspaces—relative humidity above 60% accelerates wood tack strip warping
- Replace tack strips every 15 years, even if they appear intact; aging wood loses tensile strength
- Avoid dragging heavy furniture across perimeter zones—use felt pads and lift instead of slide
Can I reuse the old carpet after tack strip replacement?
Yes—if the carpet hasn’t been stretched beyond its elastic limit. Check for permanent creases or frayed backing near seams. If fibers spring back when pinched, it’s safe to re-stretch. For guidance on assessing carpet elasticity, see our carpet stretching guide.
Do I need to replace padding too?
Only if it’s compressed, torn, or saturated. Padding older than 10 years should be replaced regardless—it loses rebound capacity and contributes to wrinkles. Learn more in our carpet padding replacement article.
What if my subfloor is concrete?
Standard wood tack strips won’t hold. You’ll need concrete-specific tack strips with epoxy anchors or powder-actuated fasteners. Never use regular nails—they’ll loosen within months. See our concrete subfloor carpet installation guide for approved methods.
How deep should tack strip nails go into the subfloor?
Nails must penetrate at least 3/4 inch into solid plywood or OSB. On 3/4-inch subfloor, use 16d (3.5") nails driven at a 45° angle. Shallow nailing causes ‘pop-up’ wrinkles as carpet pulls away during foot traffic.
Can I install tack strips myself without prior experience?
You can—but only if you own or rent a proper knee kicker and practice on a scrap piece first. Misaligned tension leads to buckling within days. Watch our carpet stretcher tutorial before attempting.
Is there a temporary fix while I wait for parts?
No safe temporary fix exists. Tape, staples, or double-sided carpet glue will damage backing and void warranties. Cover the area with a rug until replacement is complete.
Replacing a faulty tack strip isn’t glamorous, but it’s one of the highest-impact, lowest-cost repairs you can do for long-term carpet performance. Get it right once, and you’ll avoid repeated stretching calls, seam splits, and tripping hazards for years. And remember: if the carpet backing feels brittle or crumbles when lifted, it’s time to consider full replacement—not just hardware fixes.