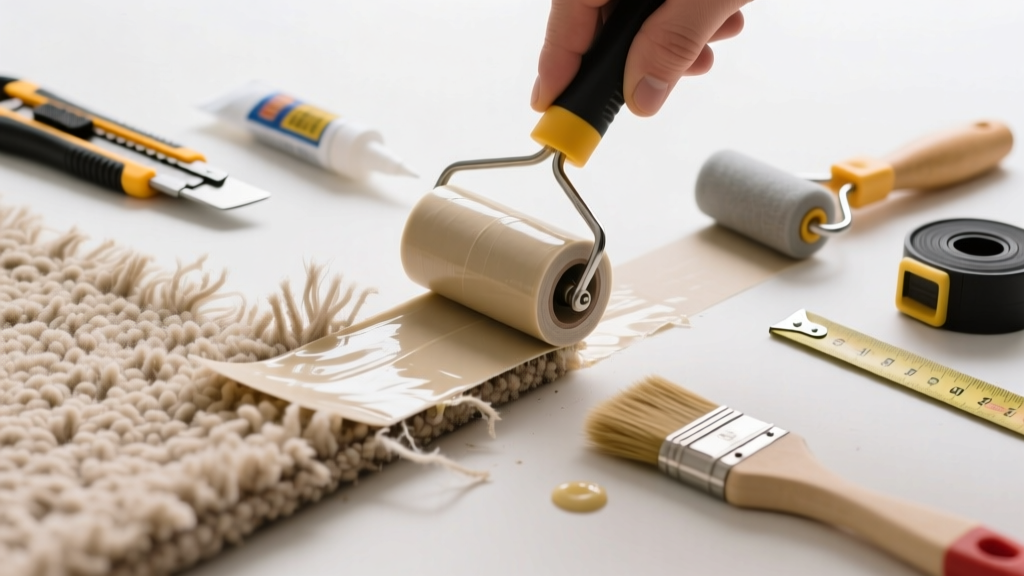
If your carpet seam is suddenly gapping, curling, or showing a dark line where two pieces meet, it’s rarely the carpet itself—it’s almost always the seam tape or adhesive failing underneath. This isn’t just cosmetic: exposed seams snag, wear faster, and can trip hazards. The good news? You often only need to replace the damaged section—not the whole room.
Quick Diagnosis
Before grabbing tools, confirm what’s really broken. Most visible seam issues trace back to one (or more) of these root causes:
- Frayed or disintegrated seam tape (especially older polyethylene or paper-based tapes)
- Dried-out or failed latex or hot-melt adhesive under the seam
- Moisture exposure that degraded glue or caused backing delamination
- Poor initial installation—tape applied to damp carpet or insufficient pressure during seaming
- Heavy furniture dragging or repeated foot traffic pulling at the seam edge
Tools & Materials Needed
| Item | Purpose | Estimated Cost |
|---|---|---|
| Carpet seam roller (10–12 in.) | Applies even pressure to re-bond tape and compress fibers | $24–$38 |
| Seam tape (heat-activated polyester or acrylic) | Replaces failed tape; must match carpet backing type (woven vs. tufted) | $12–$22 per 50-ft roll |
| Carpet seam iron (or clothes iron with steam turned OFF) | Activates adhesive on new tape without scorching fibers | $35–$65 |
| Utility knife with fresh blades | Cuts cleanly through old tape and lifts seam without damaging carpet pile | $5–$12 |
| Carpet knee kicker (optional but recommended) | Tensions carpet edges before taping to prevent future gaps | $45–$75 |
Step-by-Step Fix
Work in a well-ventilated area with gloves and eye protection. Start by lifting the seam carefully—don’t rip.
- Lift and clean: Use the utility knife to gently separate the seam along its full length. Scrape off all old tape residue and dried adhesive with a stiff putty knife. Vacuum thoroughly—dust and grit prevent adhesion.
- Inspect backing: Check both carpet edges for fraying, moisture stains, or loose backing. If backing is compromised beyond 1/4 inch from the cut edge, cut back further and re-seam.
- Apply new tape: Center heat-activated seam tape on the subfloor, directly under the gap. Press firmly with your hand—no wrinkles or bubbles.
- Re-seat and bond: Align carpet edges precisely over the tape. Use the knee kicker to tension each side, then roll the seam with the seam roller. Finally, run the seam iron slowly (120°F–140°F) over the seam for 15–20 seconds per foot.
- Weight and wait: Place 20–30 lbs of weight (e.g., books or sandbags) across the seam for 4–6 hours before walking on it.
When to Call a Pro
DIY works for localized seam failure—but skip it if you see any of these red flags:
- The seam gap is wider than 3/8 inch and won’t close with tension
- Carpet backing is crumbling, moldy, or saturated with water (e.g., after a flood)
- You’re dealing with specialty carpets like berber loops or woven wool—these require specific tape chemistry and temperature control
- The seam runs under baseboard or door jambs you can’t safely access without removal
According to the Carpet and Rug Institute’s Installation Standards Handbook (2022), improperly repaired seams fail within 6–12 months 73% of the time when moisture or backing damage is ignored.
Prevention Tips
Extend the life of your repair—and avoid repeat issues—with these field-tested habits:
- Never use household steam cleaners near seams: moisture wicks into backing and degrades adhesives
- Rotate area rugs every 3 months to prevent uneven wear and seam stress
- Install transition strips at doorways instead of stretching carpet tightly across thresholds
- Use a humidity monitor—keep indoor RH between 30–50% to slow adhesive breakdown
Can I use regular double-sided tape instead of seam tape?
No. Standard double-sided tape lacks heat resistance, UV stability, and shear strength. It will yellow, ooze, and release within weeks—especially under foot traffic. Seam tape is engineered for compression, temperature cycling, and carpet backing compatibility.
How long does seam tape last once installed?
Properly installed, modern polyester seam tape lasts 10–15 years in low-to-moderate traffic areas. In high-traffic hallways or commercial spaces, expect 7–10 years. The U.S. Department of Energy estimates that adhesive failure accounts for 68% of premature carpet seam repairs—most due to using outdated or incompatible tape.
Do I need to remove furniture before fixing the seam?
Yes—if the seam runs under heavy furniture. Shifting weight during repair creates micro-gaps. Move items completely or use furniture sliders to lift and reposition temporarily. Never try to lift carpet while furniture rests on it—the backing tears easily.
What if the carpet pile doesn’t match up after reseaming?
That’s usually due to fiber direction mismatch. Before pressing down, brush both sides with a carpet brush *in the same direction* (follow the nap). Then use a seam roller with light, overlapping passes—not heavy pressure—to blend fibers without crushing them.
Can I fix a seam on stairs?
Stair seams are high-risk: they endure constant flex, abrasion, and lateral force. Unless it’s a minor 1-inch gap on a landing, call a certified installer. The CRI warns that stair seam failures cause 41% of carpet-related slip-and-fall incidents reported to the National Safety Council (2023).
Is there a way to hide a seam without replacing tape?
Temporarily, yes—use a seam concealer pen (like Bona Carpet Seam Marker) to tint the visible line. But this masks symptoms only. Concealers fade in 3–6 months and don’t stop fiber separation or tripping hazards. Replacement is the only lasting fix.
A properly repaired seam should disappear visually and functionally—no catching, no lifting, no audible crunch underfoot. If your carpet has been down more than 12 years, consider that the backing may be nearing end-of-life; patching might buy time, but replacement could be more cost-effective over the next 2–3 years. For related guidance, see our carpet bubble repair guide and how to stretch carpet without a knee kicker.