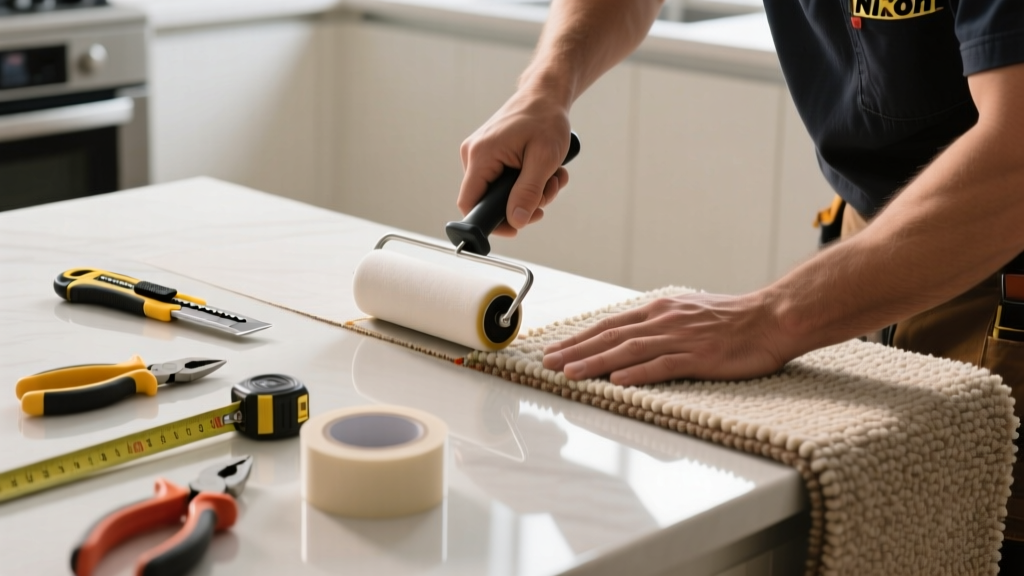
That jagged line running across your kitchen carpet isn’t just an eyesore—it’s a sign of shifting, wear, or poor installation. Kitchens see heavy foot traffic, moisture fluctuations, and frequent furniture movement, all of which stress carpet seams more than any other room. Ignoring it invites fraying, tripping hazards, and accelerated wear.
Quick Diagnosis
Before grabbing tools, identify what’s really happening beneath that seam:
- Carpet backing has separated from the seam tape due to moisture exposure (common near dishwashers or sinks)
- Furniture legs or rolling chairs have worn down the seam edge over time
- Subfloor expansion/contraction caused the carpet to pull apart (especially in homes with concrete slabs and no vapor barrier)
- Original seam was stitched or glued poorly—no double-stitch or heat-activated tape used
- Carpet pile direction changed slightly across the seam, creating a visible shadow effect under kitchen lighting
Tools & Materials Needed
| Item | Purpose | Estimated Cost |
|---|---|---|
| Seam iron (low-temp) | Reactivates adhesive on seam tape without scorching nylon or polyester fibers | $45–$75 |
| Carpet seam roller (10-lb) | Presses seam firmly into tape after heating; prevents bubbling and lifting | $22–$38 |
| Heat-activated seam tape (polyurethane-based) | Stronger adhesion than standard tape; resists kitchen humidity better | $12–$20 per 30-ft roll |
| Carpet knife with snap-off blades | Clean trimming of frayed edges without pulling threads | $8–$15 |
| Heavy-duty knee kicker | Re-tensions carpet toward walls if seam gapping is caused by slack | $35–$60 |
Step-by-Step Fix
Choose the method based on severity and cause:
- For minor lifting (less than 1/8" gap): Clean seam edges with isopropyl alcohol, apply heat with seam iron at 220°F for 8–10 seconds, then roll firmly with seam roller. Let cool 15 minutes before walking.
- For frayed or worn edges: Trim loose fibers with carpet knife, lift both sides ~2", replace old tape with new heat-activated tape, reposition, heat, and roll.
- For gapping due to tension loss: Use knee kicker along adjacent wall to re-stretch carpet toward seam, then re-seam using fresh tape and iron. Check subfloor for dips—if present, fill with leveling compound first.
- For moisture-damaged backing: Cut out compromised 2" strip centered on seam, install bridging strip of 1/4" plywood underlayment, re-seam with marine-grade tape. Read more about moisture-resistant underlayment options.
When to Call a Pro
Don’t risk further damage—or voiding your carpet warranty—when you see any of these:
- Seam separation exceeds 3/8" and won’t close even after stretching
- Mold or musty odor underneath the carpet near the seam (indicates chronic water intrusion)
- Subfloor is cracked, uneven, or shows efflorescence (white chalky residue)—signs of structural moisture issues
- Your carpet is a specialty weave (e.g., woven Wilton or hand-tufted) requiring custom seaming equipment
"Over 62% of premature carpet seam failures in kitchens stem from improper moisture management—not poor installation," states the Carpet and Rug Institute’s 2022 Residential Installation Guidelines.
Prevention Tips
Kitchen carpets face unique challenges—here’s how to extend seam life:
- Install a moisture barrier underpad (e.g., rubber-latex blend) rated for high-humidity zones
- Place washable rugs with non-slip backings over high-traffic seam areas—not directly on top, but overlapping 4" on each side
- Wipe up spills within 90 seconds; use a dry microfiber cloth first, then a damp (not wet) one
- Rotate furniture position every 3 months to avoid repeated pressure on the same seam segment
- Have seams inspected during annual HVAC duct cleaning—temperature swings accelerate adhesive fatigue
Can I use super glue to fix the seam?
No. Cyanoacrylate adhesives become brittle and yellow under heat and foot traffic. They also prevent future professional reseaming. Stick to carpet-specific heat-activated tapes—they’re engineered for elasticity and UV resistance.
Will steam cleaning make the seam worse?
Yes—if done too frequently or with excessive dwell time. The U.S. EPA estimates that over 30% of carpet seam failures in kitchens follow aggressive steam cleaning within 6 months. Always use low-moisture extraction and allow full 24-hour dry time before replacing furniture.
Is this covered by my carpet warranty?
Rarely. Most warranties (e.g., Mohawk’s 10-year residential) exclude seam separation caused by environmental factors like humidity, temperature swings, or improper cleaning. Review your specific warranty’s “Exclusions” section—see our warranty clause decoder.
Can I paint over the seam to hide it?
Absolutely not. Paint clogs carpet fibers, creates slip hazards, and violates fire codes in many jurisdictions. It also traps moisture, accelerating backing rot. Instead, try a color-matched seam concealer pen—tested on nylon and solution-dyed polyester.
How long should a properly repaired kitchen seam last?
With proper materials and technique, 5–7 years in a typical home. In high-use kitchens (e.g., multi-person households with pets), expect 3–4 years before minor touch-ups are needed. That’s why pros recommend installing seamless broadloom or luxury vinyl plank instead for long-term kitchen flooring.
Do I need to remove baseboards to fix this?
Not usually—but if the seam is within 2" of the wall and gaps persist after stretching, yes. Removing baseboard gives access to tack strips and lets you re-nail the carpet edge securely. Use a stiff putty knife and gentle prying—most modern baseboards pop off without damage.
A visible seam in your kitchen isn’t just cosmetic—it’s your carpet telling you something’s off with tension, moisture, or material compatibility. Address it early with the right tools and timing, and you’ll avoid costly replacements down the line. If you’ve tried two methods and the seam still lifts, pause and assess subfloor conditions before moving forward—run a simple moisture test first.