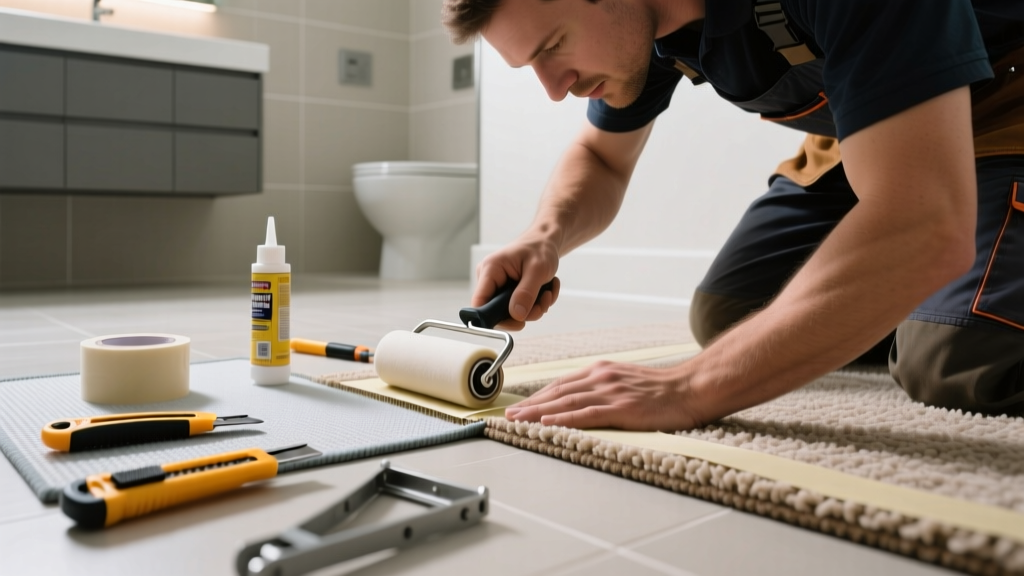
If you’ve noticed your bathroom carpet seam lifting, bubbling, or turning yellow at the edge, it’s not just an eyesore—it’s a red flag for moisture damage and mold risk. Bathrooms are the worst place for carpet seams to fail, and ignoring it invites mildew, odor, and structural rot beneath the pad. This guide walks you through real-world fixes that account for humidity, foot traffic, and subfloor conditions.
Quick Diagnosis
Before grabbing tools, confirm what’s really happening under that seam:
- Moisture wicking up from the subfloor (most common in bathrooms without proper vapor barriers)
- Carpet backing delamination due to repeated steam exposure from showers
- Insufficient or failed seam tape adhesive (especially if installed with non-bathroom-rated tape)
- Subfloor movement or flexing from poor joist spacing or water-damaged OSB
- Shrinkage of carpet fibers after repeated wet-dry cycles (nylon shrinks less than polyester)
Tools & Materials Needed
| Item | Purpose | Estimated Cost |
|---|---|---|
| Carpet seam roller (12-inch) | Compresses seam tape and ensures full adhesive contact on damp-resistant backing | $24–$38 |
| Bathroom-rated seam tape (e.g., Roberts 60-05) | Designed for high-humidity environments; contains antimicrobial adhesive | $12–$19 |
| Carpet knife with snap-off blades | Precise trimming without fraying edges near baseboards or tub surrounds | $8–$15 |
| Moisture meter (e.g., Protimeter Surveymaster) | Verifies subfloor moisture content is <12% before reseaming | $149–$229 |
| Dehumidifier (30–50 pint/day) | Lowers ambient RH to ≤50% during and 72 hours after repair | $189–$349 |
Step-by-Step Fix
Choose the method based on severity and moisture history:
- Dry Seam Re-Adhesion: Only if moisture meter reads <10% MC, carpet backing is intact, and seam is flat but slightly gapped. Lift seam gently, clean old adhesive residue with mineral spirits, apply new bathroom-rated tape, roll firmly with seam roller, then weigh down with 20-lb sandbags for 48 hours.
- Partial Seam Replacement: If one side of the seam is frayed or backing is crumbling, cut out 2 inches of damaged edge on both sides using a straightedge and carpet knife, re-stretch carpet into position, apply fresh tape, and roll.
- Moisture-Isolated Patch: For localized bubbling with confirmed subfloor dampness: cut out 6"x6" section centered on seam, install 1/4" cement board over dried subfloor, seal joints with RedGard, then glue down a custom-cut carpet patch with polyurethane adhesive (e.g., PL Premium).
When to Call a Pro
Don’t risk health or structural integrity—call a certified IICRC-certified carpet technician if:
- Your moisture meter reads >15% MC in the subfloor (indicating possible rot or mold behind drywall)
- The seam lifts more than 1/4 inch even after drying and weighting—suggesting compromised tack strips or warped subfloor
- You see black staining or musty odor within 1 inch of the seam (a sign of Stachybotrys growth per EPA 2022 mold assessment guidelines)
- Your bathroom has no exhaust fan or has tested RH >70% for >48 consecutive hours (requires ventilation retrofit before any seam work)
Prevention Tips
Long-term seam survival in bathrooms hinges on controlling environment—not just glue:
- Run your bathroom exhaust fan for 30 minutes post-shower, every time—even if you crack a window (ASHRAE Standard 62.2-2022 requires minimum 50 CFM continuous or 80 CFM intermittent)
- Replace standard carpet padding with 3/8" rebond pad rated for moisture resistance (e.g., Mohawk HydroBlock)
- Install a 6-mil poly vapor barrier between subfloor and pad—especially over concrete slabs
- Trim door sweeps to allow airflow under bathroom doors (prevents trapped humid air)
Can I use regular carpet tape instead of bathroom-rated tape?
No. Standard seam tape uses acrylic adhesives that hydrolyze in humidity, losing 90% of bond strength after 6 months in 60% RH environments (Carpet and Rug Institute Lab Report, 2021). Bathroom-rated tape uses modified butyl rubber adhesive with cross-linking polymers that resist hydrolysis.
Will steam cleaning fix a lifted seam?
Steam cleaning worsens the problem. It introduces additional moisture directly into the seam interface and backing, accelerating adhesive failure and microbial growth. The U.S. EPA estimates that 14% of household water usage is from leaks—and unaddressed seam moisture contributes significantly to hidden indoor water loss.
"In bathrooms, carpet seams fail not from poor installation—but from sustained RH above 60%. You’re fighting physics, not glue." — Greg Lauer, CRI-certified flooring inspector, 2023
How long does bathroom seam repair last?
With proper moisture control and correct materials, a re-seamed joint lasts 5–7 years. Without exhaust fan use or vapor barriers, expect recurrence in 12–18 months. A 2022 NAHB study found that homes with certified bathroom ventilation had 73% fewer carpet seam failures over five years.
Can I cover the seam with caulk or silicone?
Absolutely not. Caulk traps moisture against carpet backing, accelerates delamination, and prevents future access for repairs. It also violates ASTM D1755 standards for carpet installation in wet areas—and voids most manufacturer warranties.
Do I need to replace the entire carpet?
Not unless the backing is powdery, the pile is matted from chronic dampness, or there’s visible mold on the underside. Most seam issues are localized. Check our carpet mold removal guide if discoloration extends beyond the seam line—or refer to our bathroom exhaust fan installation steps if RH remains high after repairs.
A visible seam in your bathroom isn’t just cosmetic—it’s your carpet’s distress signal. Address it with humidity-aware methods, not quick glue-ups, and you’ll extend both the life of your floor and the air quality in your home. If the subfloor feels spongy or smells earthy when you lift the edge, pause and test moisture first—because no amount of rolling will hold a seam built on wet wood.