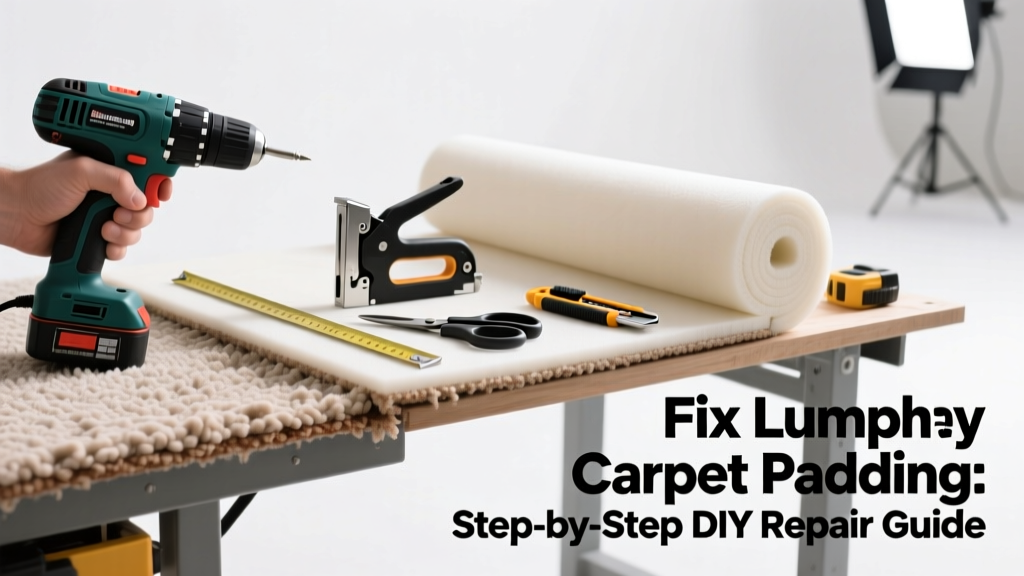
That subtle wobble underfoot—followed by a visible ridge near the baseboard—isn’t just annoying; it’s a sign your carpet padding has failed. Lumpy padding compromises comfort, accelerates carpet wear, and can even create trip hazards in high-traffic areas like hallways or stairs.
Quick Diagnosis
Before grabbing tools, identify what’s really going on beneath the surface. Most lumpy padding issues stem from one (or more) of these causes:
- Moisture damage causing foam compression or mold growth
- Padding seams shifting or buckling due to poor initial installation
- Over-compression from heavy furniture left in place for months
- Using the wrong padding type (e.g., 6-lb rebond under 80-oz commercial carpet)
- Subfloor irregularities—like humps, dips, or squeaky floorboards—transferring upward
Tools & Materials Needed
| Item | Purpose | Estimated Cost |
|---|---|---|
| Carpet knee kicker | Re-stretches carpet over flattened or repositioned padding | $45–$85 |
| Utility knife with fresh blades | Cuts away damaged padding without gouging subfloor | $8–$15 |
| 36-inch straightedge & chalk line | Verifies subfloor flatness and marks cut lines | $12–$22 |
| 1/4-inch rebond padding (6–8 lb density) | Industry-standard replacement for residential broadloom | $1.25–$2.40/sq ft |
| Carpet seam tape & seaming iron | Fuses padding seams to prevent future shifting | $28–$42 |
Step-by-Step Fix
Most lumpy padding can be corrected without full replacement—but only if the damage is localized and the subfloor is sound. Try these methods in order of least to most invasive:
- Reset & re-tension: Lift carpet at the lump using a pry bar or carpet knife, then use a knee kicker to stretch carpet taut over the existing padding. If the lump remains, padding is compromised.
- Trim and re-seam: Cut out the lumpy section (minimum 6" beyond visible distortion), square the edges, and butt new 6-lb rebond padding against the old. Seal seams with carpet seam tape and a seaming iron.
- Full pad replacement: Remove all padding in the affected room. Inspect subfloor for nails, staples, or debris. Replace with uniform-density padding—never mix densities or thicknesses.
- Subfloor correction (if needed): If a 6-ft level reveals >1/8" deviation, sand high spots or fill low spots with self-leveling compound before reinstalling padding.
When to Call a Pro
DIY isn’t safe or effective in these scenarios:
- Lumps appear alongside musty odors or dark staining—possible mold contamination requiring EPA-certified remediation
- The problem spans multiple rooms or occurs on concrete slabs with no vapor barrier (moisture testing required)
- You discover rot, termite damage, or structural movement in the subfloor during inspection
- Your home was built before 1980 and padding contains asbestos—do not disturb; hire an abatement specialist
According to the Carpet and Rug Institute’s 2022 Installation Standards Manual, improperly repaired padding accounts for nearly 68% of premature carpet replacement claims—and most were avoidable with certified installer intervention.
Prevention Tips
Extend padding life by pairing smart habits with proper specs:
- Rotate area rugs and furniture every 3–6 months to prevent localized compression
- Use felt pads under all furniture legs—even on carpet—to distribute weight
- Install padding with seams staggered and sealed—not overlapped or butted dry
- Choose minimum 7-lb density rebond for stairs and high-traffic zones (per CRI 105-2022)
- Run a dehumidifier in basements or slab-on-grade rooms where RH exceeds 55%
Can I reuse old carpet padding after lifting the carpet?
No—reusing compressed or creased padding defeats its purpose. Rebond foam loses up to 90% of its resiliency after one compression cycle, per tests conducted by the University of Massachusetts Lowell’s Textile Engineering Lab (2021). Even if it looks intact, it won’t rebound properly.
How thick should carpet padding be for residential use?
For most residential broadloom, 7/16" to 1/2" thick padding at 6–8 lb density delivers optimal support and noise reduction. Thicker isn’t better: padding over 1/2" increases trip risk and voids many carpet warranties, including Stainmaster’s warranty terms.
Why does my new carpet feel lumpy just weeks after installation?
Most often, it’s improper stretching—not padding failure. Installers who skip power stretching or fail to secure tackless strips within 1/2" of walls cause immediate edge buckling that mimics padding lumps. Check for loose edges first using a carpet tension test.
Can I glue down carpet padding to stop shifting?
Avoid liquid adhesives—they trap moisture and degrade foam. Instead, use manufacturer-approved carpet seam tape applied with a 250°F seaming iron. This creates a thermal bond without off-gassing or long-term adhesive breakdown.
Does pet urine ruin carpet padding?
Yes—urine saturates padding, breaking down urea crystals that recrystallize with heat and humidity. This causes permanent stiffness, odor recurrence, and microbial growth. The U.S. EPA estimates that 14% of household water usage is from leaks—including pet accidents—which accelerate padding deterioration when unaddressed within 24 hours.
Will steam cleaning fix lumpy padding?
No—steam adds moisture to already compromised padding, worsening compression and promoting mold. Steam cleaning is only appropriate for surface carpet fibers, never as a fix for underlying padding issues.
Lumpy padding isn’t just a cosmetic flaw—it’s a red flag that your floor system isn’t performing as designed. Address it early with the right materials and technique, and you’ll add years to your carpet’s lifespan while keeping your home safer and quieter. And if you’re tackling stairs or large open-concept spaces, consider reviewing our guide on common stair installation mistakes—many start with overlooked padding prep.