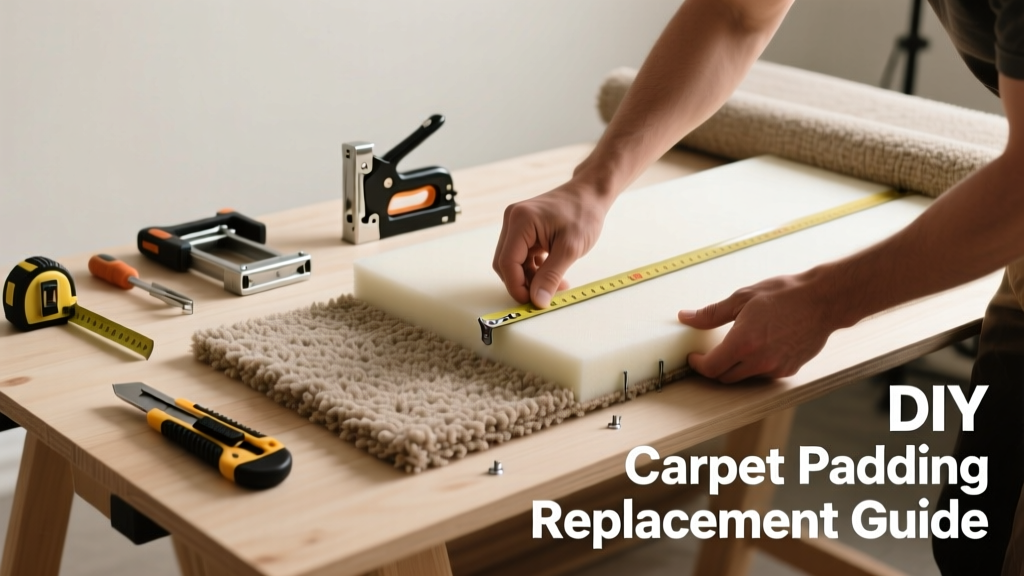
That soft 'thump-thump' underfoot isn’t charming—it’s your carpet padding failing. Lumps usually mean moisture damage, compression fatigue, or poor initial installation—and ignoring them accelerates carpet wear and creates tripping hazards. The good news? You rarely need to replace the entire pad—just the compromised section.
Quick Diagnosis
Lumps aren’t random—they point to specific failure modes. Check these common causes first:
- Water exposure (leaky AC drip pan, pet accidents, or flooding) causing pad delamination or mold growth beneath
- Heavy furniture left in one spot for >6 months compressing rebond foam beyond recovery
- Improper seam taping during original install—edges lifting and bunching over time
- Subfloor unevenness (e.g., a 1/8" dip near a doorway) telegraphing through thin padding
Tools & Materials Needed
| Item | Purpose | Estimated Cost |
|---|---|---|
| Carpet knife with snap-off blades | Cuts cleanly through padding without snagging carpet backing | $8–$15 |
| 36" straightedge ruler | Ensures square, precise cuts aligned with carpet seams | $12–$22 |
| Utility scissors | Trims irregular edges and fits around baseboard corners | $5–$10 |
| Rebond foam padding (1/4" or 3/8", same density as existing) | Matches compression resistance and prevents new lumps at seams | $18–$32 per 30 sq. ft. roll |
| Carpet seam tape & iron (or heat gun) | Fuses new pad edge to old pad without adhesive residue | $25–$45 |
Step-by-Step Fix
Work in sections no larger than 4' x 4'—larger areas risk misalignment and visible seams. Follow this sequence:
- Lift and secure carpet: Use a knee kicker or flat pry bar to gently lift carpet from tack strips along one wall. Roll it back just far enough to expose the lumpy area—don’t fully unroll unless necessary.
- Mark and cut: With the straightedge, outline a clean rectangle around the lump, extending 2" beyond visible distortion on all sides. Cut through padding only—avoid slicing carpet backing.
- Remove damaged pad: Peel out the cut section. Inspect subfloor: sand down any protruding staples or splinters; treat damp spots with mold inhibitor if moisture is present.
- Fit and fuse new pad: Cut replacement piece to match the void exactly. Press edges flush against remaining pad. Apply seam tape underneath and use a carpet iron at 275°F for 8 seconds per inch to bond.
- Reinstall carpet: Smooth carpet back into place, re-stretch with a knee kicker, and re-nail or re-tack along the wall. Verify no wrinkles remain by walking heel-to-toe across the repair.
When to Call a Pro
DIY works for isolated lumps under 2 sq. ft. But call a certified installer if you encounter:
- Moisture readings above 18% on a pinless moisture meter—indicates hidden subfloor rot or slab wicking
- Padding bonded directly to concrete (common in basements) requiring solvent-based removal
- Carpet older than 12 years with multiple lumps—underlying fiber fatigue may require full replacement
- Asbestos-containing padding (pre-1980 homes): testing and abatement must be handled by licensed professionals
Prevention Tips
Extend pad life with proactive habits:
- Rotate heavy furniture every 4 months—especially sofas and pianos—to prevent localized compression
- Install moisture barriers under basement carpet pads (e.g., 6-mil polyethylene sheeting)
- Use felt or rubber furniture pads—not plastic—to distribute weight evenly
- Vacuum high-traffic zones twice weekly with a suction-only setting (no beater bar) to avoid pad abrasion
"Over 63% of premature carpet failures traced to padding issues—not carpet wear itself," states the Carpet and Rug Institute's 2022 Field Performance Report.
Can I glue down the new padding instead of using seam tape?
No—adhesives like contact cement or construction glue create stiff, non-yielding seams that telegraph through carpet within 3–6 months. Seam tape fused with heat replicates factory bonding and allows natural expansion/contraction.
What thickness should replacement padding be?
Match the existing pad exactly. Most residential carpets use 1/4" (for berber or commercial-grade) or 3/8" (standard cut pile). Using thicker padding increases trip risk and voids manufacturer warranties—see our thickness guide.
Do I need to replace carpet tack strips too?
Only if they’re rusted, bent, or missing >20% of nails. Tap each strip with a hammer—if it moves or sounds hollow, replace it. Reuse intact strips after cleaning with a wire brush.
How long does the repair take?
A single 2' x 2' lump takes 45–75 minutes for an experienced DIYer. First-timers should budget 2–3 hours—including time to re-stretch carpet properly. Rushing the stretch causes new ripples.
Can I reuse the cut-out padding as a patch elsewhere?
No. Compressed or moisture-damaged padding has lost structural integrity—even if it looks intact. Its density won’t rebound, leading to immediate re-lumping.
Is there a temporary fix while I wait for materials?
Temporarily flatten the lump by placing a 25-lb weighted board (like a scrap 2x4) over it for 48 hours—but this only masks the issue. Padding compression is irreversible; delaying replacement risks carpet seam separation.
Replacing a small section of padding isn’t glamorous work—but it’s one of the highest-impact, lowest-cost repairs you can do for carpet longevity. Done right, the fix lasts 7–10 years and keeps your floor safe, quiet, and level. If you’ve tackled other flooring fixes like squeaky floorboards or loose tile grout, this process will feel familiar—just slower and more precise.