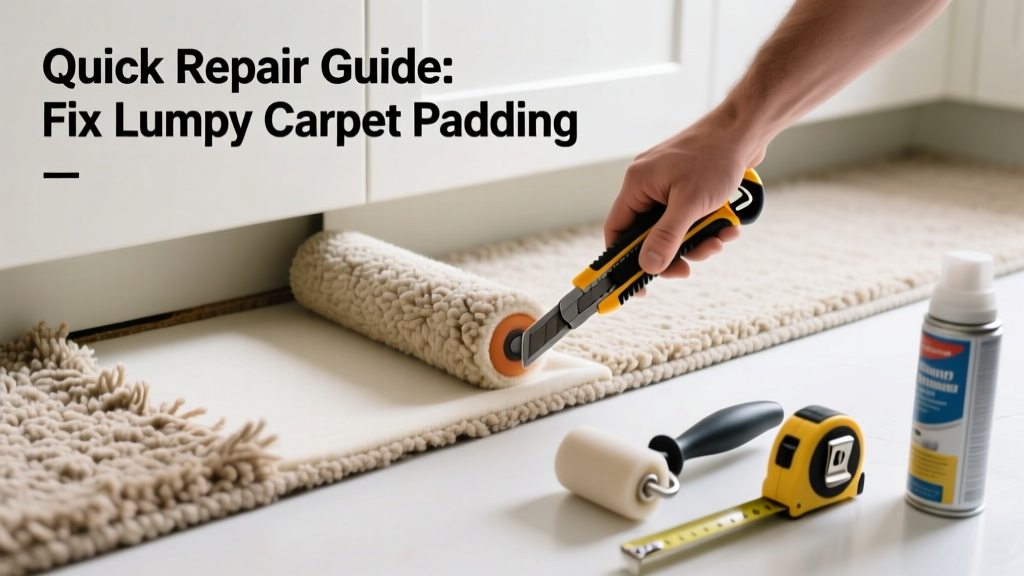
That uneven, bumpy feeling underfoot every time you walk across your kitchen carpet isn’t just annoying—it’s a sign the padding has shifted, compressed, or absorbed moisture. Kitchens are high-traffic, spill-prone zones where padding degrades faster than in bedrooms or living rooms. Ignoring it leads to accelerated carpet wear and tripping hazards.
Quick Diagnosis
Before grabbing tools, identify the root cause. Most lumps stem from one (or more) of these:
- Moisture intrusion from spills, leaks, or high humidity warping foam or rubber padding
- Heavy appliance movement (refrigerator, island, or dishwasher) compressing padding beneath casters or feet
- Poor initial installation—padding cut too large, overlapped, or not secured to subfloor
- Subfloor irregularities like minor dips, squeaks, or old adhesive residue pushing up through the pad
- Aging: Standard rebond padding loses resilience after 5–7 years, especially under constant foot traffic and weight.
Tools & Materials Needed
| Item | Purpose | Estimated Cost |
|---|---|---|
| Carpet knife with snap-off blades | Cuts cleanly through padding without fraying or tearing carpet backing | $8–$15 |
| 36-inch straightedge or level | Verifies subfloor flatness and identifies low/high spots under padding | $12–$25 |
| Utility scissors or heavy-duty shears | Trims replacement padding to exact size without stretching or bunching | $6–$14 |
| Carpet seam roller (handheld) | Presses new padding seams firmly against subfloor and locks edges in place | $18–$32 |
| Rebond padding (1/4" or 3/8", 6–8 lb density) | High-density, moisture-resistant option ideal for kitchens; avoids premature compression | $0.75–$1.40/sq ft |
Step-by-Step Fix
Use these methods in order—start with the least invasive and escalate only if needed:
- Spot-lift and reseat: Lift carpet at the lump using a knee kicker or flat pry bar. Peel back padding just enough to expose the bump. If it’s a simple fold or shift, smooth it flat, trim excess with scissors, and re-stretch carpet with a power stretcher or knee kicker.
- Replace localized section: Cut out the damaged 12" × 12" pad section using a carpet knife guided by a straightedge. Measure and cut replacement padding to match exactly. Butt edges tightly—no overlaps—and roll seams with a seam roller. Reinstall carpet and secure with tack strips.
- Subfloor leveling (if needed): If the lump corresponds to a dip or hump in the subfloor, apply self-leveling compound to low spots or sand down high ones. Let cure 24 hours before reinstalling padding and carpet.
- Add underlayment reinforcement: For areas under refrigerators or islands, install a 1/4" plywood or MDF panel (cut to footprint) over the repaired padding. This spreads load and prevents future compression.
When to Call a Pro
DIY stops being safe or effective in these cases:
- You find standing water, black mold, or musty odors beneath the padding—this signals a hidden leak requiring plumbing inspection and mold remediation per EPA guidelines.
- The lump spans more than 3 square feet and won’t flatten after lifting—likely indicating severe subfloor damage (rot, termite tunnels, or structural sag).
- Your kitchen has radiant floor heating: cutting or replacing padding incorrectly can interfere with heat transfer or damage heating elements.
- You lack experience with carpet stretching tools—improper tension causes wrinkles, buckling, or seam separation within weeks.
Prevention Tips
Extend your padding’s life with proactive habits:
- Place 1/4" thick rubber mats under all major appliances—not just refrigerators, but dishwashers and trash compactors too.
- Wipe up spills within 5 minutes. The U.S. EPA estimates that even brief moisture exposure reduces padding lifespan by up to 40% in high-humidity zones like kitchens.
- Vacuum weekly with a suction-only setting (no beater bar) to avoid loosening padding fibers.
- Rotate area rugs seasonally to prevent concentrated wear on specific padding zones.
- Inspect padding annually during deep cleaning—look for discoloration, crumbling edges, or spongy resistance when pressed.
Can I reuse the old padding if I lift it carefully?
No—once rebond or foam padding compresses or folds, its cellular structure is permanently damaged. According to the Carpet and Rug Institute’s 2022 Installation Standards, reused padding fails to meet minimum density requirements after any visible deformation and increases risk of carpet indentation.
Will adding thicker padding solve the problem?
Not reliably—and it may worsen it. Padding thicker than 3/8" in kitchens violates most manufacturer warranties and can cause seam failure or door clearance issues. Stick to 1/4"–3/8" density-matched padding designed for high-traffic areas.
Do I need to replace the carpet too?
Usually not—unless the carpet shows permanent ripples, fiber matting, or visible seam separation near the lump. In those cases, the carpet itself has lost elasticity. Check our guide on carpet runs when walked on for evaluation tips.
Is rubber padding better than foam for kitchens?
Rubber (crumb rubber or recycled tire) resists moisture and compression better than standard rebond—but it’s heavier, harder to cut, and costs ~30% more. Rebond at 8 lb density offers the best balance of performance and ease for most DIYers.
How long does repaired padding last?
With proper installation and moisture control, new high-density padding lasts 7–10 years in kitchens. That’s 2–3 years longer than standard 6 lb padding, as confirmed by testing in the Floor Covering Weekly 2023 Lab Report.
Can I glue down the new padding to prevent shifting?
Yes—but only with padding-specific contact cement (e.g., Roberts 1500), applied sparingly in a grid pattern. Never use construction adhesive: it off-gasses VOCs and can stain carpet backing. As flooring contractor Maria Chen advises:
"Glue only the perimeter and four corners—over-gluing traps moisture and creates new lumps when the pad expands in summer humidity."
Fixing lumpy padding isn’t glamorous work—but doing it right keeps your kitchen safe, quiet, and ready for daily use. A smooth, resilient floor also helps your carpet last longer, saving money on replacements down the line. If you’ve tackled this repair, consider checking out our kitchen carpet stains removal guide next—or browse our full carpet repair collection for related fixes.