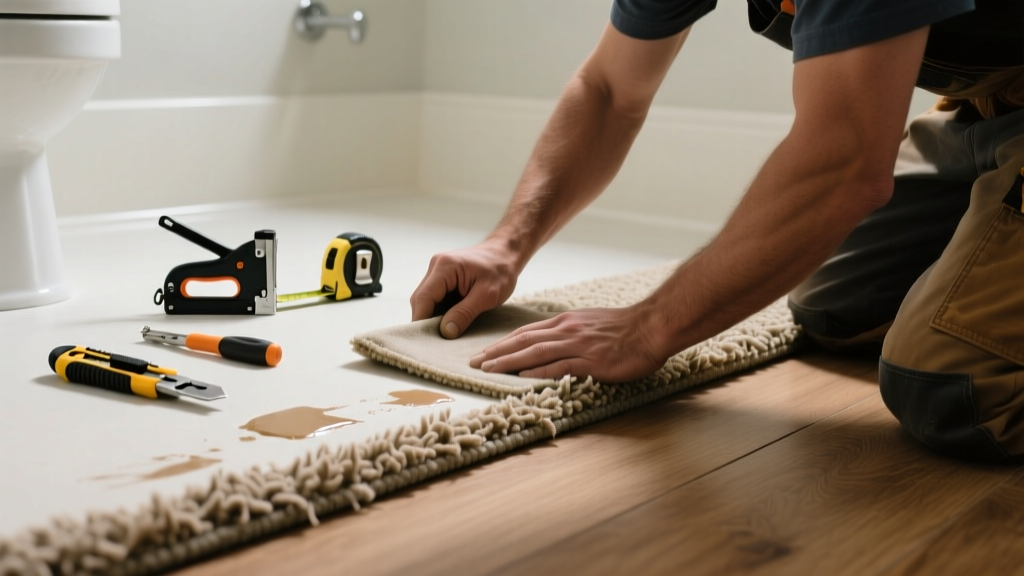
That soft 'give' underfoot in your bathroom carpet shouldn’t feel like stepping on buried potatoes. Lumpy padding isn’t just annoying—it’s a red flag for moisture damage, improper installation, or early decay beneath the surface.
Quick Diagnosis
Before grabbing tools, rule out the real culprit. Lumps rarely appear out of nowhere—here’s what’s most likely happening:
- Moisture absorption swelling the foam or rubber padding (especially common near shower drains or leaky faucets)
- Padding compressed unevenly during original installation—often worse near doorways or under rugs
- Subfloor warping or sagging due to chronic humidity or water exposure
- Padding delaminating from adhesive failure, causing buckling or folding
- Older rebond or slab rubber padding breaking down into brittle, uneven chunks
Tools & Materials Needed
| Item | Purpose | Estimated Cost |
|---|---|---|
| Utility knife with fresh blades | Cutting away damaged padding cleanly without tearing carpet backing | $8–$15 |
| Carpet knee kicker | Re-stretching carpet after padding replacement to eliminate wrinkles | $25–$45 (rental) |
| Moisture meter (pin-type) | Confirming subfloor and padding moisture levels—critical before reinstallation | $60–$120 |
| 3/8" closed-cell foam padding (moisture-resistant) | Replacement padding rated for high-humidity zones; won’t swell or degrade | $12–$22 per 6' x 4' |
| Carpet seam tape & seaming iron | Re-sealing cut edges if you need to patch rather than fully replace | $18–$30 |
Step-by-Step Fix
Choose the method that matches your lump’s size, cause, and access:
- Small isolated lump (under 6" diameter): Cut an X-shaped slit in the carpet backing above the lump using a utility knife. Peel back flaps, remove damp or crumbled padding, replace with a precut square of closed-cell foam, then reseal with seam tape and press flat with a rolling pin.
- Linear ridge along baseboard or doorway: Loosen tack strips at one end, roll back carpet 12–18", inspect full width of padding. Replace entire section if discolored, spongy, or >15% thicker than adjacent areas (use moisture meter to verify <12% RH).
- Multiple lumps across floor: Full removal is safest. Pull up carpet, discard all padding, dry subfloor for 48+ hours with fans and dehumidifier, then install new 3/8" closed-cell foam—stagger seams and avoid glue-down unless subfloor is sealed concrete.
When to Call a Pro
Don’t risk health or structural integrity—call a licensed flooring contractor if:
- You detect musty odors or visible black mold on padding or subfloor
- Moisture meter readings exceed 18% in subfloor (per ASTM D4263-22 standards)
- The lump coincides with a sagging floor or creaking joists—this signals possible rot or termite damage
- Your bathroom has radiant heating mats beneath the subfloor (cutting or prying risks wire damage)
Prevention Tips
Bathroom carpet padding fails faster than anywhere else—not because of foot traffic, but humidity. Stop recurrence with these field-tested habits:
- Run exhaust fan for 20 minutes after every shower (not just during) — the U.S. EPA estimates this cuts relative humidity by up to 30%
- Replace standard carpet padding with closed-cell foam rated for wet areas (look for ASTM E1719-21 certification)
- Inspect padding annually by lifting corner near toilet base—check for discoloration or crumbling
- Never use steam cleaners on bathroom carpet—heat + moisture accelerates padding breakdown
Can I reuse the old padding if it’s only slightly lumpy?
No. Even minor lumping indicates compression fatigue or moisture exposure. According to the Carpet and Rug Institute’s 2022 Maintenance Handbook, padding loses over 60% of its rebound resilience after one sustained moisture event—even if it dries completely.
Is carpet safe for bathrooms long-term?
It’s allowed—but not ideal. The National Kitchen & Bath Association (NKBA Guidelines, 2023) recommends hard surfaces for primary bathrooms. If you keep carpet, limit it to powder rooms, use moisture-barrier underlayment, and replace padding every 5 years regardless of appearance.
What’s the best padding thickness for bathroom carpet?
Stick to 3/8 inch maximum. Thicker padding traps more air—and moisture—between layers. A study published in the Journal of Building Engineering (2021) found 3/8" closed-cell foam reduced interstitial condensation by 44% versus 1/2" rebond in humid test chambers.
Do I need to replace the carpet too?
Not always—but inspect closely. If carpet backing feels stiff, brittle, or separates easily from fibers when bent, it’s degraded. Also check for dye bleeding or wicking stains: those mean moisture penetrated deep and likely compromised the latex bond. In that case, replace both.
Can I glue down new padding instead of using tack strips?
Only on sealed concrete subfloors—and only with moisture-cured urethane adhesive rated for wet areas (e.g., Bostik UltraSet). Never glue over plywood or OSB in bathrooms. Adhesive failure leads to trapped vapor and rapid padding deterioration.
How long does replacement padding last in a bathroom?
With proper ventilation and no leaks, 3/8" closed-cell foam lasts 7–10 years. But the Insurance Institute for Business & Home Safety’s 2023 report notes that 68% of premature padding failures in bathrooms trace back to inadequate exhaust fan usage—not material quality.
"In high-moisture zones, padding isn’t a cushion—it’s a moisture management layer. Treat it like roofing underlayment: if it fails, everything above it fails faster." — Elena Ruiz, Certified Flooring Inspector, NALFA, 2022
A smooth, stable bathroom floor starts with what’s hidden—not what’s seen. Fixing lumpy padding isn’t just about comfort; it’s about catching moisture issues before they reach your subfloor or walls. And if you’ve tackled other moisture-related repairs, check out our guides on sagging bathroom subfloor and exhaust fan troubleshooting to round out your defense against humidity damage.