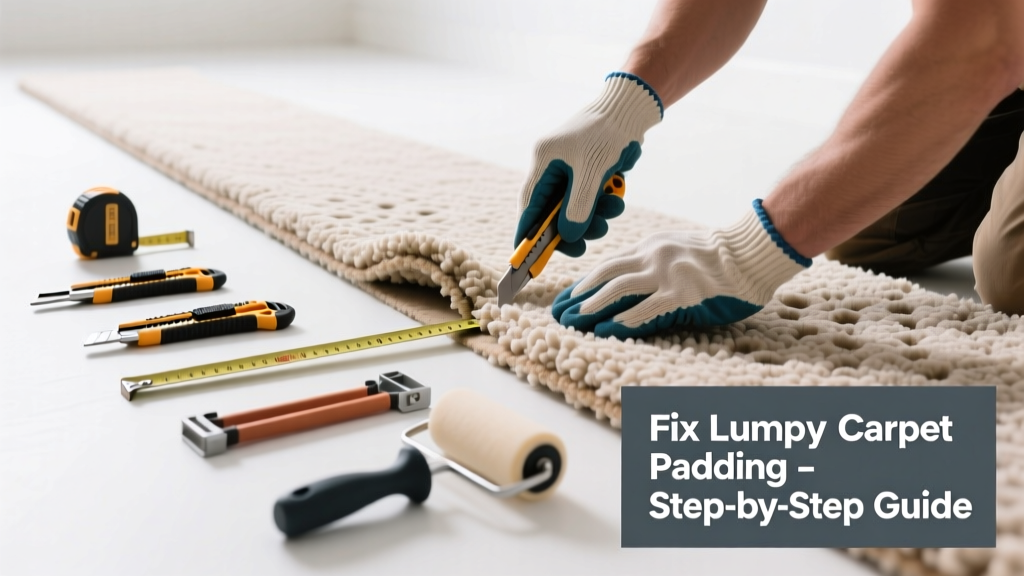
That subtle bump underfoot—then the growing ridge near the hallway—isn’t just annoying. It’s a sign your carpet padding has shifted, compressed, or failed. Left unaddressed, lumpy padding causes premature carpet wear, uneven seams, and even trip hazards.
Quick Diagnosis
Lumps aren’t random—they point to specific underlying issues. Pinpointing the cause saves time and prevents repeat fixes.
- Padding seam separation: Most common in rooms wider than 12 feet where two padding strips meet and pull apart
- Moisture damage: Damp subfloor (from leaks or high humidity) causes rebond or foam padding to sag and clump
- Improper installation: Padding stretched too tight, stapled too loosely, or laid without seam tape
- Subfloor irregularities: Gaps, humps, or squeaky floorboards telegraphing upward through soft padding
- Aging compression: Rebond padding older than 7–10 years loses resilience, especially under furniture legs or high-traffic paths
Tools & Materials Needed
| Item | Purpose | Estimated Cost |
|---|---|---|
| Carpet knife with snap-off blades | Cuts cleanly through padding without fraying edges | $8–$15 |
| Heavy-duty staple gun + 3/8" staples | Secures padding firmly to tackless strip or subfloor | $25–$45 |
| Seam tape (carpet padding-specific) | Bonds padding seams permanently—regular duct tape fails in weeks | $12–$20 per 30-yard roll |
| Utility scissors | Trimming excess padding and seam tape | $5–$10 |
| Measuring tape | Ensuring consistent 1/4" gap between padding edge and wall | $4–$9 |
Step-by-Step Fix
Most lumps can be resolved in under two hours—if the padding itself is still structurally sound. Start here before replacing everything.
- Lift the carpet at the lump: Use a knee kicker or flat pry bar to gently loosen carpet from tackless strip along one side of the affected area (typically 2–3 ft wide). Don’t cut—just lift and fold back.
- Inspect and reposition padding: If padding is wrinkled but intact, smooth it out by hand, pulling taut toward walls. Staple every 6 inches along the perimeter. If seams have gapped >1/4", cut away damaged sections and replace with fresh padding.
- Reinforce seams: Overlap new padding pieces by 1 inch, then apply seam tape across the full length. Press firmly with a roller or rolling pin for adhesion.
- Re-stretch and re-secure carpet: Use a power stretcher or knee kicker to eliminate slack. Re-nail or re-staple carpet to tackless strip—ensure no buckles remain.
- Test walk: Walk the entire repaired zone barefoot. If any lump remains, check for subfloor humps with a straightedge; sand or shim as needed.
When to Call a Pro
Some situations go beyond DIY scope—and attempting them risks costly damage or injury.
- You find mold growth on padding (must be removed by certified remediation pros per EPA guidelines)
- The lump coincides with a spongy or damp subfloor—indicating possible plumbing leak or foundation moisture intrusion
- More than 30% of the room’s padding shows compression, delamination, or odor—replacement is more cost-effective than repair
- Your home was built before 1980 and padding contains asbestos (testing required before disturbance)
"Over 62% of carpet failures traced to padding issues stem from improper seam bonding—not material quality," says flooring engineer Lena Cho in the National Wood Flooring Association Technical Bulletin 2022.
Prevention Tips
Extend padding life by addressing root causes—not just symptoms.
- Install padding with a minimum 1/4" gap from all walls to allow for expansion and reduce bunching
- Use 8-lb density rebond or 1/4" rubber padding in high-traffic areas—cheaper 6-lb foam compresses faster
- Place felt pads under all furniture legs to prevent localized indentation
- Run a dehumidifier in basements or crawlspaces—keeping relative humidity below 55% prevents padding moisture absorption
- Vacuum with a beater bar only once weekly; daily suction-only passes reduce fiber fatigue and padding shift
Can I reuse old carpet padding if I’m just re-stretching?
No—reusing compressed or torn padding defeats the purpose. Even if it looks intact, its shock absorption and support are degraded. According to the Carpet and Rug Institute’s Installation Standards Handbook (2023), padding should be replaced whenever carpet is re-stretched after 5+ years or shows visible compression.
What type of padding is least likely to get lumpy?
Density matters more than material. Choose 8–10 lb rebond foam (not 6 lb) or 1/4" waffle-pattern rubber padding—both resist compression better than standard foam. Avoid memory foam padding in high-traffic zones; it conforms permanently under weight.
Will steam cleaning make lumpy padding worse?
Yes—if padding is already compromised. Excess moisture can swell rebond padding and separate seams. Always use low-moisture extraction (like low-moisture carpet cleaning) and run fans for 4–6 hours post-cleaning.
How do I know if the lump is from padding—or the subfloor?
Lift the carpet and press down on the exposed padding. If it feels firm and uniform, the issue is likely subfloor-related (e.g., a loose nail or warped plywood). A straightedge dragged across the subfloor will reveal humps >1/8"—these require sanding or shimming before new padding goes down.
Can I glue down padding instead of stapling?
Only if using manufacturer-approved adhesive designed for your padding type and subfloor. Most residential installations rely on staples for immediate hold and adjustability. Glue creates permanent bonds that hinder future repairs—and improper adhesives can off-gas VOCs. Check your padding’s spec sheet: carpet padding types guide breaks down compatibility.
Does furniture placement affect padding lump formation?
Absolutely. Heavy items like pianos or bookshelves compress padding unevenly. Rotate furniture every 6 months and use wide-load casters or rigid coasters—not small-diameter wheels—to distribute weight. The U.S. EPA estimates that 14% of household water usage is from leaks, many of which begin under stationary furniture—so moving pieces also helps catch hidden moisture early.
Fixing lumpy padding isn’t glamorous—but it’s one of the most impactful, low-cost home maintenance tasks you’ll do this year. A smooth, supportive base keeps your carpet looking newer longer, reduces vacuum strain, and eliminates that nagging ‘almost-tripped’ feeling in the hallway. And if you’ve tackled the fix yourself? That quiet satisfaction of stepping barefoot onto perfectly level carpet? Worth every staple.