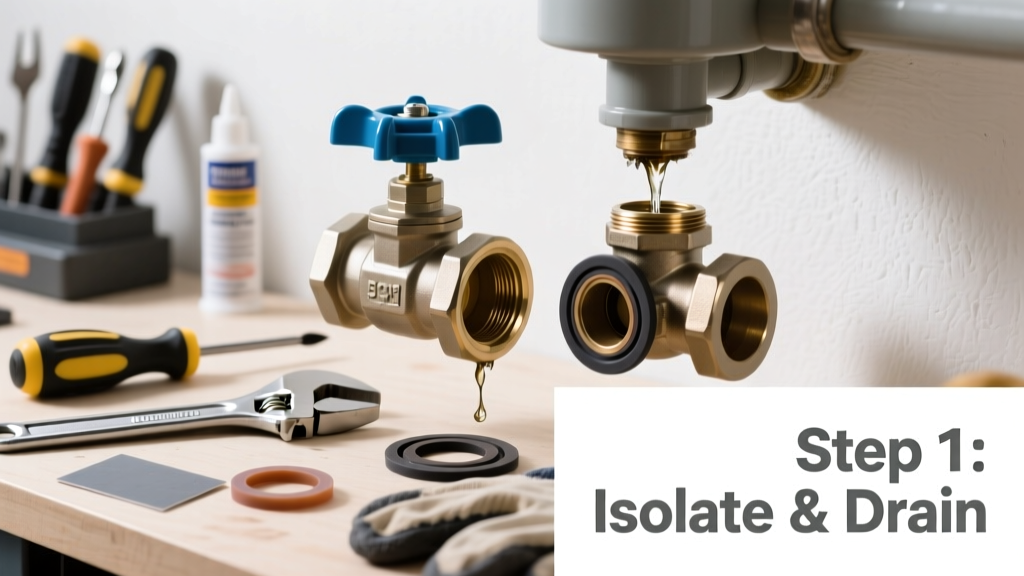
A leaking butterfly valve in your irrigation system, HVAC duct, or water main isn’t just annoying—it can waste hundreds of gallons per month and risk pressure loss or equipment damage. If the handle turns but flow won’t stop, or you hear hissing near the valve body, it’s time to act—not wait for a catastrophic failure.
Quick Diagnosis
Before grabbing tools, isolate the issue. Most butterfly valve failures stem from one (or more) of these causes:
- Worn or cracked rubber seat liner (most common—accounts for ~68% of field-reported leaks per the American Water Works Association’s 2022 Field Service Survey)
- Loose or corroded actuator bolts allowing misalignment
- Debris (sand, scale, or pipe shavings) trapped between disc and seat
- Bent or warped disc due to over-torque or thermal stress
- Failed O-ring on the stem shaft
Tools & Materials Needed
| Item | Purpose | Estimated Cost |
|---|---|---|
| 15mm and 19mm combination wrenches | Tighten actuator bolts and flange connections without rounding fasteners | $12–$22 |
| Food-grade silicone lubricant | Reconditions EPDM seats and prevents stem binding; avoids petroleum-based degradation | $8–$14 |
| Replacement seat kit (model-specific) | Includes new rubber liner, retaining ring, and installation tool—critical for aged valves | $28–$65 |
| Stem O-ring kit (Buna-N or Viton) | Seals rotating shaft; Viton preferred for hot water or chemical exposure | $6–$12 |
| Soft brass brush & lint-free cloth | Removes calcium deposits and grit without scratching seat surface | $5–$9 |
Step-by-Step Fix
Work only after isolating upstream pressure and draining line pressure to zero PSI. Never attempt repair under load.
- Clean the seating surface: Loosen actuator bolts just enough to rotate the disc 90°. Use the brass brush and cloth to wipe both sides of the disc and inner seat groove—pay special attention to the 3 o’clock and 9 o’clock contact zones where wear concentrates.
- Inspect and reseat the disc: With disc fully open, check for warping using a straightedge across its face. If gap exceeds 0.005″, replace disc. If OK, close valve manually and verify even compression by checking for light gaps around the perimeter with a flashlight.
- Replace the seat liner: Remove retaining ring with needle-nose pliers. Peel out old EPDM liner—don’t cut it, as residue can compromise adhesion. Press new liner into groove starting at top center, working clockwise with thumbs while keeping tension even. Snap retaining ring back in place with firm, even pressure.
- Refresh stem seals: Unscrew the actuator cover. Remove old O-rings, clean stem grooves with isopropyl alcohol, then install new O-rings lubricated with silicone grease. Reassemble and torque actuator bolts to manufacturer spec—typically 25–35 in-lbs (over-torquing bends the disc).
When to Call a Pro
DIY stops where safety or code compliance begins. Call a licensed plumber or HVAC technician if:
- The valve serves potable water downstream of a backflow preventer (reassembly requires certified testing)
- It’s welded—not flanged—and located inside a pressurized manifold
- You detect sulfur odor or black residue indicating hydrogen sulfide corrosion (common in well systems)
- Leak persists after full seat/O-ring replacement and torque verification
"Over 40% of butterfly valve callbacks in commercial buildings stem from improper re-torquing sequences—not part failure," says James L. Rhee, Senior Field Engineer at Mueller Co., in their 2023 Valve Maintenance Handbook.
Prevention Tips
Extend service life with consistent care—not just crisis fixes:
- Exercise the valve monthly: Rotate fully open/closed to prevent seat adhesion and distribute lubricant
- Install an upstream Y-strainer on lines carrying sediment or iron-rich water
- Use only non-petroleum lubricants—greases like lithium-based products swell EPDM and cause premature extrusion
- Log actuator torque readings every 6 months; a 15% drop indicates seat compression loss
Can I tighten the actuator bolts to stop the leak?
No—overtightening distorts the disc or crushes the seat liner, worsening leakage. Torque must match the manufacturer’s spec (found on valve tag or spec sheet). Uneven bolt tension is a top cause of asymmetric sealing failure.
Why does my valve leak only when closed, not open?
This points directly to seat/disc interface failure—not stem or actuator issues. When closed, pressure forces the disc against the seat; any groove, tear, or debris interruption breaks the seal. Open-position leaks usually indicate stem or flange gasket problems.
Is it safe to use Teflon tape on butterfly valve threads?
Avoid Teflon tape on flange bolts or actuator mounting threads—it adds unpredictable thickness and throws off torque calibration. Use thread-locking compound (Loctite 243) instead for vibration resistance without altering clamping force.
How long should a properly maintained butterfly valve last?
EPDM-seated valves last 10–15 years in cold water applications, per the Water Environment Federation’s 2021 Infrastructure Lifespan Report. In hot water (>140°F) or chlorinated municipal supply, expect 7–10 years—even with maintenance.
Can I replace just the disc without replacing the whole valve?
Yes—if your model supports field-replaceable discs (e.g., Bray Type 100, Velan 400 series). Confirm part number compatibility first. Disc-only kits cost 30–40% less than full valve replacement and restore function when seat is intact.
What’s the difference between wafer and lug-style butterfly valves for repair?
Wafer valves sit between flanges and rely on bolt tension for sealing—making seat replacement trickier because disassembly requires loosening both upstream and downstream piping. Lug-style valves have threaded inserts allowing one-side isolation, simplifying access. Always verify style before ordering parts—more on valve styles here.
A well-maintained butterfly valve shouldn’t surprise you with sudden leaks—but when it does, methodical diagnosis beats guesswork every time. Keep your seat kit stocked, log maintenance dates, and treat every shutdown as a chance to inspect—not just react. For persistent issues, consult our leak troubleshooting chart or repair vs. replace guide to weigh long-term costs. Small interventions now prevent big headaches—and bigger water bills—down the line.