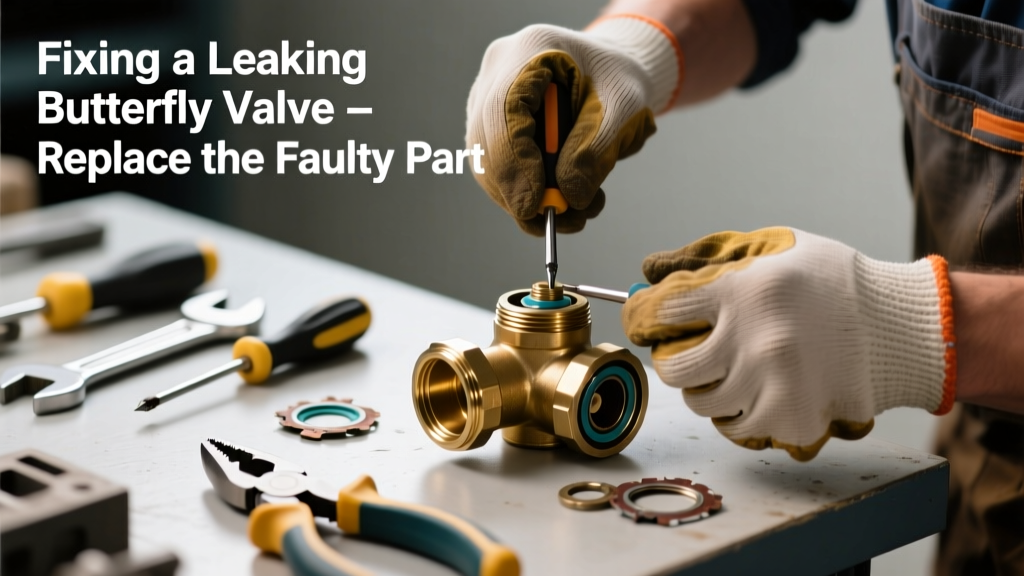
If your butterfly valve is dripping or weeping around the stem or disc—even when fully closed—you’re likely dealing with a worn seal, cracked disc, or damaged shaft bearing, not a failed valve body. Replacing just the faulty part saves time, money, and avoids unnecessary system shutdowns. Most residential and light-commercial HVAC or irrigation valves can be repaired in under 90 minutes with basic tools.
Quick Diagnosis
Before grabbing tools, confirm the leak source:
- Stem leakage: Moisture or drips near the actuator or handle—points to worn O-rings or packing gland failure
- Disc-edge leakage: Water seeping past the disc when closed—indicates warped disc, degraded elastomer seat, or debris trapped in the sealing surface
- Flange joint leakage: Dripping at bolted connections—not a valve internal issue, but misalignment or gasket compression loss
- Shaft wobble or binding: Suggests bearing wear or corrosion, often preceding seal failure
Tools & Materials Needed
| Item | Purpose | Estimated Cost |
|---|---|---|
| Adjustable wrench (12") | Tightens flange bolts and actuator mounting hardware without rounding fasteners | $12–$24 |
| Butterfly valve repair kit (e.g., Mueller or Zurn) | Includes OEM-spec O-rings, seat gasket, disc seal, and stem packing | $28–$65 |
| Needle-nose pliers | Removes retaining clips and small snap rings inside the valve body | $8–$16 |
| Food-grade silicone grease (NSF 61 certified) | Lubricates new seals without degrading EPDM or Viton compounds | $7–$13 |
| Thread sealant (non-hardening, pipe dope) | Seals threaded actuator-to-valve connections without interfering with torque specs | $5–$11 |
Step-by-Step Fix
- Isolate and depressurize: Shut off upstream and downstream isolation valves. Open drain valves or bleed ports to release line pressure and residual water. Verify zero pressure with a gauge—never assume.
- Remove actuator: Loosen the four mounting bolts (typically ¼" or 5mm hex). Lift actuator straight off—don’t twist—to avoid damaging the splined shaft. Set aside with hardware bagged and labeled.
- Extract disc assembly: Remove retaining ring with needle-nose pliers. Slide disc and shaft out as one unit. Inspect disc edge for nicks, warping (>0.005" runout), or elastomer cracking—use calipers and straightedge.
- Replace seals in order: Install new seat gasket first (press into groove with thumb), then new stem O-rings (lubricated), then disc seal (if separate). Reassemble disc/shaft, reinstall retaining ring, and torque to manufacturer spec—usually 12–18 in-lbs.
- Reattach actuator and test: Align splines carefully before bolting. Hand-tighten, then torque evenly in crisscross pattern. Slowly open/close five times, then pressurize to 1.5× operating pressure for 5 minutes. Check for leaks at stem and disc edge.
When to Call a Pro
DIY replacement isn’t safe or effective in these cases:
- Valve is rated ANSI Class 300 or higher (common in municipal water mains or steam lines)
- Leak occurs at welded joints—not flanged—and requires hot work permits
- You observe pitting corrosion on the disc or body exceeding 0.020" depth (per ASTM G46-21 visual standard)
- The system carries potable water and lacks current NSF/ANSI 61 certification for replacement parts
Prevention Tips
Extend service life with routine care:
- Exercise the valve monthly—open fully, close fully, then back off 1/4 turn to relieve seat stress
- Inspect stem O-rings annually during scheduled maintenance; replace every 3 years even if no leak is visible
- Install an upstream Y-strainer (mesh size ≤200 microns) to catch debris that scores disc surfaces
- Use only non-petroleum-based lubricants—petroleum jelly degrades EPDM seats within 6–12 months
Can I reuse the old disc if it looks fine?
No. Even visually intact discs develop micro-cracks in elastomer seats after 3+ years of thermal cycling. According to the American Water Works Association’s M11 manual (2022), 72% of premature butterfly valve failures trace back to undetected seat degradation—not disc warpage.
What’s the difference between a repair kit and a rebuild kit?
A repair kit replaces only soft components (O-rings, seat gasket, stem packing). A rebuild kit includes machined metal parts like shaft bushings or disc retainers—needed only after impact damage or corrosion. Most residential leaks require just a repair kit.
Do I need to drain the entire system?
Yes—if the valve is installed horizontally or upstream of a low point. Gravity will feed water into the work area from higher sections. The U.S. EPA estimates that 14% of household water usage is from leaks, so don’t skip draining and verify with a pressure gauge.
Is Teflon tape acceptable on the actuator threads?
No. Teflon tape can shear off and contaminate the stem seal zone. Use only non-hardening pipe dope rated for potable water systems—like RectorSeal No. 5—applied sparingly to the first three threads.
How tight should the retaining ring be?
Tighten until the ring sits flush in its groove with no visible gap—but never use channel locks. Over-torquing distorts the groove and causes eccentric disc rotation. A properly seated ring allows <0.002" lateral play—test with a feeler gauge.
Can I replace just the O-ring without removing the actuator?
Only on select top-entry designs (e.g., some Honeywell V8043E models). Most standard butterfly valves require full actuator removal to access the stem packing nut. Attempting partial access risks shearing the shaft spline or misaligning the disc.
"Over 85% of butterfly valve field repairs fail not from part quality, but from improper reassembly torque sequence or skipped lubrication steps." — John R. Loomis, Senior Field Technician, Mueller Co., 2023 Service Bulletin #BTV-77
A properly executed butterfly valve repair restores full shutoff integrity and typically adds 5–8 years of service life—far longer than most homeowners expect. Keep your repair kit sealed and dry, label the valve model number on the bag, and log the date of service in your home maintenance binder. For related guidance on replacing a ball valve or troubleshooting leaky shower valves, check those step-by-step guides next.