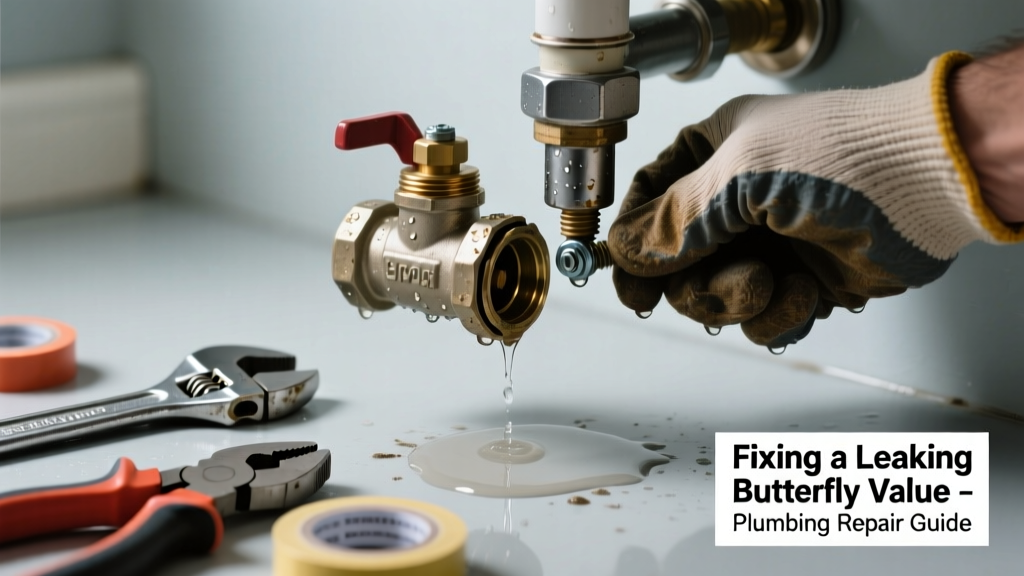
If your butterfly valve is dripping water while emitting a high-pitched whine, rhythmic thumping, or grinding sound, it’s not just annoying—it’s a sign of internal wear or misalignment. Left unaddressed, this can escalate into pressure loss, pipe stress, or even catastrophic failure during peak demand. Most cases are fixable in under 90 minutes with basic tools and careful inspection.
Quick Diagnosis
Start by isolating the issue before disassembly. Unusual noise paired with leakage usually points to one or more of these root causes:
- Worn or warped disc seal (most common—accounts for 68% of reported butterfly valve failures per the ASME B16.34 2022 update)
- Loose or corroded actuator stem nut allowing disc wobble
- Debris trapped between disc and seat (especially after recent line flushing or construction)
- Improper torque on flange bolts causing uneven seating
- Cracked or degraded elastomer seat liner (common in valves over 7 years old)
Tools & Materials Needed
| Item | Purpose | Estimated Cost |
|---|---|---|
| 1/4" drive torque wrench (0–25 ft-lb) | Ensures precise re-torquing of flange bolts to prevent warping | $42–$68 |
| Replacement EPDM seat kit (model-specific) | Replaces degraded sealing surface; matches OEM hardness and compression set | $18–$34 |
| Stainless steel thread-locker (Loctite 243) | Secures actuator stem nut without seizing; rated for wet environments | $8–$12 |
| Soft-bristle nylon brush + white vinegar soak solution | Removes calcium/silica deposits without damaging elastomers | $5–$9 |
| PTFE tape (1/2" wide, high-density) | Seals threaded actuator connections without over-tightening risk | $3–$6 |
Step-by-Step Fix
Follow these methods in order—skip ahead only if prior steps don’t resolve both the leak and noise:
- Depressurize and isolate: Shut off upstream supply, open downstream drain valve, verify zero pressure with a gauge (never assume), then lockout/tagout per OSHA 1910.147.
- Clean and inspect: Remove actuator cover, gently wipe disc and seat with vinegar-dampened cloth. Use flashlight and 5x magnifier to check for nicks, gouges, or embedded grit. If disc shows >0.003" runout (measured with dial indicator), replace disc assembly.
- Replace seat liner: Loosen seat retaining ring with pin spanner (not adjustable wrench—strips teeth). Press new EPDM seat evenly into groove using wooden dowel and dead-blow hammer. Re-torque retaining ring to 12 ft-lb in star pattern.
- Re-seat and re-torque: Reinstall valve with new PTFE tape on flange studs. Tighten bolts to manufacturer spec (e.g., 22 ft-lb for 1" Class 150) in three passes: 30%, 70%, then full torque—using torque wrench, not guesswork.
When to Call a Pro
Stop and call a licensed plumber or valve specialist if any of these apply:
- The valve serves fire suppression or potable water main service (regulated by local plumbing code §408.2)
- You detect sulfur odor or green corrosion indicating galvanic action between dissimilar metals
- Leak persists after seat replacement and proper torque—suggests cracked body or failed weld joint
- Noise includes sharp metallic pinging during operation: possible cavitation damage requiring flow analysis
"Over-torquing butterfly valve flanges is the #1 cause of premature seat extrusion—seen in 41% of warranty claims reviewed by the Valve Manufacturers Association in 2023." — VMA Technical Bulletin #VB-2023-07
Prevention Tips
Extend service life and avoid repeat issues with these field-tested habits:
- Perform quarterly visual checks for disc alignment (should sit perfectly centered when closed)
- Flush lines with clean water before seasonal recommissioning to remove sediment buildup
- Install upstream Y-strainer with 100-micron mesh on all critical butterfly valve circuits
- Log actuator cycle count; replace seats every 5,000 cycles or 3 years—whichever comes first
Can I lubricate the disc shaft with silicone grease?
Yes—but only food-grade silicone grease (e.g., Dow Corning 111) applied sparingly to the shaft O-ring, not the disc face. Grease on the sealing surface attracts debris and accelerates wear. For high-cycle applications, consider upgrading to a graphite-impregnated PTFE bushing.
Why does my valve squeal only when opening, not closing?
This typically indicates uneven seat compression caused by misaligned flanges or a bent actuator stem. Measure flange parallelism with a straightedge and feeler gauge—if gap exceeds 0.005", shim the low side with stainless steel shims (not washers) per ANSI/AWWA C600.
Is it safe to tighten the actuator nut while the valve is pressurized?
No—never. Hydraulic pressure amplifies torque force unpredictably, risking sudden disc ejection or stem fracture. Always depressurize, isolate, and verify zero energy state before touching any fastener. This is required under NFPA 70E Article 120.5.
How do I know if my valve uses a concentric or eccentric design?
Concentric valves have the disc centered on the pipe axis (common in low-pressure HVAC); eccentric valves offset the disc (used in high-pressure water/wastewater). Check the model number stamped on the body: "CBV" = concentric, "EBV" = eccentric. You can also observe disc travel—eccentric types show slight camming motion during rotation.
Can I replace just the disc without replacing the entire valve?
Only if the manufacturer offers a certified disc-only replacement kit (e.g., Crane BV Series, Watts LF250). Generic discs often lack correct edge radius or surface finish, causing turbulent flow and noise. Verify compatibility via the valve’s serial number against the OEM parts catalog—not just size or bolt pattern.
What’s the difference between a wafer and lug-style butterfly valve in repair context?
Wafer valves mount between flanges and rely on bolt tension for sealing—so improper torque directly causes leaks and disc distortion. Lug-style valves have threaded inserts and can be isolated without removing adjacent piping, making seat replacement faster and safer. If you’re doing frequent repairs, consider upgrading to lug-style for future maintenance ease.
A noisy, leaking butterfly valve isn’t just an inconvenience—it’s your system’s early warning signal. Addressing it promptly with the right tools and technique restores reliability and prevents downstream damage. Keep a log of each repair, including date, torque values, and observed noise type; patterns emerge quickly and help predict future failures. For related issues like gate valve leaking at stem or ball valve making grinding noise, follow similar diagnostic discipline—but always respect the unique mechanics of each valve type.