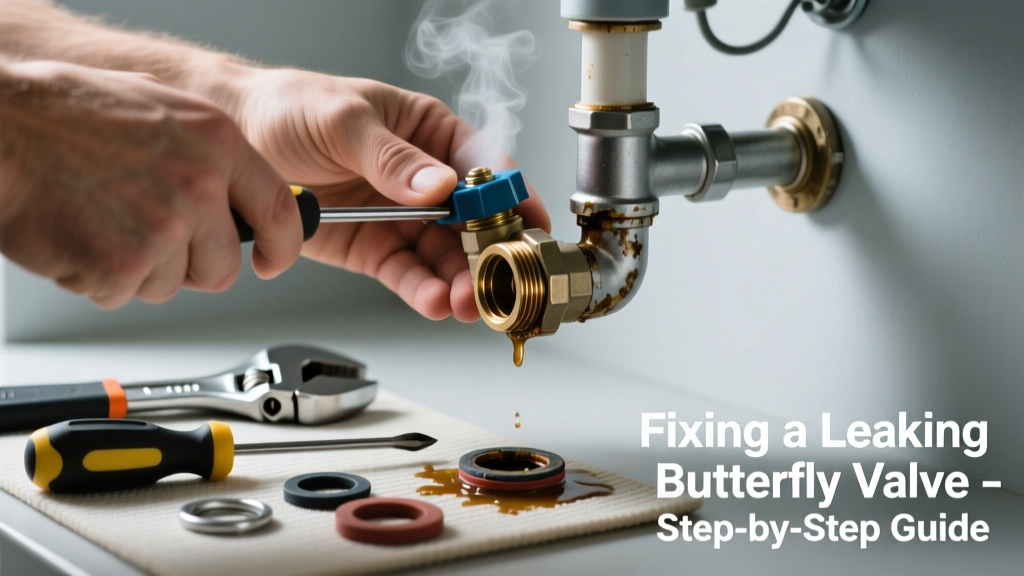
A leaking butterfly valve can waste hundreds of gallons of water per week and risk pressure loss in irrigation, HVAC, or fire suppression systems. Unlike gate or ball valves, butterfly valves rely on a thin disc and resilient seat—so even minor wear or misalignment causes drips or seepage. Catching it early avoids costly downstream damage.
Quick Diagnosis
Before grabbing tools, identify the source:
- Leak at the valve body seam: worn gasket or cracked casting
- Dripping around the stem: failed O-ring or packing nut too loose
- Seepage through the disc edge: seat erosion, debris trapped in the seal line, or disc warping
- Leak only when open/closed: improper actuator torque or seat compression loss
Tools & Materials Needed
| Item | Purpose | Estimated Cost |
|---|---|---|
| Adjustable wrench (10–12 inch) | Tightens flange bolts and stem nuts without rounding fasteners | $12–$28 |
| Replacement EPDM seat kit | Replaces degraded rubber seat; matches common 3–12 inch wafer-style valves | $24–$65 |
| Stem O-ring set (Viton or EPDM) | Prevents stem leakage; Viton handles higher temps and chemicals | $8–$15 |
| Food-grade silicone grease | Lubricates seat and O-rings without degrading elastomers | $5–$9 |
| Flange alignment pins | Ensures parallel bolt holes during reassembly—critical for even gasket compression | $10–$18 |
Step-by-Step Fix
Shut off upstream pressure and depressurize the line before starting. Drain residual water from both sides using bleed valves or open downstream outlets.
- Remove flange bolts and isolate the valve. Support the pipe to avoid stress on adjacent joints—especially with PVC or thin-walled steel.
- Inspect the disc and seat for nicks, gouges, or embedded grit. Clean with a soft nylon brush and warm water; never use steel wool or solvents that swell EPDM.
- Replace the seat if compressed, cracked, or hardened. Use manufacturer specs to confirm seat thickness and groove depth—off-spec replacements cause premature failure.
- Swap stem O-rings and apply silicone grease to the stem and new rings. Over-tightening the packing nut is the #1 cause of stem leaks post-repair—torque to 15–20 in-lbs max.
- Reinstall with alignment pins, torque flange bolts in star pattern to spec (e.g., 25 ft-lbs for 1-inch bolts), then test slowly at 25%, 50%, and 100% pressure.
When to Call a Pro
Don’t attempt these scenarios yourself:
- Valve is part of a fire sprinkler system—NFPA 25 requires certified technicians for any repair affecting flow or pressure
- Leak occurs at weld joints or cast iron body cracks—requires hydrostatic testing and ASME B16.34 recertification
- Actuated valve with electrical or pneumatic controls—diagnosing signal faults or torque calibration needs multimeter and pressure gauge expertise
- System pressure exceeds 150 psi or temperature exceeds 180°F—seal material limits and thermal expansion demand engineered solutions
"Over 68% of butterfly valve failures stem from improper installation—not component wear," says the American Water Works Association’s Valve Maintenance Handbook, 2022 Edition.
Prevention Tips
Extend service life with consistent maintenance:
- Exercise the valve fully open/closed quarterly—even in non-critical lines—to prevent seat adhesion and O-ring drying
- Install upstream strainers on irrigation or process water lines; particulate >50 microns accelerates seat abrasion
- Use torque-limiting actuators on automated valves—excess closing force crushes EPDM seats within 12–18 months
- Label valve orientation and max operating specs directly on the body with UV-resistant paint or metal tags
Can I tighten the stem nut to stop a small leak?
No—overtightening compresses the O-ring unevenly, causing rapid extrusion and permanent stem scoring. Replace the O-ring instead. If tightening *temporarily* stops the leak, it confirms O-ring failure—not insufficient torque.
Is it safe to replace just the seat without removing the valve?
Only if your valve model supports field-replaceable seats (e.g., certain Mueller or Val-Matic designs). Most wafer-style valves require full removal—forcing a seat swap in-place risks disc misalignment and catastrophic seal failure under pressure.
Why does my valve leak only when closed?
This usually means seat compression loss or disc warping. When closed, the disc presses against the seat; if the seat is hardened or the disc is bent (often from water hammer or thermal cycling), contact isn’t uniform. Inspect with a straightedge across the disc face—more than 0.005-inch deviation warrants replacement.
Can I use Teflon tape on butterfly valve flange threads?
No—Teflon tape is for tapered NPT threads, not parallel ISO 7/1 flange bolts. Use spiral-wound stainless/soft graphite gaskets rated for your fluid type and pressure class. Tape introduces uneven load distribution and can shear into the flow path.
How long should a properly maintained butterfly valve last?
In municipal water applications, expect 10–15 years with annual exercise and clean supply. In wastewater or chemical service, lifespan drops to 5–8 years due to aggressive media—inspect seats every 6 months per EPA Wastewater Infrastructure Guidelines (2021).
What’s the difference between a wafer and lug-style butterfly valve for leak repair?
Wafer valves sit between flanges and rely on bolt tension for sealing—leaks often trace to uneven flange loading. Lug valves have threaded inserts allowing one-sided disconnection; they’re easier to isolate but require precise bolt torque sequencing to avoid body cracking. Always consult the manufacturer’s assembly diagram before disassembly.
A well-executed butterfly valve repair restores reliable shutoff and prevents thousands of gallons in annual waste. But remember: this isn’t about slapping on a new O-ring and walking away. It’s about understanding why the failure happened—whether it’s grit in the line, incorrect actuation, or aging elastomers—and fixing the root cause. For more on related repairs, see our guides on gate valve leaking and ball valve dripping.