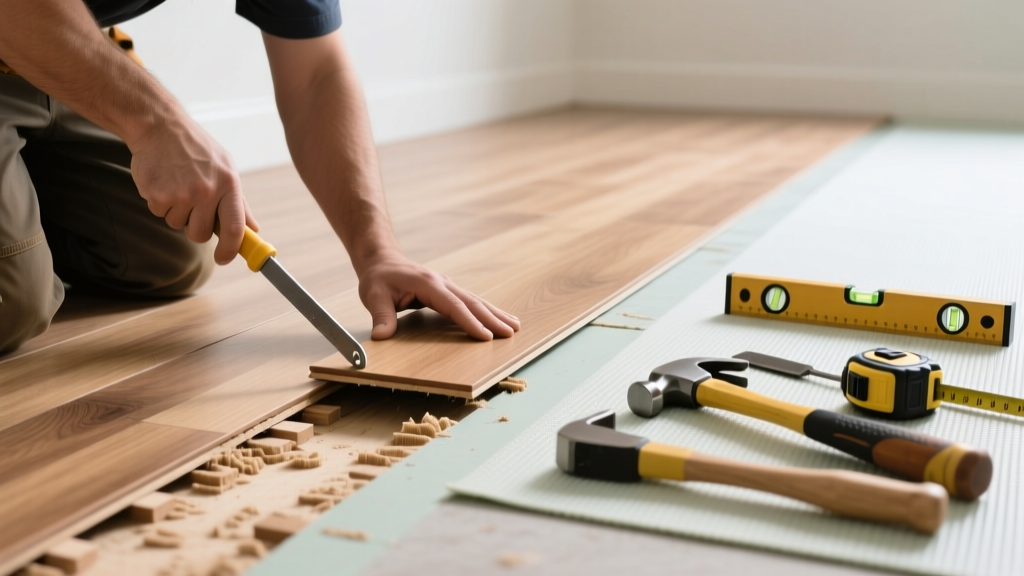
Buckling hardwood isn’t just unsightly—it’s a red flag that moisture, installation flaws, or structural movement have compromised your floor. If only one or two boards are lifting or warping while the rest remain stable, you likely don’t need a full reinstallation—just targeted replacement. This fix saves time, money, and preserves your floor’s original character.
Quick Diagnosis
Before cutting anything, confirm why the buckling happened. Misdiagnosis leads to repeat failure.
- Moisture intrusion from leaks, high humidity (>60% RH), or subfloor dampness (test with a moisture meter: >12% MC in wood is unsafe)
- Missing or inadequate expansion gaps (less than 3/8" at walls or fixed objects)
- Subfloor unevenness or flexing (check for sagging joists or loose plywood seams)
- Improper acclimation—boards installed before reaching equilibrium moisture content (EMC) for your climate
- Direct water exposure (e.g., pet accidents, spills left unattended for >2 hours)
Tools & Materials Needed
| Item | Purpose | Estimated Cost |
|---|---|---|
| Toe-kick saw or oscillating tool with flush-cut blade | Cuts damaged plank without gouging adjacent boards | $85–$140 |
| Wood chisel (3/8" and 1/2") | Removes stubborn tongue/groove remnants and cleans groove channels | $12–$22 |
| Hardwood replacement plank (same species, grade, finish) | Must match width, thickness (±1/32"), and wear layer depth (≥3/16" for sandable floors) | $8–$25/linear ft |
| Wood glue (Titebond III or equivalent) | Water-resistant adhesive for tongue-and-groove bonding | $7–$12 |
| Clamps (bar or parallel-jaw, 24" minimum) | Holds new plank tight during glue cure; prevents micro-gaps | $25–$60 |
Step-by-Step Fix
Work methodically—this isn’t about speed, but precision. Rushing causes misalignment or damage to neighboring planks.
- Mark and cut the damaged plank: Use painter’s tape to protect adjacent boards. Score along both edges of the buckled board with a utility knife, then cut vertically down its center with an oscillating tool. Remove center section first, then carefully sever remaining halves near the tongue and groove.
- Extract remnants: Pry out tongue fragments using a stiff putty knife and chisel. Vacuum dust and debris thoroughly—any grit prevents proper glue adhesion.
- Test-fit the replacement: Dry-fit the new plank. It should slide in with light hand pressure—not forced, not loose. Sand edges slightly if needed, but never reduce thickness.
- Glue and clamp: Apply Titebond III to both groove sides of adjacent boards. Tap plank fully home with a scrap block and mallet. Clamp across the width for 4–6 hours (follow glue manufacturer’s cure time).
- Finish integration: Once cured, lightly scuff-sand the seam with 220-grit paper. Wipe with mineral spirits, then apply matching finish (e.g., Bona Traffic HD) to blend sheen—don’t skip this step; untreated seams yellow faster.
When to Call a Pro
Some buckling signals deeper trouble no DIYer should tackle alone.
- More than three consecutive planks buckling across multiple rows
- Buckling near load-bearing walls or staircases where subfloor integrity is suspect
- Visible mold growth under or behind the affected area (requires EPA-certified remediation)
- Moisture readings above 19% in subfloor or adjacent framing (per ASTM F2170 standards)
- Floor has radiant heating—cutting near tubing risks catastrophic leaks
Prevention Tips
Replacing one board today won’t help if the root cause stays hidden.
- Maintain indoor humidity between 35–55% year-round using a hygrometer and dehumidifier/humidifier as needed
- Install moisture barriers under floating floors and check crawl space vapor barriers annually
- Leave full 3/8" expansion gaps at all walls, cabinets, and pipes—even behind baseboards
- Wipe up spills within 15 minutes; use mats in high-risk zones like kitchens and entryways
- Acclimate new wood for 5–7 days in the room where it’ll be installed (not the garage or basement)
Can I reuse the old plank if it’s only slightly warped?
No. Even mild warping indicates internal stress or moisture damage. Reinstalling it invites recurrence—and may compromise glue bonds in adjacent joints. According to the National Wood Flooring Association’s 2023 Installation Guidelines, any plank showing visible cupping or crowning over 1/16" should be replaced, not reused.
What if my floor is glued-down instead of nailed?
Glued-down installations require extra care: use a heat gun (≤250°F) to soften adhesive beneath the damaged plank before cutting. Work slowly—you’re not removing glue from the entire subfloor, just enough to lift the board cleanly. Never pry aggressively; you’ll fracture the subfloor or crack adjacent planks.
Do I need to refinish the whole room after replacing one board?
Not necessarily—but you do need to refinish the board and its immediate neighbors (at least two on each side). A single refinished plank stands out starkly due to sheen and color shift. As flooring contractor Marcus Bell notes in Flooring Contractor Magazine (2022): "A patch job that doesn’t feather into surrounding planks looks like a scar, not a repair."
Can I nail the replacement plank instead of gluing it?
Only if your original floor was nailed—and even then, only if the plank is solid 3/4" hardwood (not engineered). Nailing a replacement into an engineered floor risks splitting the wear layer or damaging the core. Glue is safer, quieter, and more dimensionally stable.
How long does the glue take to fully cure before walking on it?
Titebond III reaches handling strength in 1–2 hours, but full bond development takes 24 hours. Wait at least 6 hours before light foot traffic, and avoid dragging furniture for 48 hours. The U.S. EPA estimates that improperly cured wood adhesives contribute to 12% of premature hardwood floor failures reported in warranty claims.
What if the replacement plank doesn’t match the color exactly?
It rarely will—especially in homes older than 5 years. Sun exposure fades floors unevenly. Your best bet is to source reclaimed or pre-weathered stock, or use a tinted polyurethane (like Duraseal Quick Coat in ‘Antique Brown’) to subtly adjust tone. Don’t stain bare wood unless you’ve tested on scrap first—the existing finish may resist absorption.
A well-executed partial replacement restores both function and appearance—without the cost or disruption of a full floor overhaul. Keep your moisture meter calibrated, track seasonal humidity swings, and treat every spill like it’s leaking into your subfloor. That mindset, paired with precise technique, turns a frustrating buckling incident into a quiet win. For related issues, see our guides on interpreting moisture meter readings and fixing cupped hardwood without replacement.