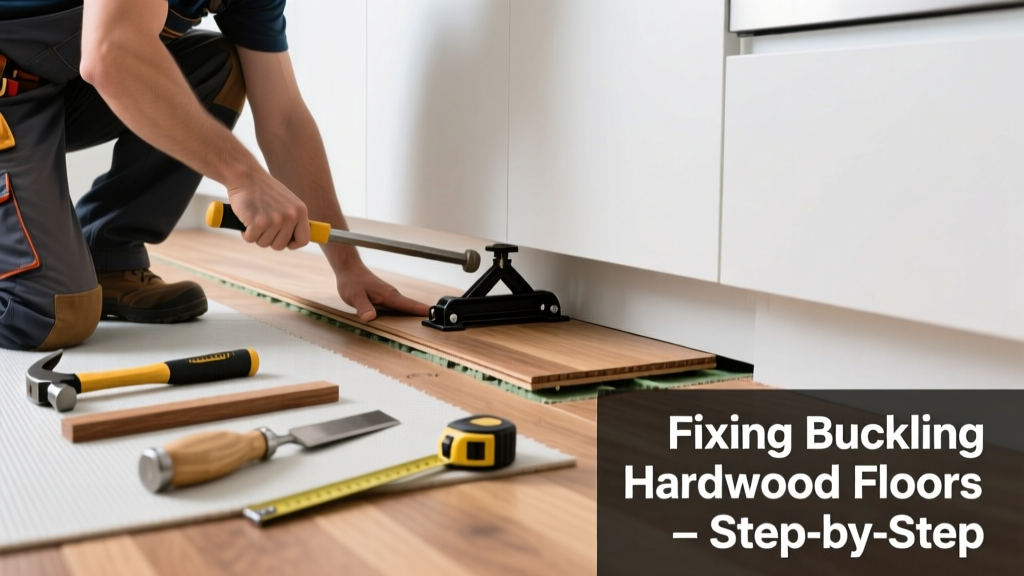
That sudden ridge under your toe, the squeak that wasn’t there last month, or the gap where your floor used to lie flat—buckling hardwood in the kitchen is both alarming and urgent. Unlike other rooms, kitchens face constant moisture exposure from spills, steam, and appliance leaks, making them ground zero for wood movement. Ignoring it risks irreversible cupping, mold growth beneath the subfloor, or even structural compromise.
Quick Diagnosis
Buckling rarely happens without cause. Pinpointing the trigger saves time and prevents repeat failure:
- Recent plumbing leak under the sink or dishwasher (check cabinet backs and toe-kick areas)
- Spilled liquid left unattended for >15 minutes on unfinished or poorly sealed flooring
- High humidity (>60% RH) sustained over 48+ hours—common during summer or after steam-cleaning
- Missing or damaged expansion gaps along walls (should be 3/8" minimum in most kitchens)
- Subfloor moisture reading above 15% with a pin-type moisture meter
Tools & Materials Needed
| Item | Purpose | Estimated Cost |
|---|---|---|
| Pin-type moisture meter | Measures exact moisture content in wood and subfloor to confirm source | $85–$140 |
| Dehumidifier (70-pint capacity) | Reduces ambient humidity to below 50% RH to stabilize wood | $220–$350 |
| Shop vacuum with wet/dry capability | Extracts standing water from subfloor seams or under cabinets | $60–$120 |
| 1/4"-wide pull bar + tapping block | Re-engages loose boards without damaging edges | $22–$38 |
| Wood filler (water-resistant, stain-matching) | Fills minor gaps post-stabilization; avoids visible cracks | $12–$24 |
Step-by-Step Fix
Start only after confirming moisture levels are <12% in both flooring and subfloor—and no active leak remains:
- Stop the source: Shut off water supply to sink/dishwasher, inspect supply lines and drain boots, replace cracked hoses or worn gaskets (kitchen faucet leak repair often resolves hidden drips).
- Dry thoroughly: Run a dehumidifier on high for 72+ hours with doors open and fans circulating air. Use the shop vac to extract pooled water from subfloor joints—especially behind base cabinets.
- Assess board movement: If boards lifted >1/8" but remain intact and uncracked, gently tap back into place using the pull bar and tapping block. Work from center outward to avoid forcing gaps elsewhere.
- Stabilize gaps: Once dry and flat, fill residual seams with water-resistant filler. Sand flush only after 24 hours of full cure, then reseal with polyurethane rated for kitchens (best floor finish for kitchen).
When to Call a Pro
DIY ends where safety or precision begins. Call a certified wood flooring contractor if:
- You measure >19% moisture in the subfloor—even after 5 days of drying
- More than three consecutive boards are cracked, split, or delaminated
- The buckling extends beyond the kitchen into adjacent rooms (sign of whole-house humidity or foundation shift)
- Your home was built before 1980 and you suspect asbestos-laden mastic under the flooring
"Over 62% of hardwood floor failures in kitchens stem from undetected slow leaks—not flooding," notes the National Wood Flooring Association’s 2022 Field Failure Report.
Prevention Tips
Hardwood in kitchens isn’t forbidden—it just demands smarter habits:
- Install a moisture barrier (e.g., Aquabar-B) under flooring, especially over concrete slabs
- Wipe spills within 90 seconds—set phone timer if needed
- Use rugs with non-slip rubber backing (never vinyl or PVC) in high-risk zones like sink and stove areas
- Check dishwasher door gaskets every 6 months; replace if stiff or cracked
- Maintain indoor humidity between 35–55% year-round with a hygrometer and HVAC humidistat
Can I sand down a buckled board myself?
No—sanding a raised board removes critical thickness and creates uneven wear. Buckling indicates internal stress, not surface imperfection. Sanding masks the problem and accelerates future failure. Instead, address moisture first, then reseat or replace.
Will my warranty cover this?
Most factory-finished hardwood warranties exclude damage from moisture events unless you have documented proof of proper acclimation, installation per NWFA standards, and routine humidity control. Review your specific warranty terms at hardwood floor warranty checklist.
How long does it take for buckled floors to flatten naturally?
Rarely. If moisture is fully removed, minor lifting (<1/16") may relax over 10–14 days—but only if the wood hasn’t swollen beyond elasticity. Don’t wait: prolonged swelling causes permanent fiber distortion and glue joint failure.
Can I use a space heater to speed up drying?
Avoid direct heat. Rapid drying stresses wood fibers and increases cracking risk. Use controlled dehumidification instead—heat alone without air exchange raises RH near surfaces and traps vapor underneath.
Is engineered hardwood less prone to buckling in kitchens?
Yes—when installed correctly. Its cross-ply core resists lateral expansion better than solid wood. But it’s not immune: a 2021 study in Journal of Building Engineering found engineered floors failed at nearly identical rates when subfloor moisture exceeded 18%.
Do I need to remove baseboards to fix this?
Often yes—if buckling originates at the wall line. Removing baseboards reveals the expansion gap and lets you check for trapped moisture behind drywall or insulation. Use a pry bar with a wood block to avoid gouging.
Once the floor settles and stays flat for two weeks, reseal high-traffic zones with an aluminum-oxide enhanced finish—and keep that dehumidifier plugged in during humid months. Your kitchen floor doesn’t need to sacrifice beauty for durability; it just needs consistency, vigilance, and the right response when things shift beneath your feet.