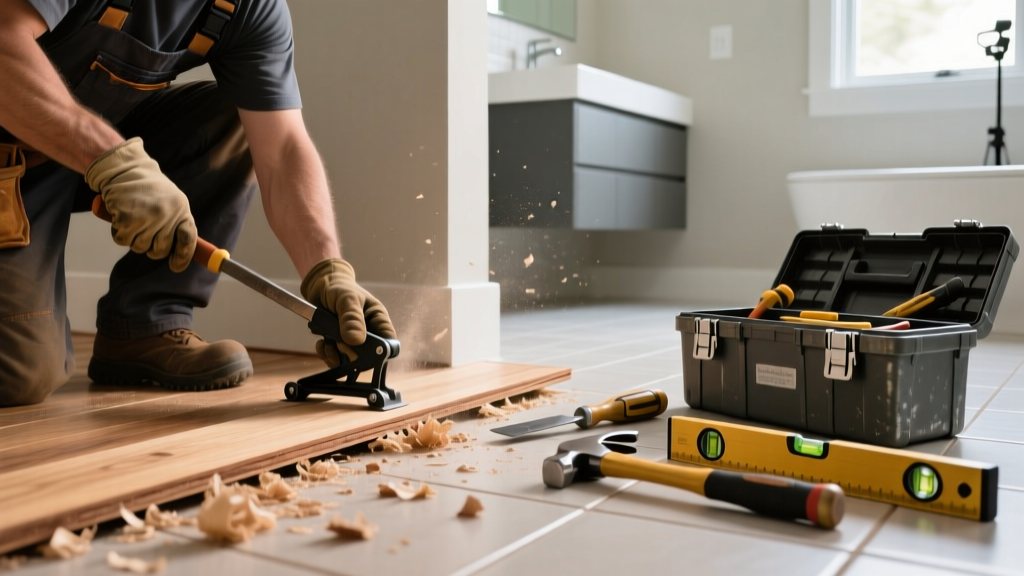
Buckling hardwood in the bathroom isn’t just unsightly—it’s a red flag that moisture is compromising your floor’s structural integrity. Unlike minor cupping, buckling means boards are lifting upward, often with gaps or cracks, and it usually signals prolonged water exposure or failed subfloor sealing. Ignoring it risks rot, mold, and costly replacement.
Quick Diagnosis
Before grabbing tools, identify the root cause. Buckling rarely happens without warning—here’s what’s most likely at play:
- Leaking toilet flange or supply line under the tank
- Shower pan or tub surround failure allowing water into the subfloor
- Missing or cracked caulk around baseboards and transitions
- No vapor barrier between subfloor and hardwood (common in older retrofits)
- High humidity from poor ventilation—especially if the bathroom lacks an exhaust fan rated for ≥50 CFM
Tools & Materials Needed
| Item | Purpose | Estimated Cost |
|---|---|---|
| Moisture meter (pin-type) | Measures wood and subfloor moisture content—critical before repairs | $85–$140 |
| Utility knife & chisel set | Cuts swollen boards cleanly; removes damaged sections without gouging subfloor | $12–$28 |
| Construction adhesive (waterproof polyurethane) | Bonds new boards to subfloor while resisting moisture migration | $14–$22 |
| 1/4" plywood underlayment | Provides stable, dry substrate over damp-damaged OSB or particleboard | $24–$36 per sheet |
| Exhaust fan timer switch | Ensures fan runs 20+ minutes post-shower—reduces humidity buildup | $18–$32 |
Step-by-Step Fix
Repair depends on severity. Start with the least invasive method and escalate only if needed:
- Assess moisture levels: Use a pin-type moisture meter on both the buckled boards and subfloor. If readings exceed 12% MC in hardwood or 19% in subfloor, drying must precede any repair.
- Dry the area thoroughly: Run a dehumidifier (≥70-pint capacity) and box fans for 72+ hours. Place fans at floor level, angled toward walls—not directly at seams.
- Remove severely buckled boards: Cut along board edges with a flush-cut saw, pry up carefully, and inspect subfloor for soft spots or black staining (a sign of mold or decay).
- Replace subfloor if compromised: Cut out damaged sections, install 1/4" plywood over sound areas, and seal all seams with Redgard® waterproofing membrane (per manufacturer specs, 2022).
- Reinstall hardwood: Use construction adhesive + face-nailing every 6" along board length. Leave 3/8" expansion gap at walls—fill with silicone caulk rated for wet areas.
When to Call a Pro
DIY crosses into dangerous territory when:
- More than three consecutive boards are buckled across a 4' span
- Subfloor feels spongy or emits a musty odor—even after drying
- You discover active mold growth (>10 sq ft) behind baseboards or under cabinets
- The buckling coincides with visible wall tile cracking or grout crumbling near the shower
According to the Insurance Institute for Business & Home Safety's 2023 report, 68% of bathroom floor failures stem from undetected subfloor decay—and 41% require full-room subfloor replacement when addressed past the 72-hour moisture window.
"If you can press a screwdriver into the subfloor with light thumb pressure, it’s too compromised to patch. Replacement—not repair—is the only safe option." — Mike R., certified IICRC flooring restoration technician, 2022
Prevention Tips
Hardwood in bathrooms demands proactive moisture control—not just reactive fixes:
- Install an exhaust fan with humidity-sensing controls (e.g., Broan® QTRE110L), not just a basic switch
- Recaulk baseboards and floor-to-tub transitions every 12–18 months using 100% silicone labeled for 'wet areas'
- Run the exhaust fan for 20 minutes before and 30 minutes after every shower—use a timer switch to enforce this habit
- Avoid steam showers unless flooring is engineered hardwood with aluminum oxide finish and installed over concrete slab (not wood subfloor)
Can I sand down buckled hardwood instead of replacing it?
No. Sanding compresses the wood fibers but doesn’t reverse internal swelling or restore structural bond to the subfloor. You’ll likely see immediate re-buckling—or worse, board splitting within weeks. Sanding is only appropriate for surface-level cupping, not vertical lift.
Will a dehumidifier alone fix buckling without removing boards?
Only if caught within the first 48 hours and moisture readings stay below 10% MC. After 72 hours, lignin breakdown begins—making permanent deformation irreversible. A dehumidifier supports drying but never replaces removal of compromised material.
Is engineered hardwood safer than solid in bathrooms?
Yes—if properly specified. Look for products with ≥5mm wear layer, HDF core (not plywood), and AC5 abrasion rating. Avoid floating installations; glue-down is mandatory. Even then, engineered hardwood remains riskier than LVP or tile in high-humidity zones like shower surrounds.
How long should I wait before walking on repaired flooring?
Wait at least 72 hours after adhesive application before light foot traffic. Full cure takes 7 days—delay furniture placement and avoid wet mopping until then. Use rubber-backed mats (not vinyl) to protect newly installed sections.
Can I use a space heater to speed up drying?
Not safely. Space heaters create uneven thermal stress that worsens warping and may ignite trapped moisture vapor. Stick to commercial-grade dehumidifiers and airflow—never direct heat sources near buckled wood.
Do I need to replace all the hardwood if only one section buckled?
Not necessarily—but you must match moisture content across the entire room. Acclimate replacement boards for 72 hours in the bathroom (not just the house) and check adjacent boards with your moisture meter. If neighboring boards read >10% MC, expand the repair zone.
Fixing buckling hardwood in the bathroom isn’t about quick patches—it’s about restoring a moisture-resistant system. That means addressing the leak, drying thoroughly, reinforcing the subfloor, and locking in prevention with smart ventilation and maintenance. Skip any of those steps, and you’re just buying time before the next buckle appears. For more on moisture-resistant bathroom flooring options, see our guide on best bathroom flooring for moisture and how to seal hardwood floors properly.