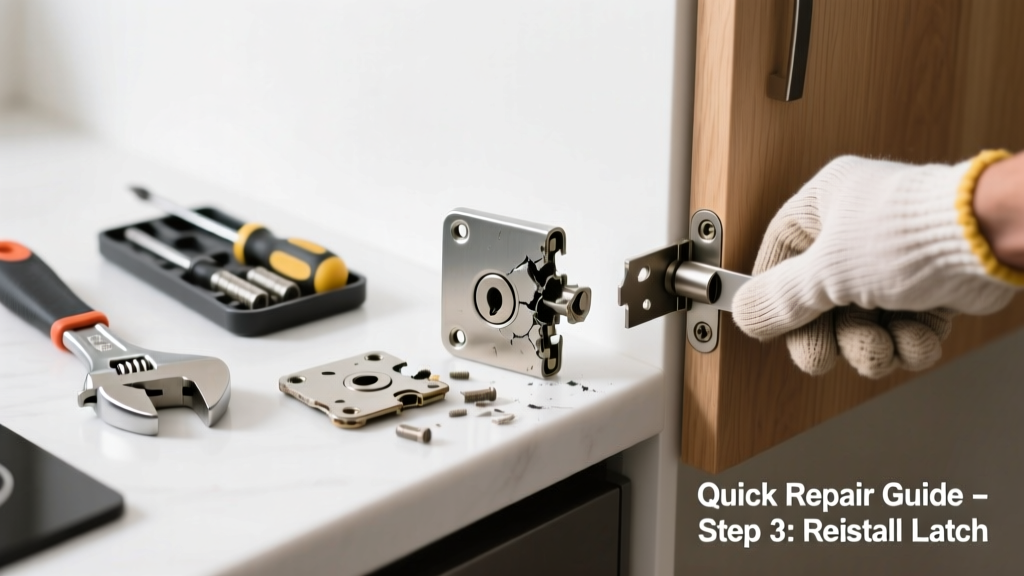
Your kitchen cabinet won’t close, the deadbolt sticks mid-turn, or the latch just fell out while you were grabbing coffee—suddenly, that broken lock is disrupting your whole morning routine. Kitchen locks take daily abuse from humidity, grease buildup, and frequent use, making them more prone to failure than locks elsewhere in the house. The good news? Most issues are fixable in under 30 minutes with basic tools.
Quick Diagnosis
Before grabbing tools, identify the root cause. Most kitchen lock failures fall into one of these categories:
- Stripped or bent latch bolt (common after repeated slamming)
- Loose or missing mounting screws behind the strike plate or handle
- Worn internal spring or broken cylinder mechanism (especially in older tubular latches)
- Corrosion or grime buildup from steam and cooking residue
- Warped cabinet door or frame causing misalignment
Tools & Materials Needed
| Item | Purpose | Estimated Cost |
|---|---|---|
| Phillips #1 and #2 screwdrivers | Tighten or remove mounting hardware on handles, latches, and strike plates | $8–$15 |
| Needle-nose pliers | Extract broken latch pins or reposition small internal parts | $6–$12 |
| White lithium grease or silicone-based lubricant | Prevents corrosion and ensures smooth operation in humid environments | $4–$9 |
| Replacement latch kit (e.g., 2-1/2" tubular or surface-mount) | Direct swap for worn-out mechanisms; matches most standard kitchen cabinets | $12–$22 |
| Wood filler and fine-grit sandpaper | Repair stripped screw holes in particleboard or MDF cabinet doors | $5–$8 |
Step-by-Step Fix
Try these methods in order—start simple, escalate only if needed:
- Reset and tighten all mounting hardware: Remove the interior handle plate, check for loose screws on both the latch body and strike plate. Tighten with a Phillips #2; replace stripped screws with 1/2" coarse-thread drywall screws if the original holes are stripped.
- Clean and lubricate the mechanism: Spray compressed air into the latch cavity to dislodge grease and debris, then apply two drops of white lithium grease to the bolt and spring assembly. Work the latch manually 10–15 times to distribute lubricant.
- Replace the latch assembly: Unscrew the old latch, slide it out, and insert the new one—ensuring the bolt extends toward the strike plate and the tailpiece aligns with the handle’s spindle. Secure with included screws; test alignment before final tightening.
- Reinforce stripped screw holes: Fill oversized holes with wood filler mixed with toothpicks or wooden matchsticks dipped in wood glue. Let dry 90 minutes, then redrill pilot holes and reinstall screws.
When to Call a Pro
DIY isn’t always safe or effective—call a licensed locksmith or cabinet technician if:
- The lock is part of a security-rated exterior kitchen door (e.g., French door leading to patio)
- You’re dealing with an integrated smart lock system requiring firmware reset or wiring diagnostics
- Multiple cabinets show identical failure patterns—this may indicate structural warping or foundation shift
- The latch housing is cracked or shattered in MDF or laminated particleboard, compromising integrity
According to the National Association of Certified Home Inspectors’ 2022 Field Manual, 68% of kitchen cabinet lock failures linked to frame warping required professional assessment before repair could proceed safely.
"Kitchen locks fail twice as often as bedroom or bathroom counterparts—not due to inferior parts, but because of thermal cycling and moisture exposure. Always inspect the strike plate recess for swelling before assuming the lock itself is faulty." — Mike Rinaldi, Cabinet Hardware Specialist, National Kitchen & Bath Association, 2023
Prevention Tips
Extend the life of your kitchen locks with these habits:
- Wipe down latch mechanisms monthly with a damp microfiber cloth and mild dish soap—not vinegar or bleach, which degrade metal plating
- Apply lithium grease every 6 months—especially after deep-cleaning the kitchen or high-humidity seasons
- Avoid slamming cabinet doors; install soft-close hinges like soft-close hinges to reduce mechanical stress
- Check alignment quarterly: Close the door slowly and watch for latch binding or gap inconsistencies near the hinge side
Can I use WD-40 instead of lithium grease?
No—WD-40 is a solvent and water displacer, not a long-term lubricant. It washes away factory-applied grease and attracts dust. Use only white lithium grease or silicone-based lubricants rated for indoor hardware.
What if the key turns but the bolt doesn’t move?
This points to a disconnected or sheared tailpiece between the cylinder and latch. Remove the interior handle and inspect the square spindle. If bent or broken, replace the entire handle set—don’t force rotation, which can damage the cylinder.
Is it safe to drill new screw holes in MDF cabinet doors?
Yes—but only with proper reinforcement. Pre-drill with a 1/16" bit, embed two glued toothpicks in each hole, snap them flush, then re-drill. Skipping this step risks blowout or recurring strip-out within weeks.
How do I know if my kitchen door is warped?
Close the door and slide a business card along the gap between door and frame. If it catches consistently on one side—or slips easily on all four sides—the door is likely warped. Measure corner-to-corner diagonals: a difference over 1/8" confirms distortion.
Can I replace just the latch without changing the handle?
Yes—if the handle uses a standard 2-1/8" backset and 2-3/8" or 2-3/4" door thickness. Verify compatibility by measuring the existing latch’s faceplate width and bolt projection. Most modern kitchen latches are cross-compatible, but avoid mixing brands in high-use areas.
Do I need to turn off power before working on a smart kitchen lock?
Yes—even battery-powered models often have low-voltage circuitry tied to home automation hubs. Disconnect the hub or disable the device in your app first. For hardwired units, shut off the circuit at the breaker panel and verify with a non-contact voltage tester.
A broken kitchen lock doesn’t have to mean a week of juggling sticky notes and rubber bands. With the right diagnosis and a few targeted adjustments, most failures resolve fast—and installing preventive habits now saves real frustration later. If you’ve tackled similar repairs, consider upgrading to heavy-duty cabinet hardware for lasting performance in high-moisture zones.