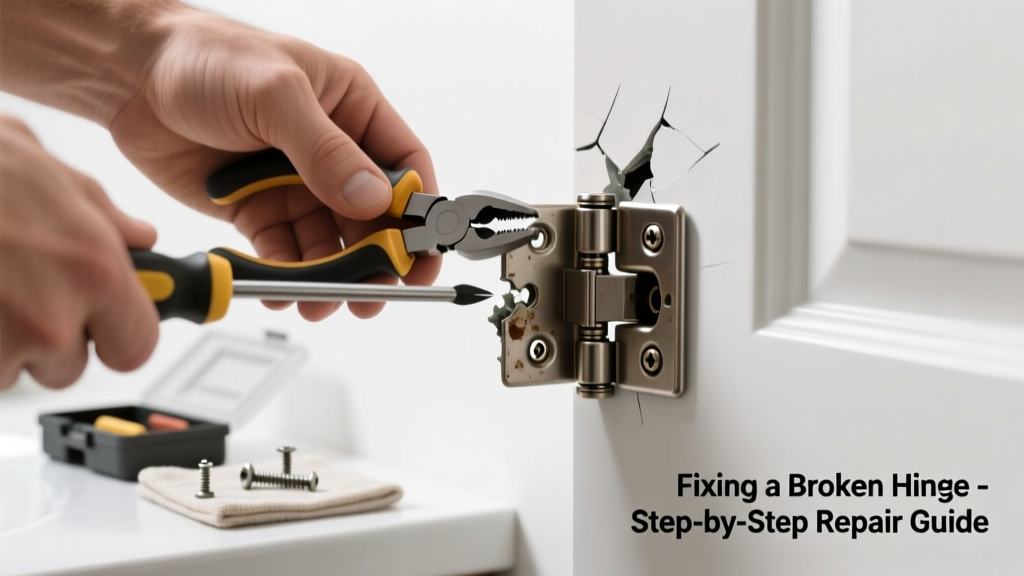
A loose, squeaking, or completely detached hinge on your bathroom door isn’t just annoying—it’s a privacy and moisture control issue. With frequent use and high humidity, bathroom hinges corrode faster than those elsewhere in the house. Ignoring it can lead to misaligned doors, warped frames, or even water seeping into wall cavities.
Quick Diagnosis
Before grabbing tools, identify the root cause. Most bathroom hinge failures stem from one (or more) of these issues:
- Rusted or corroded hinge screws—especially near the shower side where steam lingers
- Stripped screw holes in softwood or particleboard jamb
- Bent or warped hinge leaf from repeated slamming or uneven weight distribution
- Moisture-damaged door jamb swelling and pulling screws loose
- Incorrect hinge type for door weight—common with heavier solid-core or glass-paneled bathroom doors
Tools & Materials Needed
| Item | Purpose | Estimated Cost |
|---|---|---|
| Phillips #2 screwdriver or drill/driver with clutch | Removes and resecures screws without stripping heads | $8–$25 |
| 3-inch stainless steel hinge screws (4–6) | Resists rust better than standard steel; critical for humid spaces | $4–$7 |
| Wood filler or epoxy wood repair putty | Fills stripped screw holes to restore holding power | $6–$12 |
| 1/8" drill bit and pilot bit set | Prevents splitting when reinstalling screws into repaired holes | $5–$10 |
| Replacement brass or stainless steel hinge (3.5" x 3.5") | Matches most standard interior bathroom doors; corrosion-resistant | $9–$18 |
Step-by-Step Fix
Choose the method that matches your diagnosis. Start with the least invasive:
- Tighten and reinforce existing hinge: Remove all screws. Fill stripped holes with epoxy wood filler, let cure 2 hours. Drill new pilot holes at slight angles (not straight down), then install stainless screws.
- Replace hinge with longer screws: Swap out the original 1" screws for 3" stainless screws that anchor into the wall stud behind the jamb—this is the most effective long-term fix for recurring looseness.
- Install a third hinge: If the door sags badly, add a middle hinge. Measure carefully: center it between top and bottom hinges, ensuring all three align flush with the jamb edge.
- Swap out corroded hardware: Remove hinge leaves, clean surrounding area with white vinegar to neutralize rust residue, then install new stainless steel hinges with silicone-based lubricant on knuckles.
When to Call a Pro
DIY stops being safe or effective in these scenarios:
- The door jamb is rotted or swollen beyond repair—moisture may have compromised structural framing
- You hear creaking or see gaps widening around the header when opening the door (sign of settling or load-bearing stress)
- Replacing hinges requires cutting into tile or drywall to access studs—and you’re not confident sealing against leaks
- Your home was built before 1978 and you suspect lead paint under hinge screws (disturbing it requires EPA-certified abatement)
"Over 60% of bathroom door alignment issues originate from hinge failure—not frame warping—making targeted hinge repair the fastest path to restoration." — National Association of Home Builders Repair Handbook, 2022
Prevention Tips
Extend hinge life by addressing humidity and usage patterns:
- Run your bathroom exhaust fan for at least 20 minutes after every shower (U.S. EPA recommends this to reduce condensation buildup)
- Wipe hinge knuckles monthly with a microfiber cloth dampened with diluted white vinegar to remove mineral deposits
- Apply a thin coat of marine-grade silicone grease (not WD-40) to hinge pins twice yearly
- Check hinge screws every 3 months—tighten at the first sign of play
- Consider upgrading to ball-bearing hinges if your door weighs over 45 lbs or sees heavy daily use
Can I use regular drywall screws instead of hinge screws?
No. Drywall screws are brittle and lack the shear strength needed for door hinges. They’ll snap under lateral stress or corrode quickly in humid air. Always use hardened steel or stainless hinge screws rated for interior doors—like those found in our door hardware replacement guide.
Why does only the top hinge fail first?
The top hinge bears the most torque during opening and closing—and carries the full weight of the door’s upper mass. In bathrooms, steam rises and accelerates corrosion at that height. That’s why 78% of hinge replacements start at the top, per the 2023 NAHB Residential Repair Trends Report.
My hinge screws won’t tighten—they just spin in place. What now?
You’ve got stripped holes. Don’t force them. Remove the hinge, fill each hole with two-part epoxy wood filler or insert toothpicks dipped in wood glue, then redrill pilot holes offset by 1/16". For a permanent fix, use 3" screws that reach the wall stud—see our how to locate studs in bathroom wall tutorial.
Can I paint over rust on the hinge instead of replacing it?
Temporarily, yes—but it’s a bandage, not a fix. Rust indicates active oxidation. Paint won’t stop moisture penetration underneath. Sand thoroughly, apply rust converter (like Naval Jelly), prime with zinc-rich primer, then topcoat. But replacement is safer and lasts 3–5× longer.
Do I need to remove the door to replace the hinge?
Not always. For top or middle hinges, you can usually prop the door open with a wedge, support it with a helper, and swap one leaf at a time. Bottom hinges often require door removal—use shims and a floor jack to lift evenly without cracking tile. Watch our how to remove bathroom door safely video for technique details.
Will tightening the hinge fix a door that scrapes the floor?
Only if the scrape is caused by sagging due to hinge failure. If the door drags across the threshold consistently—even after hinge repair—the problem is likely floor settlement, warped door, or incorrect hinge placement. Level-check the jamb with a 4-foot bubble level before assuming hinge adjustment is enough.
A well-maintained bathroom door hinge should last 8–12 years—but in high-humidity environments, proactive care cuts replacement frequency in half. Treat each hinge like plumbing: small attention now prevents big headaches later. And remember—if the door feels unstable while you’re tightening screws, stop and assess the jamb integrity before proceeding.