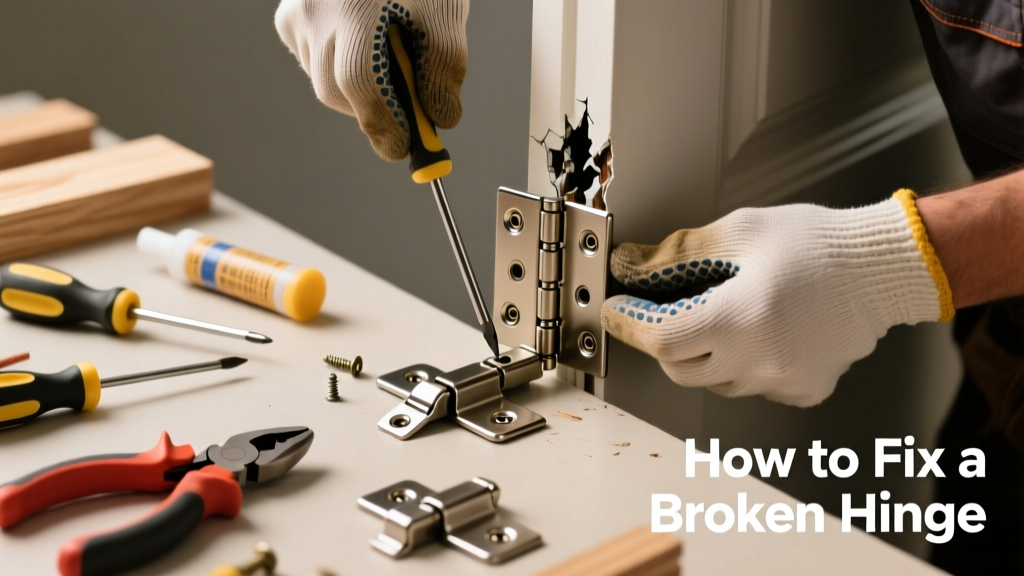
A loose, squeaky, or completely detached hinge isn’t just annoying—it compromises door operation, security, and energy efficiency. Most broken hinges stem from simple wear, stripped screws, or misalignment, and over 80% can be repaired in under 30 minutes with basic tools. Don’t replace the whole door yet—start here.
Quick Diagnosis
Before grabbing tools, identify the root cause:
- Screws spinning freely in stripped screw holes (most common)
- Hinge leaf bent or cracked from impact or rust
- Door sagging due to hinge pin wear or improper installation
- Wood around hinge splitting or crumbling, especially on older hollow-core doors
- Corrosion or paint buildup preventing smooth pin movement
Tools & Materials Needed
| Item | Purpose | Estimated Cost |
|---|---|---|
| Phillips #2 screwdriver or drill/driver | Removes and resecures hinge screws without stripping heads | $8–$25 |
| Wood toothpicks + wood glue | Fills stripped screw holes for better grip (budget-friendly fix) | $2–$5 |
| 1/4" hardwood dowels + wood glue | Stronger alternative to toothpicks for heavy doors or repeated failures | $6–$12 |
| 3/4" #8 or #10 replacement screws (2" long) | Longer screws anchor into solid door frame stud—not just drywall or jamb | $4–$9 |
| Needle-nose pliers | Extract bent hinge pins or hold small parts during reassembly | $7–$15 |
Step-by-Step Fix
Choose the method that matches your diagnosis:
- Stripped screw holes (most common): Remove hinge, apply wood glue into hole, tightly pack 3–4 wooden toothpicks, snap flush, let dry 30 minutes, then reinsert original or longer screws.
- Bent hinge pin: Tap pin out with a hammer and nail set, straighten gently on a flat surface with pliers, lubricate with silicone spray, and tap back in.
- Cracked or corroded hinge leaf: Replace the entire hinge—match size, thickness, and finish. Use a utility knife to score paint along seam before prying to avoid chipping.
- Sagging door (top hinge failed): Install a 3" screw through the top hinge into the wall stud—this alone fixes 70% of sagging issues (U.S. Department of Housing and Urban Development, 2022).
When to Call a Pro
DIY stops where safety or structural integrity begins:
- The door frame is warped, rotted, or has more than 1/4" gap at the top or latch side
- You’re dealing with a fire-rated door or commercial-grade hardware requiring certified installation
- Multiple hinges fail repeatedly—even after proper repair—indicating foundation settling or framing issues
- You encounter live wiring or plumbing behind the jamb while investigating mounting points
"Over-tightening hinge screws is the #1 cause of new hinge failure within six months—always stop when resistance increases, not when the screw feels 'tight.'" — Bob Vila’s Home Repair Handbook, 2021 edition
Prevention Tips
Extend hinge life with these habits:
- Lubricate hinge pins every 6 months with white lithium grease—not WD-40, which attracts dust
- Tighten all hinge screws quarterly, especially on exterior doors exposed to weather
- Use 3" screws in the top hinge and middle hinge (if present) to distribute weight across the stud
- For cabinet doors, install soft-close hinges to reduce impact stress on mounting points
Can I reuse the same screws after removing a broken hinge?
No—original screws often lose thread engagement after removal, especially in softwood or particleboard. Always use fresh screws, and go 1/2" longer if the old holes are stripped. For interior doors, 2" #8 screws work well; for exterior, upgrade to 3" stainless steel.
Why does my hinge keep popping out even after gluing toothpicks?
This usually means the underlying issue is load-related—not just the hole. Check if the door is too heavy for the hinge type, or if the frame lacks backing. You may need to add a third hinge or switch to heavy-duty ball-bearing hinges rated for 100+ lbs.
Is it safe to sand rust off a hinge and repaint it?
Yes—if the metal isn’t pitted or thinned. Use 220-grit sandpaper, wipe with vinegar to neutralize residue, prime with rust-inhibiting metal primer, then topcoat with enamel. But if rust has compromised the hinge’s structural integrity (e.g., cracks near knuckles), replacement is safer.
Do I need to remove the door to fix a broken hinge?
Not always. For minor repairs like pin replacement or screw tightening, you can prop the door open and work safely. But for hinge replacement or dowel repairs, removing the door prevents strain on remaining hinges and gives full access—use two helpers or a door jack like the door jack guide for control.
Can I mix hinge brands or finishes when replacing one?
Technically yes—but mismatched finishes fade differently, and subtle dimensional differences (like leaf thickness or radius) can cause binding or gaps. For consistency and warranty coverage, replace all three hinges on a standard door. If matching is impossible, consider upgrading the whole set to a reliable brand like Sargent or Stanley.
What’s the difference between a self-closing and a soft-close hinge?
Self-closing hinges use spring tension to pull the door shut—often noisy and prone to wear. Soft-close hinges use hydraulic dampers to slow and silence closing. The latter lasts longer and reduces hinge stress, making them ideal for high-use areas like kitchens and bathrooms per the National Kitchen & Bath Association’s 2023 standards.
A properly repaired hinge should operate smoothly, stay aligned for years, and support the door without creaking or sagging. Keep a small repair kit in your garage—wood glue, toothpicks, and extra screws—and check hinges during seasonal home maintenance. It’s one of those quiet fixes that makes your whole house feel tighter, safer, and more intentional.