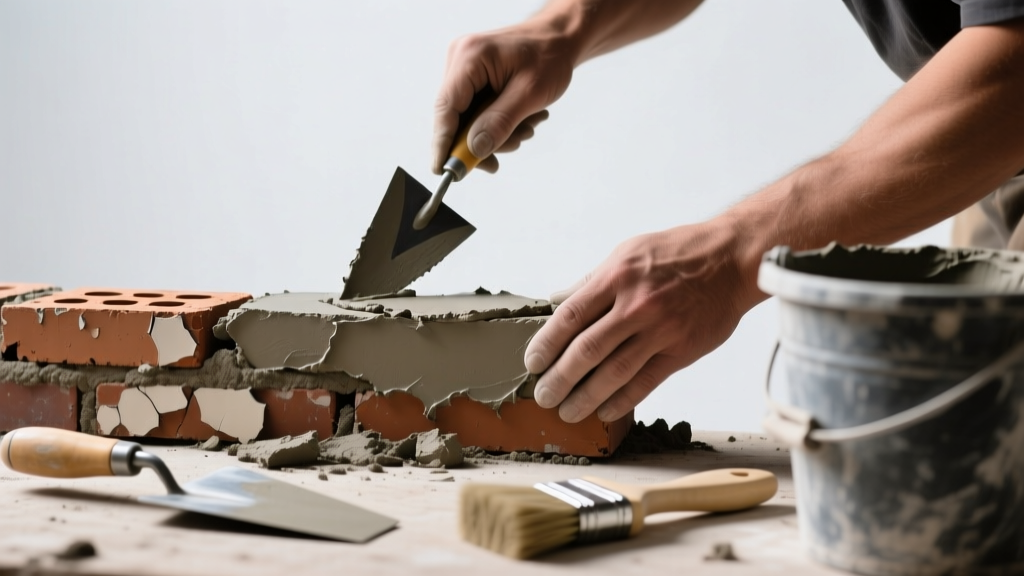
Brick spalling isn’t just cosmetic—it’s a red flag that moisture is breaching your masonry, freezing, and popping off the surface. If your spalling repair cracked, flaked again within months, or never bonded at all, the root cause wasn’t addressed. Let’s fix what went wrong—not just cover it up.
Quick Diagnosis
Spalling repairs fail for predictable reasons. Start here before grabbing tools:
- Moisture trapped behind the patch (most common—especially if no weep holes or flashing was installed)
- Using non-breathable sealers like acrylic or silicone over historic brick (traps vapor, worsens freeze-thaw cycles)
- Applying patch material to damp or dusty substrate (adhesion fails at the bond line)
- Ignoring underlying mortar joint deterioration (spalling often starts where mortar is missing or recessed)
- Using Portland-cement-based patch on soft, lime-rich historic brick (rigid patch stresses softer substrate)
Tools & Materials Needed
| Item | Purpose | Estimated Cost |
|---|---|---|
| Wire brush + stiff masonry brush | Removes loose debris and efflorescence without damaging sound brick | $8–$15 |
| Lime-based mortar (Type O or NHL 2) | Flexible, vapor-permeable match for older brick; prevents stress cracking | $12–$20 per bag |
| Grinding wheel with diamond cup wheel | Cuts back failing patch cleanly to sound substrate; critical for bond integrity | $45–$75 (rental or purchase) |
| Hydrophobic silane/siloxane sealer | Repels water while allowing vapor transmission—never use film-forming sealers | $25–$38 per gallon |
| Backer rod + polyurethane caulk | Fills deep voids before patching; accommodates minor movement | $12–$18 |
Step-by-Step Fix
Don’t re-patch over failure—rebuild the system. Use these methods in order of severity:
- Surface Re-prep & Re-patch: Grind out all failed material ¼" beyond visible damage, down to solid brick. Clean with compressed air (not water), then apply lime mortar in thin layers (<⅛") using a pointing trowel. Cure 72 hours under damp burlap.
- Weep Hole Installation: Drill ⅜" weep holes at the bottom of the affected course, spaced every 24". Insert stainless steel mesh to deter insects but allow drainage. According to the Brick Industry Association’s Technical Note 28B (2022), unvented spalled areas retain 3× more moisture than those with functional weeps.
- Flashing Correction: If spalling occurs just above a roofline or lintel, remove mortar, install L-shaped galvanized flashing with a 1" upturn and 2" outward leg, then re-point with lime mortar.
- Vapor-Permeable Sealing: After 28 days of curing, apply two coats of silane-based sealer (e.g., Prosoco Repellent-10) at 200 ft²/gal. Avoid sealing in direct sun or below 40°F.
When to Call a Pro
DIY stops where structural risk begins. Call a masonry contractor if:
- More than 15% of bricks in a wall show active spalling or powdering
- Spalling coincides with bulging, leaning, or horizontal cracks wider than ⅛"
- The wall is load-bearing and shows signs of mortar erosion deeper than ½"
- You suspect rising damp (salts or tide marks above grade) — requires moisture metering and potential damp-proof course repair
Prevention Tips
Spalling recurrence is almost always preventable. Focus on moisture management:
- Inspect gutters and downspouts twice yearly—clogs cause splashback onto brick veneer
- Maintain 6" clearance between soil and brick; add gravel trench if grading slopes toward foundation
- Never use pressure washers above 1,200 PSI on brick—forces water into pores (per ASTM C1233-21 testing)
- Re-seal with breathable products every 5–7 years—not annually—and only after confirming surface dryness with a plastic sheet test
Can I use regular cement mortar to patch spalling brick?
No. Portland cement mortar is too rigid and impermeable for most brick built before 1960. It traps moisture, creates differential movement, and accelerates further spalling. The National Park Service’s Preservation Brief 2 (2020) mandates lime-based mortars for historic masonry repairs.
How long should I wait before sealing after patching?
Wait a minimum of 28 days. Lime mortar needs full carbonation to develop strength and breathability. Sealing too soon traps moisture and causes blistering or white hazing. Test readiness with a moisture meter—readings must be under 12% RH at 1" depth.
Will painting over spalled brick hide the problem?
Painting masks symptoms but guarantees worse failure. Paint blocks vapor transmission, trapping condensation behind the film. Within 1–3 years, blistering, peeling, and accelerated spalling occur. Instead, see our guide on brick repointing vs. replastering for authentic solutions.
Is spalling always caused by winter freeze-thaw cycles?
No—though freeze-thaw is the most visible trigger, spalling also results from chronic wetting (leaky roofs, poor flashing), salt intrusion (de-icing chemicals or coastal air), and incompatible repairs. The U.S. EPA estimates that 14% of household water usage is from leaks—many hidden behind brick veneer.
Can I patch spalling on my chimney myself?
Only if it’s limited to the top 2 courses and no cracks extend into the crown. Chimneys endure extreme thermal cycling and wind-driven rain. If you spot horizontal cracks in the crown, efflorescence on the interior flue, or mortar loss near the damper, consult a certified chimney sweep—see our chimney crown repair guide for warning signs.
Does brick color affect spalling susceptibility?
Yes—darker bricks absorb more solar heat, increasing thermal stress. Red clays with high iron content are more prone to surface scaling when exposed to repeated wet-dry cycles. Lighter buff or tan bricks often have denser firing profiles, offering slightly better resistance—but proper detailing matters far more than color.
"Over 60% of failed spalling repairs trace back to inadequate substrate prep—not the patch material itself." — Masonry Conservation Specialist Maria Chen, Journal of Preservation Technology, Vol. 44, 2021
A properly repaired spall doesn’t just look right—it breathes right, drains right, and lasts. Skip the quick patch. Address the moisture path, match the material science, and protect the system—not just the surface. Your brick will thank you in decades, not months.