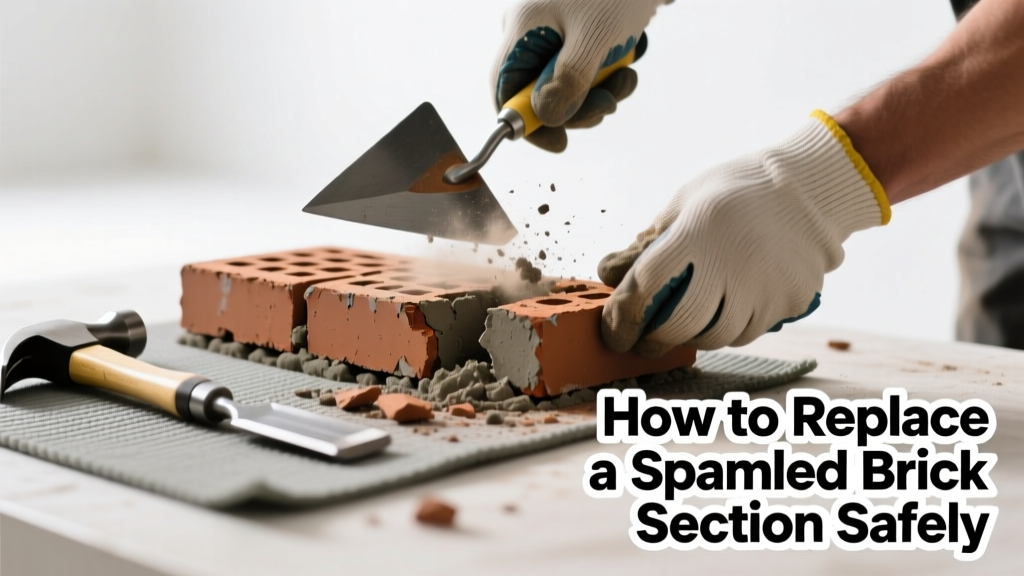
Brick spalling isn’t just cosmetic—it’s a red flag that moisture has breached the masonry surface, weakening structural integrity. If you spot flaking, crumbling, or powdering on exterior brickwork—especially near grade level or under overhangs—you likely need targeted replacement, not just patching. Ignoring it invites freeze-thaw damage, efflorescence, and eventual mortar joint failure.
Quick Diagnosis
Spalling occurs when water penetrates brick pores, freezes, and expands—causing the face to pop off. Common root causes include:
- Poor drainage directing runoff against the wall
- Missing or cracked mortar joints allowing water ingress
- Use of non-frost-resistant brick (e.g., common clay brick in cold climates)
- Improper sealant application trapping moisture behind the surface
- Old mortar with high lime content that erodes faster than modern Type N or S blends
Tools & Materials Needed
| Item | Purpose | Estimated Cost |
|---|---|---|
| Masonry chisel (3/8" flat) | Controlled removal of damaged brick without cracking adjacent units | $12–$20 |
| Pointing trowel | Applying and finishing new mortar in tight joints | $8–$15 |
| Type S mortar mix | High-strength, weather-resistant blend for exterior load-bearing walls | $10–$14 per 60-lb bag |
| Matching replacement brick (full-size) | Must match absorption rate, density, and color—not just appearance | $1.80–$4.50 per brick |
| Wire brush & stiff nylon brush | Cleaning dust and debris from cavity and joints before repointing | $5–$12 |
Step-by-Step Fix
Replacing only the spalled brick—not the whole wall—preserves aesthetics and avoids unnecessary labor. Follow these steps precisely:
- Mark and isolate: Outline the damaged brick with a carbide-tipped scribe; score mortar joints 1/4" deep on all four sides using a grout saw.
- Remove carefully: Tap chisel at 30° angles along scored joints—never strike directly on brick face. Work top-to-bottom, removing mortar first, then gently lever out the brick with a flatbar.
- Prepare cavity: Brush out all loose material and rinse with low-pressure water. Let dry 24 hours—no damp substrate allowed.
- Set new brick: Butter all four sides with 3/8"-thick mortar bed, press firmly into place, and tap level with a rubber mallet. Wipe excess immediately with damp sponge.
- Repoint joints: After 24 hours, tool mortar joints to match original profile (concave or V-groove) using a jointer. Cure with misting for 72 hours.
When to Call a Pro
DIY replacement crosses into unsafe or code-violating territory when:
- The spalled area exceeds three bricks in a vertical column—or spans more than two courses horizontally
- You’re working above second-story height without scaffolding rated for masonry loads
- Structural movement is visible: diagonal cracks wider than 1/8", bulging walls, or shifting lintels
- The wall is part of a historic building with preservation requirements (e.g., listed on National Register)
- Mortar analysis reveals sulfate attack or pyrrhotite contamination—both require lab testing and engineered remediation
"Over 62% of premature brick failures stem from mismatched replacement units—not poor workmanship," notes the Brick Industry Association’s Masonry Design Guide, 2022 Edition.
Prevention Tips
Long-term protection starts after the repair is complete:
- Install or clean existing gutters and downspouts—ensure splash blocks divert water at least 5 feet from the foundation
- Apply breathable silane-siloxane sealer every 5–7 years (never acrylic or film-forming types)
- Inspect mortar joints annually; repoint any that are recessed more than 1/4" using matching mortar type and color
- Avoid pressure washing brick—use soft-wash solutions (how to clean brick safely) instead
- Grade soil away from the wall at 1 inch per foot for at least 6 feet to prevent splashback
Can I reuse the old brick after cleaning?
No—spalled brick has lost structural cohesion. Even if the back looks intact, internal microfractures compromise compressive strength. The U.S. Department of Housing and Urban Development advises discarding all visibly spalled units, regardless of apparent depth of damage.
What mortar type matches historic brick?
Most pre-1940 brick requires low-strength, high-lime mortar (Type O or NHL 2). Modern Type S is too rigid and will cause new spalling at the interface. Send a mortar sample to a lab like mortar analysis services for precise specification.
How long does cured mortar need to dry before rain?
Type S mortar needs at least 48 hours of dry, above-40°F conditions before exposure to rain. If precipitation is forecast, cover the repair with breathable masonry curing blanket—not plastic sheeting, which traps condensation.
Is wire brushing enough to prepare the cavity?
No—wire brushing removes loose debris but won’t eliminate efflorescence salts or dust fines. Always follow with compressed air or low-pressure water rinse, then allow full evaporation. Residual dust reduces mortar bond strength by up to 35%, per ASTM C270 test data.
Can I use hydraulic lime mortar for this repair?
Yes—if your original mortar was lime-based and local climate allows. Hydraulic lime (NHL 3.5) offers flexibility and self-healing properties ideal for older brick. But avoid it on walls exposed to constant saturation (e.g., basement exteriors), where Portland-based Type S remains safer.
Do I need a permit for replacing three bricks?
In most jurisdictions, no—but check with your local building department if the wall supports a roof, porch, or balcony. Some cities (e.g., Chicago, Boston) require permits for any masonry work affecting structural envelope integrity—even single-brick replacements on load-bearing walls.
Replacing spalled brick isn’t about perfection—it’s about stopping water’s path before it reaches the interior sheathing or framing. A well-executed single-brick replacement buys you 15–20 years of service life, especially when paired with proper drainage and breathable sealing. Keep your eye on the mortar, not just the brick—and remember, consistency in materials matters more than speed. For deeper issues like rising damp or corroded wall ties, refer to our guide on brick wall moisture problems.