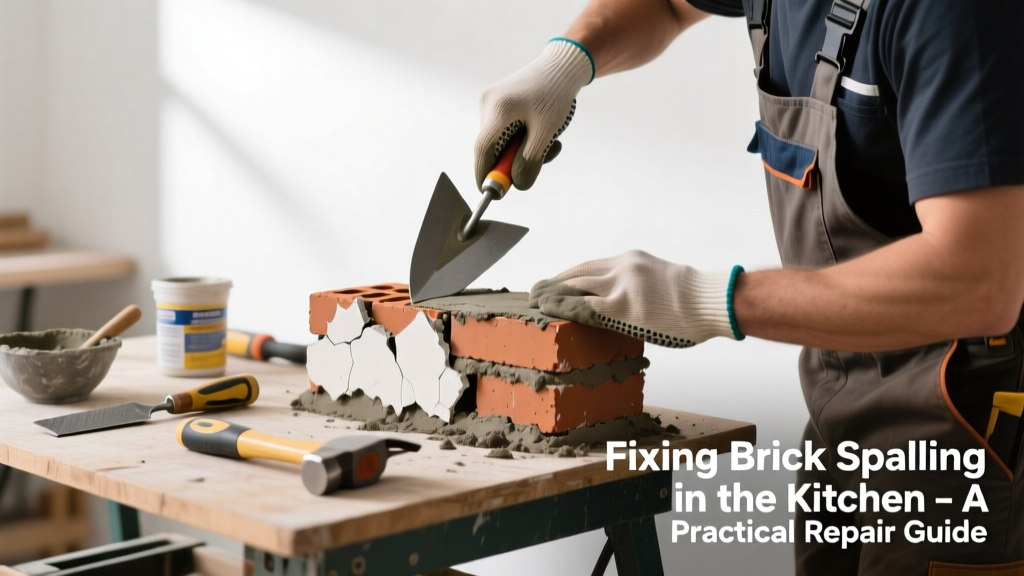
Brick spalling in your kitchen isn’t just ugly—it’s a red flag that moisture or freeze-thaw stress is compromising the masonry behind your backsplash or exposed wall. Unlike exterior brick, kitchen brick faces steam, grease, and frequent cleaning, accelerating deterioration. Ignoring it risks crumbling mortar, water infiltration into cabinets, or even structural weakening over time.
Quick Diagnosis
Spalling happens when the brick’s outer layer flakes or pops off. In kitchens, the culprits are rarely weather-related—instead, they’re localized and repeatable:
- Repeated exposure to steam from boiling pots or dishwashers without proper venting
- Use of acidic or abrasive cleaners (vinegar, citrus-based sprays, steel wool) on unsealed brick
- Poor or degraded mortar joints allowing moisture wicking behind the brick face
- Unsealed brick absorbing cooking oils and grease, which then oxidize and expand under heat
- Thermal cycling from oven or range hood proximity causing microfractures
Tools & Materials Needed
| Item | Purpose | Estimated Cost |
|---|---|---|
| Wire brush (stiff-bristled) | Removes loose debris and weak surface material without damaging sound brick | $8–$12 |
| Masonry patch compound (e.g., Quikrete Vinyl Concrete Patch) | Bonds well to brick, resists kitchen humidity and mild thermal shifts | $14–$18 |
| Grout sponge + clean rags | Smooths patched areas and wipes excess without scratching | $5–$9 |
| Penetrating silane/siloxane sealer (e.g., Prosoco Joint & Seam Sealer) | Blocks oil and steam penetration while allowing vapor transmission | $22–$34 |
| Angle grinder with diamond cup wheel (optional) | For deep spall removal where >1/4" depth is compromised | $85–$140 (rental: $25/day) |
Step-by-Step Fix
Repair depends on severity—but always start dry and cool. Turn off nearby appliances and let brick cool completely before beginning.
- Remove all loose material: Use a wire brush and stiff putty knife to clear flaking brick and dust. Don’t force sound material—only remove what detaches easily.
- Clean and prep the area: Wipe with denatured alcohol (not vinegar or water) to remove grease residue. Let dry 2+ hours—no exceptions.
- Apply patch in thin layers: Mix masonry patch to peanut butter consistency. Press firmly into voids with a flexible trowel. Let cure 24 hrs before light sanding with 120-grit paper.
- Seal only after full cure: Apply two coats of penetrating sealer with a microfiber roller, waiting 4 hrs between coats. Avoid film-forming sealers—they trap moisture and worsen spalling.
When to Call a Pro
DIY works for surface spalling covering under 2 sq ft and less than 1/8" deep. But call a certified mason if you see any of these:
- Spalling spreading across more than three adjacent bricks or extending into mortar joints
- Cracks wider than 1/16" radiating from spalled areas—especially vertical or stair-step patterns
- Efflorescence (white chalky deposits) combined with spalling, indicating chronic moisture migration from behind the wall
- Brick feels spongy or hollow when tapped lightly with a screwdriver handle
According to the Mason Contractors Association of America’s 2022 Field Repair Standards, spalling deeper than 3/16" requires professional assessment to rule out substrate failure or improper original installation.
Prevention Tips
Kitchen brick demands proactive care—not just reactive fixes:
- Install a range hood rated for at least 400 CFM and run it for 10 minutes after cooking ends
- Wipe brick backsplashes weekly with pH-neutral cleaner (like Simple Green All-Purpose) diluted 1:10
- Reapply penetrating sealer every 18–24 months—test with a water droplet: if it soaks in within 5 seconds, it’s time
- Avoid mounting heavy items (e.g., pot racks) directly into spalled brick—anchor into wall studs instead
Can I use bleach on spalled brick?
No. Bleach degrades lime-based mortar and accelerates oxidation of iron compounds in brick, worsening spalling. It also leaves salts that attract moisture. Stick to alcohol or pH-neutral cleaners—never chlorine or acid-based products.
Will painting over spalled brick hide the problem?
Painting masks symptoms but traps moisture underneath, guaranteeing faster, deeper spalling. If appearance is critical, consult a mason about replacing affected bricks with matching reclaimed units—then seal properly.
How long does a DIY patch last in a kitchen?
With proper prep and sealing, a quality vinyl-modified patch lasts 5–7 years in typical kitchen conditions. Unsealed patches fail within 6–12 months due to steam absorption and thermal expansion. Track your reseal dates in your appliance manual or phone calendar.
Is brick spalling in the kitchen a sign of foundation issues?
Rarely. Foundation movement typically causes horizontal cracking or stair-step mortar cracks—not isolated surface flaking. Kitchen spalling is almost always environmental: steam, grease, or cleaning damage. That said, if you spot new cracks elsewhere (floors, door frames), get a structural engineer involved.
Can I replace just one spalled brick myself?
Yes—but only if the surrounding mortar is sound and you can source an exact match. Removing brick risks damaging adjacent units. Use a grout saw and cold chisel; never hammer directly on brick. Replacement requires Type N mortar, not pre-mixed tub products. For best results, see our guide on brick replacement tips.
Does humidity control help prevent kitchen brick spalling?
Absolutely. The U.S. EPA estimates indoor relative humidity above 60% significantly increases moisture retention in porous masonry. Run a dehumidifier during humid seasons or install a smart vent fan like the Broan Ultra Silent series that auto-adjusts based on humidity readings.
Brick in the kitchen should enhance your space—not erode it. Treat spalling as a maintenance signal, not a cosmetic nuisance. Small repairs done right now extend the life of your backsplash by a decade or more—and keep your cabinets and wall framing dry and sound. Revisit your sealing schedule every spring and fall, and keep that wire brush handy near the stove.