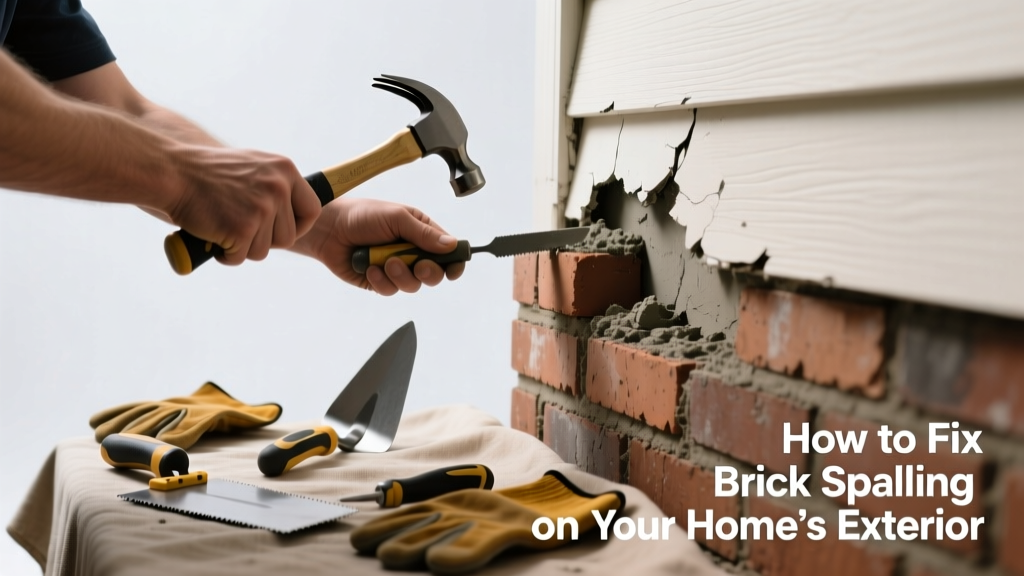
Brick spalling looks like flaking, chipping, or popping off of the brick surface—and it’s rarely just cosmetic. Left untreated, it compromises structural integrity and invites water intrusion that worsens with every freeze-thaw cycle. Catch it early, and you can often repair it yourself in under a day.
Quick Diagnosis
Spalling isn’t random—it’s a symptom. Here are the most common root causes:
- Water infiltration behind the brick veneer or mortar joints
- Freeze-thaw cycling in cold climates (especially if bricks aren’t rated for severe weather)
- Poor-quality or improperly fired bricks (often seen in homes built before 1970)
- Use of impermeable sealers that trap moisture inside the brick
- Efflorescence buildup that expands beneath the surface
Tools & Materials Needed
| Item | Purpose | Estimated Cost |
|---|---|---|
| Wire brush (stiff-bristled) | Removes loose debris and dust from damaged areas | $8–$15 |
| Mortar mix (Type N or S, pre-mixed) | Matches existing mortar strength and color; Type S for load-bearing or below-grade repairs | $12–$20 per 80-lb bag |
| Pointing trowel & margin trowel | For precise mortar application and smoothing joints | $10–$22 |
| Grout bag or caulk gun with masonry tip | Delivers mortar into narrow spalled areas without overfilling | $14–$30 |
| Brick matching kit or sample chip | Ensures color/texture match before full repair (critical for historic homes) | $25–$60 |
Step-by-Step Fix
Repair depends on severity—but always start with dry, clean surfaces and avoid working in rain or temps below 40°F.
- Remove all loose material: Chip away spalled brick faces with a cold chisel and hammer until you reach sound substrate. Wear safety glasses and gloves.
- Brush and dampen: Use a wire brush, then mist the cavity lightly—just enough to prevent the brick from sucking moisture out of fresh mortar too fast.
- Mix and apply mortar: Blend mortar to peanut butter consistency. Press firmly into voids using a pointing trowel or grout bag. Avoid air pockets.
- Tool joints to match: Use a jointer tool or rounded dowel to replicate the original mortar profile (concave, V-joint, etc.). Let cure 24–48 hours before sealing.
- Seal only if necessary: Apply breathable silane/siloxane sealer—not acrylic—after 28 days of curing. The U.S. Department of Housing and Urban Development warns that non-breathable sealers accelerate spalling by trapping vapor pressure.
When to Call a Pro
DIY works for isolated spalling affecting fewer than five bricks. But call a certified mason if you see any of these:
- More than 10% of bricks on a wall face show signs of spalling
- Cracks wider than 1/8″ running vertically or diagonally through mortar joints
- Brick movement—bulging, leaning, or inward bowing—indicating structural failure
- Spalling concentrated at the base of walls or near weep holes (sign of chronic drainage issues)
- Any sign of interior moisture staining, mold, or efflorescence inside the home
"Spalling that extends beyond the face of the brick into the core indicates compromised structural integrity. That’s not a patch job—it’s a rebuild candidate." — Masonry Contractors Association of America, Field Guide to Residential Brick Repair, 2022
Prevention Tips
Preventing recurrence is cheaper and safer than repeated repairs:
- Inspect mortar joints annually and repoint deteriorated ones before water penetrates
- Ensure gutters and downspouts direct runoff at least 5 feet from foundation walls
- Grade soil away from brickwork at a minimum 1-inch drop per foot for 6 feet
- Avoid power-washing brick—high pressure forces water past the surface layer
- In cold climates, use only ASTM C216-compliant bricks labeled "SW" (severe weathering)
Can I paint over spalled brick to hide it?
No. Painting traps moisture behind the surface and worsens spalling. It also violates building codes in many municipalities for exterior masonry. Instead, repair the damage and consider a breathable masonry stain if color correction is needed—learn about masonry stains here.
How long does a proper spalling repair last?
A well-executed repair with compatible materials lasts 15–25 years—if underlying moisture issues are resolved. According to the Brick Industry Association’s 2021 durability study, 83% of premature failures stemmed from unaddressed water management, not poor workmanship.
Is spalling dangerous to my health?
Not directly—but crumbling brick creates inhalable silica dust during removal, which poses respiratory risks. Always wear an N95 respirator and wet-scrub debris. Also, if spalling coincides with interior musty smells or visible mold, test for hidden moisture migration—run a basement moisture test.
Can I replace just the damaged brick face instead of the whole unit?
Sometimes—but only if the damage is truly superficial (less than 1/4″ deep). Deeper spalling means the brick’s structural integrity is compromised. Replacing the entire brick ensures long-term stability and avoids mismatched thermal expansion rates.
Do I need a permit for brick spalling repairs?
Most jurisdictions don’t require permits for cosmetic masonry repairs under 25 square feet. However, if your home is in a historic district or you’re replacing more than three bricks in a structural wall, check with your local building department—historic home repair rules vary widely.
Will sealing stop future spalling?
Only if applied correctly—and only after moisture sources are fixed. A siloxane-based sealer reduces water absorption by up to 90%, but it won’t help if water is entering behind the brick via faulty flashing or clogged weep holes. Think of it as insurance, not a cure.
Brick spalling is one of those problems that whispers before it shouts—flakes today, falling bricks tomorrow. Tackle small patches promptly, document patterns across seasons, and never ignore moisture clues. With the right prep and patience, most spalling repairs hold strong for years—and keep your home’s character intact while doing it.