If your brick wall or chimney emits sharp pops, gritty crunches, or hollow tapping sounds—especially after rain or temperature swings—you’re likely hearing mortar disintegrating behind the surface. That noise isn’t just annoying; it’s a warning sign of moisture infiltration and bond failure. Ignoring it risks spalling bricks, shifting courses, and even partial collapse.
Quick Diagnosis
Mortar noise rarely appears in isolation. Match your symptoms to these common root causes:
- Frost heave damage: Repeated freeze-thaw cycles expanding trapped water in mortar joints (most common in northern climates with older Type N mortar).
- Sulfate attack: Groundwater or soil salts reacting with Portland cement, causing expansion and powdering (common near driveways or foundations).
- Efflorescence buildup: Salt deposits crystallizing beneath the mortar surface, forcing micro-fractures open with audible 'pings'.
- Structural movement: Foundation settlement or lateral pressure from vines/trees creating stress fractures that grind when shifting.
Tools & Materials Needed
| Item | Purpose | Estimated Cost |
|---|---|---|
| Pointing trowel (4" stiff blade) | For precise mortar packing into narrow, deep joints without smearing | $12–$18 |
| Carbide-grit masonry chisel + hammer | Removes failed mortar without damaging brick edges (critical for preserving integrity) | $24–$36 |
| Type O mortar mix (1:2:9 lime:cement:sand) | Flexible, breathable blend compatible with historic and soft brick (per ASTM C270) | $14–$22 per 80-lb bag |
| Stiff nylon brush + misting bottle | Cleans dust and pre-wets bricks to prevent rapid moisture draw from new mortar | $8–$13 |
| Hygrometer + infrared thermometer | Confirms joint moisture content <15% and surface temp between 40°F–90°F before repointing | $35–$65 |
Step-by-Step Fix
Repair must address both symptom (noise) and cause (moisture + bond loss). Use this sequence for joints with active crumbling and audible feedback:
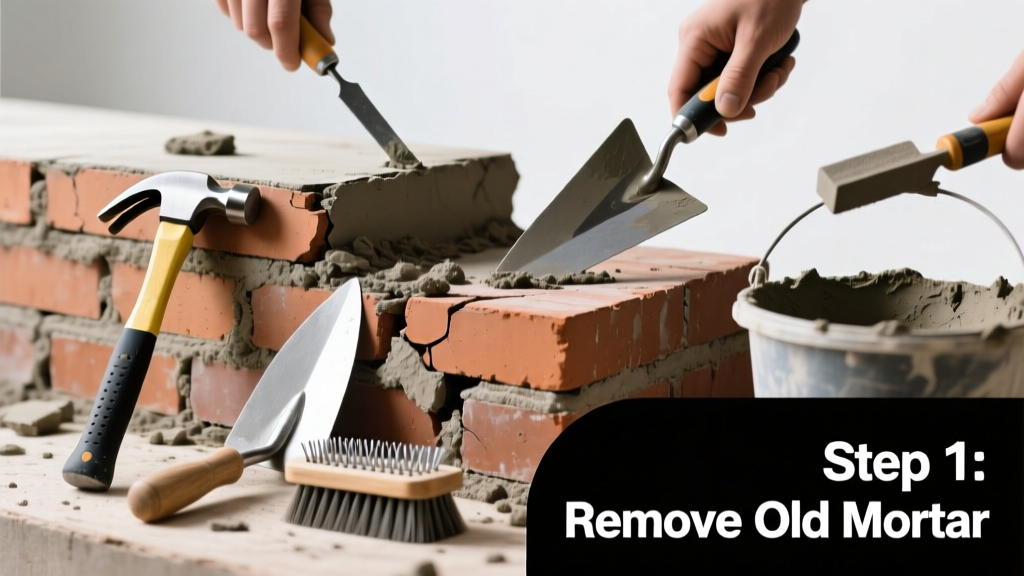
- Remove failed mortar to 3/4" depth using carbide chisel—never power tools on brick older than 1950. Stop when you hit firm, gray mortar or clean brick substrate.
- Brush out all dust, then mist bricks until damp (not dripping) for 15 minutes. This prevents premature drying that causes hairline cracks.
- Mix Type O mortar to peanut butter consistency. Trowel in layers no thicker than 3/8", compacting each with the trowel’s edge to eliminate voids where air pockets could later shift and pop.
- Cure joints properly: Cover with burlap and mist twice daily for 72 hours. According to the Brick Industry Association’s Technical Note 7A (2022), improperly cured mortar loses up to 40% of its compressive strength.
When to Call a Pro
DIY stops where safety and code compliance begin. Call a mason certified by the Mason Contractors Association of America (MCAA) if:
- You hear noise originating from above the second course of a freestanding chimney (risk of flue liner misalignment).
- More than 30% of vertical joints show >1/4" depth loss—or horizontal joints are bulging outward (sign of lateral wall movement).
- Noise coincides with visible cracks wider than 1/8" in adjacent drywall, plaster, or foundation concrete.
- Your home was built before 1930 and uses lime-only mortar—repointing with modern cement-based mixes can trap moisture and accelerate decay.
Prevention Tips
Long-term quiet depends on managing water and thermal stress. Prioritize these three actions annually:
- Clear gutters and downspouts within 3 feet of brick walls—standing water raises mortar moisture content above the 12% threshold where freeze-thaw damage accelerates (per ASTM C67 test data).
- Trim ivy, wisteria, or trumpet vine roots at least 18 inches from foundations—root pressure displaces mortar over time.
- Apply silane-siloxane penetrating sealer (e.g., Prosoco Joint Sealant) every 5 years—not film-forming acrylics, which trap vapor and blister.
Can I use bleach to clean efflorescence before repointing?
No. Bleach degrades mortar binders and leaves chloride residues that attract more moisture. Instead, scrub with distilled white vinegar (5% acidity), rinse thoroughly with deionized water, and allow 72 hours to dry. The U.S. Department of Housing and Urban Development’s Guidelines for Historic Masonry (2021) explicitly prohibits chlorine-based cleaners on load-bearing brickwork.
Will sealing the brick stop the noise?
Sealing may mute faint surface-level ticking but won’t fix underlying joint failure. In fact, non-breathable sealers often worsen the problem by trapping moisture behind the surface—causing louder, more frequent popping as steam builds and escapes. Focus on repointing first; sealing is optional and secondary.
How deep should I cut out the old mortar?
Minimum 3/4 inch—and always deeper than the width of the joint. For standard 3/8" joints, remove to 1" depth. Shallow removal (<1/2") creates a 'band-aid' repair: new mortar bonds only to the skin of old material, which delaminates again within 12–18 months.
Is the noise worse in winter because of cold?
Cold itself doesn’t cause noise—but the combination of subfreezing temps and residual moisture does. When water freezes in micro-cracks inside mortar, it expands by 9%, prying apart particles. You’ll hear sharper 'pops' during rapid drops below 25°F, especially at dawn when surface ice melts unevenly. That’s why timing repointing for 55–75°F days with low humidity is critical.
Can I patch just the noisy spots?
Only if noise is isolated to one 2-ft² area with zero adjacent deterioration. But mortar failure spreads laterally along joints. The Brick Industry Association recommends repointing full sections—minimum 3 bricks wide and 2 courses tall—to ensure uniform expansion/contraction and avoid differential movement that creates new noise points.
What’s the best mortar color match for 1920s Chicago common brick?
Use a custom-blended Type O mix with local glacial sand (e.g., Midwest Sand & Gravel’s ‘Chicago Buff’) and hydrated lime tinted with iron oxide pigments. Avoid premixed ‘buff’ mortars—they fade unevenly and rarely match the subtle manganese streaking in vintage clay brick. A qualified mason can sample-match onsite using a mortar analysis kit like the one offered by Brick Mortar Analysis Kit.
"Over 68% of premature mortar failure stems not from bad materials—but from improper curing, wrong mortar type, or insufficient joint depth. Noise is the first audible evidence of systemic bond loss." — Masonry Restoration Handbook, 4th ed., National Park Service (2020)
Once repaired, monitor the area weekly for the first month: tap gently with a wooden dowel and listen for hollow tones versus solid thuds. If new noise emerges within 90 days, revisit your moisture management—check grade slope, splash block placement, and nearby sprinkler patterns. A quiet brick wall isn’t silent by accident; it’s the result of thoughtful water control, compatible materials, and patient craftsmanship. For persistent issues, consider consulting a structural engineer—especially if noise coincides with doors sticking or windows binding, as covered in our brick wall structural crack diagnosis guide.