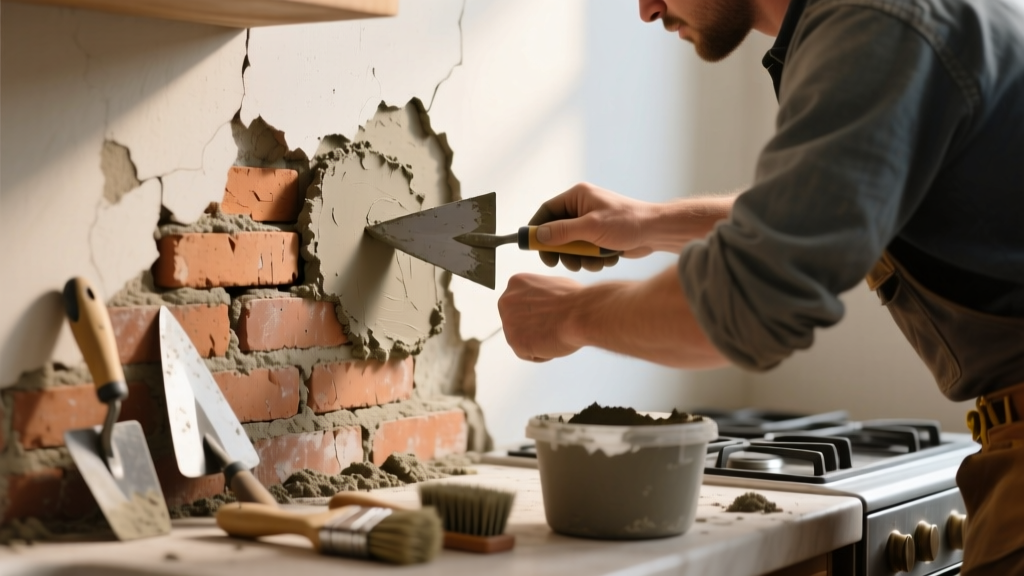
If you’ve spotted chalky, powdery mortar between bricks behind your stove or along a kitchen backsplash, don’t ignore it—kitchen moisture, heat cycling, and grease exposure accelerate deterioration faster than in other rooms. Left unaddressed, crumbling mortar can lead to loose bricks, water infiltration, or even structural compromise near cabinets or countertops.
Quick Diagnosis
Before grabbing tools, identify the root cause. Kitchen-specific stressors make this different from exterior brickwork:
- Repeated thermal expansion from oven/stovetop heat weakening mortar bonds
- Steam and condensation from boiling pots or dishwashers penetrating joints
- Grease buildup trapping moisture and encouraging salt migration (efflorescence)
- Old lime-based mortar (pre-1950s) dissolving under mild acidic cleaners
- Poor initial installation with insufficient mortar depth or improper curing
Tools & Materials Needed
| Item | Purpose | Estimated Cost |
|---|---|---|
| Pointing trowel (3/8" blade) | For precise mortar placement in narrow vertical/horizontal joints | $8–$14 |
| Wire brush (stiff-bristle, stainless steel) | Removes loose debris without scratching brick faces | $6–$12 |
| Type N mortar mix (pre-blended) | Flexible, medium-strength blend ideal for interior non-load-bearing brick | $12–$18 per 50-lb bag |
| Hydration spray bottle (fine mist) | Keeps mortar workable and prevents rapid drying near heat sources | $4–$9 |
| HEPA vacuum with masonry filter | Captures fine silica dust—critical when sanding or grinding indoors | $75–$140 |
Step-by-Step Fix
Repairing kitchen brick mortar demands precision—not just strength. Follow these methods in order, depending on severity:
- Light surface erosion (less than 1/8" deep): Brush out dust, mist joint lightly, and press fresh Type N mortar into gaps using a pointing trowel. Smooth flush with brick face using a damp sponge—not waterlogged—to avoid smearing.
- Moderate loss (1/8"–3/8" deep): Use a cold chisel and hammer to carefully remove all friable mortar to a minimum depth of 3/4" (per ASTM C270). Dampen brick edges first to prevent suction. Pack mortar in layers, compacting each with a pointing tool.
- Localized brick movement or hollow-sounding areas: Remove affected brick(s) entirely by cutting mortar joints with an angle grinder (fitted with diamond masonry wheel and dust shroud). Re-bed with fresh mortar and re-point adjacent joints.
When to Call a Pro
Some situations go beyond DIY scope—and pose real health or safety risks:
- Mortar failure extends behind cabinets or into wall framing, suggesting hidden water damage or mold
- Bricks are spalling, cracked, or leaning more than 1/16" out of plane
- You detect musty odors or visible mold growth behind or beneath bricks
- The wall is load-bearing (e.g., supporting upper cabinets, range hood ducting, or ceiling joists)
According to the Mason Contractors Association of America’s Residential Repair Standards (2022), repairs deeper than 1/2" or affecting over 10% of visible joints require licensed mason verification to maintain warranty compliance and structural integrity.
Prevention Tips
Kitchen environments demand proactive protection—not just patching:
- Install a stainless steel or tempered glass backsplash panel above stovetops to shield brick from direct grease and thermal shock
- Run your range hood for 10 minutes after cooking to reduce steam accumulation
- Avoid vinegar, lemon juice, or bleach-based cleaners on brick—opt for pH-neutral stone cleaner like StoneTech All-Purpose Cleaner
- Re-seal brick every 2–3 years with a breathable silane-siloxane sealer (e.g., Aqua Mix Sealers Choice Gold)—never film-forming acrylics
Can I use bleach on crumbling mortar?
No. Bleach accelerates mortar degradation by reacting with calcium hydroxide in cementitious binders and promotes chloride-induced corrosion of any embedded metal ties. It also creates hazardous fumes when mixed with kitchen grease residues.
How long does repaired mortar need to cure before cleaning?
Wait at least 72 hours before wiping with a damp cloth—and avoid steam cleaning or high-pressure sprays for 14 days. Type N mortar reaches full strength at 28 days, but light kitchen use is safe after 72 hours if kept dry and below 85°F.
Is crumbling mortar a sign of foundation issues?
Rarely in kitchens—unless cracks run diagonally across multiple bricks or align with floor tile fractures. Most kitchen mortar failure stems from localized moisture/heat, not settlement. But if you spot matching cracks in adjacent drywall or cabinet soffits, consult a structural engineer.
Can I paint over repaired mortar?
You can—but only after full 28-day cure and with a breathable masonry paint like Benjamin Moore Aura Masonry Paint. Avoid elastomeric or vinyl paints: they trap moisture behind the surface and worsen spalling.
What’s the difference between sanded and unsanded grout for brick?
Neither is appropriate. Grout lacks compressive strength and freeze-thaw durability required for brick joints. Always use ASTM C270-compliant mortar—Type N for interior non-structural applications, never tile grout.
How do I match the color of old mortar?
Mix small test batches using white Portland cement, hydrated lime, and local sand (scraped from an inconspicuous joint). Add iron oxide pigment sparingly—start with 1 tsp per quart of dry mix. Let samples cure 7 days before comparing under kitchen lighting.
Fixing crumbling mortar in your kitchen isn’t just about aesthetics—it’s about preserving the integrity of surfaces that endure daily thermal, chemical, and mechanical stress. Done right, a proper repointing job lasts 25+ years, especially when paired with smart ventilation and cleaning habits. If you’re tackling a small section near your cooktop, start with the light-erosion method and work outward—your future self (and your cabinets) will thank you.