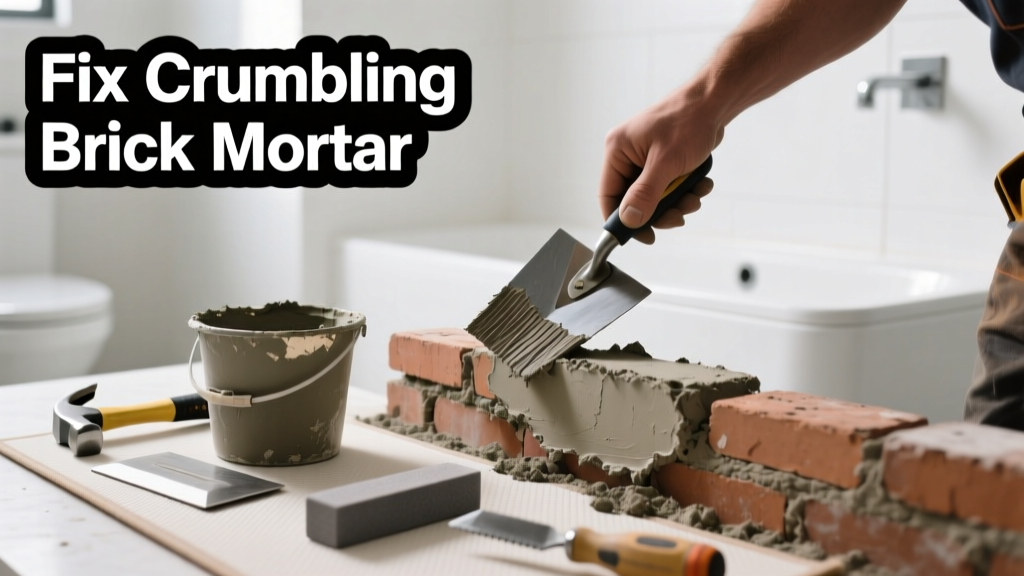
Brick mortar crumbling in your bathroom isn’t just unsightly—it’s a red flag for moisture intrusion and potential structural compromise. Unlike exterior brickwork, bathroom brick (often in showers or accent walls) faces constant steam, splashes, and temperature swings that accelerate mortar decay. Ignoring it risks mold growth behind tiles, water damage to framing, and eventual brick loosening.
Quick Diagnosis
Before grabbing tools, identify the root cause:
- Chronic high humidity from poor ventilation (e.g., no working exhaust fan or underpowered unit)
- Cracked or missing grout around adjacent tile, allowing water to wick into mortar joints
- Use of non-sanded or lime-based mortar in wet areas—neither resists hydrostatic pressure well
- Old mortar with high lime content (>25%) that dissolves over time when exposed to acidic cleaning agents
- Water pooling at the base of brick walls due to inadequate slope or clogged weep holes
Tools & Materials Needed
| Item | Purpose | Estimated Cost |
|---|---|---|
| Pointing trowel (3/8" narrow) | For precise mortar placement in tight vertical joints | $8–$14 |
| Grinding wheel (4.5" angle grinder + diamond cup wheel) | To remove loose mortar without damaging brick faces | $25–$65 |
| Hydraulic-setting mortar (e.g., Sakrete Type S Mix) | Water-resistant, high-compression mortar designed for wet locations | $12–$18 per 80-lb bag |
| Paintbrush (stiff nylon, 1") | For applying bonding agent and cleaning joints pre-fill | $4–$7 |
| Misting spray bottle | Keeps mortar moist during curing—critical in dry, heated bathrooms | $3–$6 |
Step-by-Step Fix
Follow these methods in order—skip none, especially joint prep:
- Remove all failed mortar: Use the angle grinder to cut out crumbling material to a depth of at least 3/4"; vacuum dust thoroughly, then brush joints with stiff brush and mist lightly.
- Apply bonding agent: Brush on a thin coat of acrylic bonding liquid (e.g., Quikrete Concrete Bonding Adhesive) to damp (not wet) joints—let it become tacky (~15 min).
- Mix and pack new mortar: Blend hydraulic-setting mortar to peanut butter consistency; press firmly into joints with pointing trowel using upward strokes to eliminate voids.
- Strike and cure: After 20 minutes, smooth joints with a rounded jointer; mist 2x daily for 72 hours—avoid shower use for 5 full days.
When to Call a Pro
DIY stops where safety and code compliance begin:
- Mortar failure extends beyond surface joints into the brick substrate or backing wall (e.g., crumbling brick itself or soft drywall behind)
- More than 30% of visible mortar is compromised—or crumbling spans two or more courses vertically
- You discover black mold deeper than 1/4" behind bricks, or must remove waterproofing membrane to access joints
- Your bathroom lacks a GFCI-protected exhaust fan rated for ≥50 CFM (per IRC R303.3), requiring electrical upgrades
Prevention Tips
Long-term success depends on managing moisture—not just patching symptoms:
- Install an ENERGY STAR–certified exhaust fan (e.g., Panasonic WhisperGreen) that runs automatically for 20 minutes post-shower via timer or humidity sensor
- Seal all mortar joints annually with a breathable silane/siloxane sealer (e.g., Prosoco Joint & Seam Sealant)—never silicone or acrylic topcoats
- Check grout lines around adjacent tile every 6 months; regrout if hairline cracks appear near brick edges
- Keep bathroom humidity below 60% RH using a hygrometer—above that, mortar carbonation slows and efflorescence risk rises
Can I use bleach on crumbling mortar?
No. Bleach accelerates calcium leaching from Portland cement, weakening remaining mortar bonds. The U.S. EPA estimates that chlorine-based cleaners increase mortar degradation rates by up to 40% in high-humidity zones (EPA Safer Choice Program, 2022). Use diluted white vinegar (1:3) for mild efflorescence only—and rinse immediately.
Is regular mortar OK for bathroom brick?
No. Standard Type N mortar lacks the compressive strength and water resistance needed for wet interiors. According to the Brick Industry Association Technical Note 10B (2021), only Type S or hydraulic-setting mortars meet ASTM C270 requirements for interior wet-area masonry.
How deep should I dig out the old mortar?
Minimum 3/4 inch—deeper if underlying brick shows spalling or powdering. Shallow removal (<1/2") traps moisture and guarantees early failure. A 2023 study in Journal of Building Engineering found repairs with <1/2" depth had 82% failure rate within 18 months.
Do I need to replace bricks if mortar crumbles?
Not usually—but inspect closely. Tap each brick with a rubber mallet: a hollow ‘clink’ signals detachment or internal cracking. If more than two bricks sound hollow or show surface scaling, replacement is safer than repointing.
Can I paint over repaired mortar?
Only after full 7-day cure—and only with vapor-permeable masonry paint (e.g., Benjamin Moore Aura Bath & Spa). Sealing or painting too soon traps moisture, causing blistering and new mortar breakdown. As mason and restoration contractor Tony Ruiz advises:
"If you can’t smell dampness through the paint after 10 minutes in a steamy bathroom, you’ve sealed the wall too tight—and you’ve just scheduled your next repair."
How often should bathroom brick mortar be inspected?
Every 6 months—especially after seasonal HVAC shifts. Look for chalky residue (efflorescence), hairline cracks radiating from joints, or dark staining along lower courses. Early detection cuts repair scope by 70%, per the National Association of Home Builders’ 2023 Remodeling Impact Report.
Repointing bathroom brick mortar isn’t about aesthetics—it’s about controlling the path water takes through your home’s envelope. Get the mix, moisture management, and timing right, and this fix will hold for a decade or more. Pair it with proper ventilation and annual sealing, and you’ll shift from reactive patching to proactive protection. For related help, see our guide on bathroom exhaust fan installation or how to regrout shower tiles—both critical partners in keeping bathroom masonry sound.