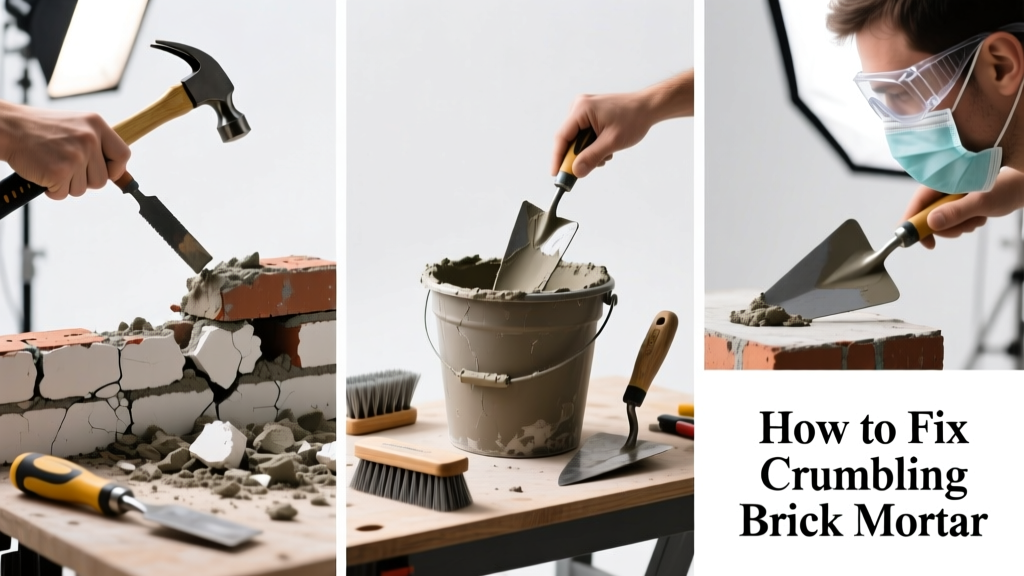
If you’ve spotted chalky powder on your brickwork, bricks shifting under light pressure, or gaps widening between courses, your mortar is failing — and ignoring it invites water intrusion, freeze-thaw spalling, and eventual wall instability. Crumbling mortar isn’t just cosmetic; it’s an early warning sign your masonry envelope is breaking down. The good news? Most minor to moderate deterioration can be repaired in a weekend with the right technique.
Quick Diagnosis
Mortar fails for predictable reasons — here are the most common culprits:
- Age: Lime-based mortars degrade after 25–30 years; Portland cement blends last longer but become brittle
- Water infiltration: Poor flashing or clogged weep holes trap moisture behind the veneer
- Freeze-thaw cycles: Water trapped in pores expands when frozen, fracturing mortar from within
- Improper original mix: Too much Portland cement creates inflexible, cracking-prone joints
- Vibration or settlement: Nearby construction or soil shift stresses joints beyond tolerance
Tools & Materials Needed
| Item | Purpose | Estimated Cost |
|---|---|---|
| Pointing trowel (4″ stainless) | For precise mortar placement and joint finishing | $12–$22 |
| Grinding wheel (4.5″ angle grinder + diamond cup wheel) | Removes failed mortar to proper depth (¾″ minimum) without damaging brick | $45–$85 |
| Soft-bristle masonry brush | Cleans dust and debris from joints before repointing | $6–$14 |
| Type N mortar mix (lime-rich) | Matches historic flexibility and breathability; avoids trapping moisture | $8–$15 per 80-lb bag |
| Hydration spray bottle | Pre-wets bricks and keeps mortar workable during hot/dry conditions | $4–$9 |
Step-by-Step Fix
Repointing is the standard repair — but method matters. Follow these steps in order:
- Assess depth and extent: Use a cold chisel and hammer to test mortar integrity. If it crumbles with light pressure or recesses more than ¼″ from the brick face, removal is required. Mark affected joints with chalk.
- Remove old mortar: Grind out joints to a consistent depth of at least ¾″ — deeper if original mortar was shallow. Never go deeper than 1″ unless brick is damaged. Vacuum dust thoroughly.
- Prep and dampen: Mist bricks lightly (not soaking) 15 minutes before applying new mortar. This prevents rapid moisture draw that weakens bond.
- Mix and apply: Blend Type N mortar to peanut butter consistency. Pack into joints using a pointing trowel, pressing firmly. Tool joints flush or slightly concave — never convex.
- Cure properly: Cover repaired sections with damp burlap for 72 hours. Mist twice daily in dry weather. Avoid rain exposure for 5 days.
When to Call a Pro
DIY repointing crosses into dangerous territory when:
- More than 30% of the wall’s mortar is deteriorated — especially above second-story height
- Bricks themselves are spalling, cracked, or bulging outward (>½″)
- You find efflorescence plus interior moisture stains or mold on adjacent drywall
- The wall shows horizontal cracks wider than ⅛″ or stair-step cracking near corners
- You’re working on load-bearing chimney stacks or parapet walls over 8 feet tall
According to the Mason Contractors Association of America’s 2022 Field Guide, improper repointing accounts for nearly 60% of premature masonry failures — often because DIYers use rigid mortar or skip curing.
"Using modern high-strength mortar on historic brickwork is like putting steel braces on a willow branch — it looks strong until the brick cracks trying to breathe." — Dr. Sarah Lin, Preservation Engineer, National Park Service Historic Structures Division, 2021
Prevention Tips
Extend your repair’s lifespan with these proactive habits:
- Inspect mortar annually in spring and fall — focus on north-facing walls and below window sills
- Keep gutters clean and downspouts directed at least 5 feet from foundations
- Seal only with vapor-permeable silane/siloxane products — never acrylic or silicone sealers
- Trim vines and shrubs away from brick surfaces to prevent moisture retention and root pressure
- Ensure weep holes at the base of veneer walls remain unobstructed by mulch or soil
Can I use regular concrete mix instead of mortar?
No — concrete contains coarse aggregate and higher Portland content, making it too rigid and impermeable for brick joints. It traps moisture, accelerates brick spalling, and almost guarantees future cracking. Always use ASTM C270-compliant mortar — Type N for above-grade non-load-bearing walls.
How deep should I grind out the old mortar?
Aim for ¾″ minimum depth — roughly three times the joint’s width. Shallow removal (<½″) leads to poor mechanical bond and premature failure. If original joints were only ½″ deep, consider consulting a mason about rebuilding the outer course.
Do I need to match the original mortar color exactly?
Close visual match matters less than chemical compatibility. A lime-rich Type N mortar will weather to a similar tone over 6–12 months. Focus on matching compressive strength and vapor transmission — not pigment. For historic properties, send a sample to mortar analysis labs for precise formulation.
Can I repoint in freezing weather?
Avoid repointing when temperatures are below 40°F (4°C) or expected to drop below freezing within 72 hours. Mortar hydration halts below 38°F, causing permanent strength loss. If urgent, use heated enclosures and Type III (high-early-strength) mortar — but consult a local mason first.
How long does repointed mortar last?
Properly executed repointing with compatible mortar lasts 25–40 years — matching or exceeding original life expectancy. The U.S. Department of Housing and Urban Development notes that 82% of long-lasting repairs used lime-based mortar and full-depth removal (HUD Technical Bulletin 2020).
Is crumbling mortar always a sign of bigger structural problems?
Not always — surface-level powdering from age or mild salt exposure may be isolated. But if crumbling coincides with bulging bricks, inward leaning, or cracks radiating from windows/doors, it’s likely signaling foundation movement or lateral pressure. Get a structural engineer assessment before proceeding — see our guide on brick wall bulging signs.
Fixing crumbling mortar isn’t about aesthetics — it’s about preserving the building’s ability to shed water, resist seasonal stress, and hold its shape for decades. Done right, your repointing job won’t just look solid; it’ll act like the original builders intended: flexible enough to move, tight enough to protect, and breathable enough to stay dry. And if your wall has seen 40+ years of weather, consider pairing this repair with a professional vapor-permeable sealer evaluation to extend its next cycle.