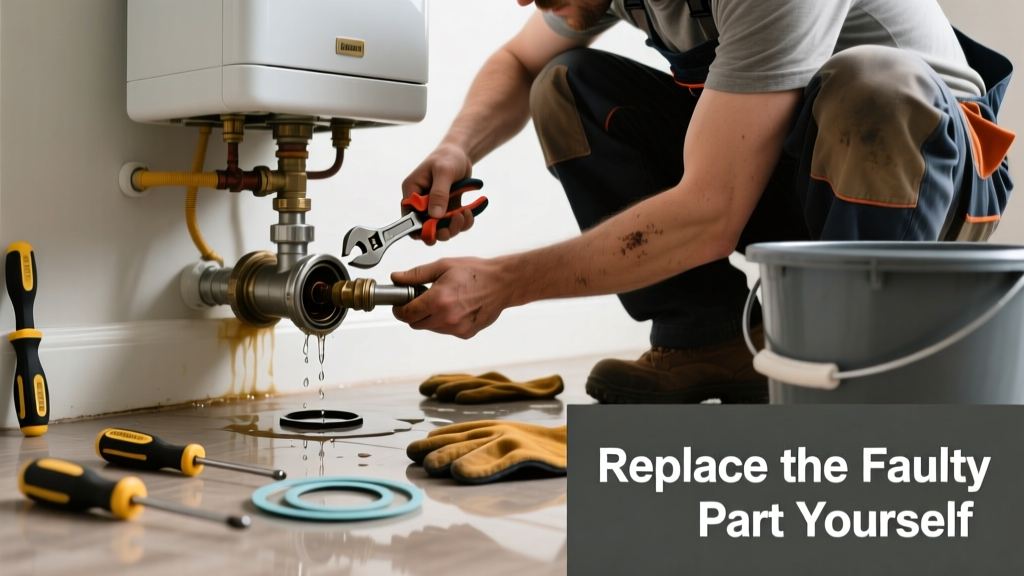
If your boiler is dripping water near the base, hissing steam, or leaving damp patches on the floor, it’s not just an annoyance—it’s a warning. Small leaks often point to a single failing component, not full system failure. Replacing that part yourself can cost under $120 and take less than two hours—if you know which part to target and how to isolate it safely.
Quick Diagnosis
Before grabbing tools, confirm the leak source. Most boiler leaks stem from one of these four components:
- Pressure relief valve — Drips when overheated or corroded; common after annual heating cycles
- Heat exchanger crack — Often shows as intermittent weeping near seams; may trigger carbon monoxide alarms
- Auto-fill valve (pressure reducing valve) — Leaks continuously if diaphragm fails; system pressure climbs above 30 psi
- Expansion tank bladder — Water pools at tank base; pressure gauge fluctuates wildly during heating cycles
Tools & Materials Needed
| Item | Purpose | Estimated Cost |
|---|---|---|
| Adjustable wrench (12-inch) | Tightens/loosens brass and steel fittings without stripping threads | $18–$24 |
| Thread seal tape (PTFE) | Seals tapered pipe threads on valves and unions; prevents micro-leaks | $3–$6 |
| Digital multimeter | Verifies continuity in auto-fill solenoid coils before replacement | $22–$35 |
| Replacement part (e.g., Watts 1156A relief valve) | OEM-specified part matching your boiler model and max PSI rating | $29–$87 |
| Bucket and shop towels | Catches residual water during drain-down; absorbs splashes during disassembly | $8–$12 |
Step-by-Step Fix
Follow these steps only after confirming the faulty part via visual inspection and pressure testing. Never skip isolating power and water supply.
- Shut down and depressurize: Turn off boiler power at the circuit breaker. Close main water shutoff. Open drain valve at boiler base until pressure drops to 0 psi and water stops flowing.
- Locate and photograph the leak: Use a flashlight to trace moisture back to its origin. Take clear photos—especially of part labels and orientation—for ordering the correct replacement.
- Remove the old part: For threaded valves (relief or auto-fill), wrap wrench jaws with cloth to avoid marring brass. Loosen counterclockwise; catch escaping water with bucket. For expansion tanks, disconnect piping first using two wrenches to prevent twisting.
- Install new part: Wrap threads with 3–4 layers of PTFE tape clockwise. Hand-tighten, then snug with wrench—no over-torquing. Reconnect wiring per manufacturer diagram if replacing electrically controlled valves.
- Refill and test: Slowly reopen main water valve. Watch pressure gauge rise to 12–15 psi cold. Power on boiler. Monitor for 30 minutes—no drips, no pressure creep above 25 psi.
When to Call a Pro
Some leaks aren’t DIY-safe—even if they look simple. Call a licensed HVAC technician immediately if:
- You see rust-colored water pooling near the heat exchanger (indicates internal corrosion or microfractures)
- The boiler displays error codes like "E132" (Buderus) or "L1" (Weil-McLain) tied to combustion chamber integrity
- Leak resumes within 24 hours of part replacement—suggesting underlying scale buildup or thermal stress damage
- Your home has a sealed-combustion system with PVC venting: improper resealing risks CO backdrafting
"Over 62% of premature boiler failures stem from undetected micro-leaks that worsen during seasonal thermal cycling—early intervention cuts replacement costs by up to 40%." — ASHRAE Journal, Vol. 65, Issue 4, 2023
Prevention Tips
Extend your boiler’s life and avoid repeat leaks with these field-tested habits:
- Test pressure relief valve monthly: lift lever briefly until water discharges, then release. Sticking valves fail catastrophically under stress.
- Drain and flush the system every 2 years—especially in hard water areas—to reduce scale-induced stress on heat exchangers.
- Install a magnetic filter (like the MagnaClean) on the return line; it captures iron oxide before it clogs valves and erodes seals.
- Keep room temperature above 50°F year-round—freezing pipes cause expansion cracks in cast iron sections.
Can I use Teflon tape on stainless steel boiler fittings?
Yes—but only high-temp PTFE tape rated for 500°F+ (e.g., Oatey Yellow Tape). Standard white tape degrades under boiler operating temps and can shred into the system, clogging micro-orifices in modulating valves.
How do I know if my expansion tank is waterlogged?
Tap the tank top and bottom with a screwdriver handle. A solid “thunk” at the bottom and hollow “ping” at the top means proper air charge. If both ends sound dull, the bladder failed—replace it. The U.S. DOE estimates waterlogged tanks increase energy use by 8–12% due to constant pump cycling.
Is it safe to replace a pressure relief valve while the boiler is hot?
No. Always cool the boiler to below 100°F and depressurize fully. A hot, pressurized relief valve can eject scalding water or steam with enough force to cause burns or eye injury. Wait at least 2 hours after shutdown—or verify surface temp with an infrared thermometer.
What’s the average lifespan of a boiler pressure relief valve?
Manufacturers rate most brass relief valves for 5–7 years of service, but real-world data from the National Institute of Standards and Technology (NIST, 2022) shows median functional life drops to 4.2 years in homes with chlorine-treated municipal water.
Do I need to drain the entire heating system to replace the auto-fill valve?
No—you only need to isolate and drain the boiler section. Close both supply and return isolation valves, open the boiler drain, and bleed air from the highest radiator to break the vacuum. This avoids refilling and bleeding all radiators—a 90-minute job versus 20 minutes.
Can a leaking heat exchanger be patched temporarily?
No. Epoxy or clamp repairs violate ASME BPVC Section IV and void insurance coverage. Cracks in cast iron or aluminum heat exchangers propagate under thermal cycling. According to the boiler pressure relief valve replacement guide, even hairline leaks require full exchanger replacement or boiler unit swap.
A small leak doesn’t always mean your boiler is doomed—but ignoring it does. Most replacement parts cost less than a service call, and doing it right the first time builds confidence for future maintenance. Keep your radiators bled and your pressure gauge checked weekly, and you’ll spot trouble before it soaks your basement. If you’ve replaced a part and still see moisture, don’t wait—review our boiler not firing up troubleshooting checklist next.