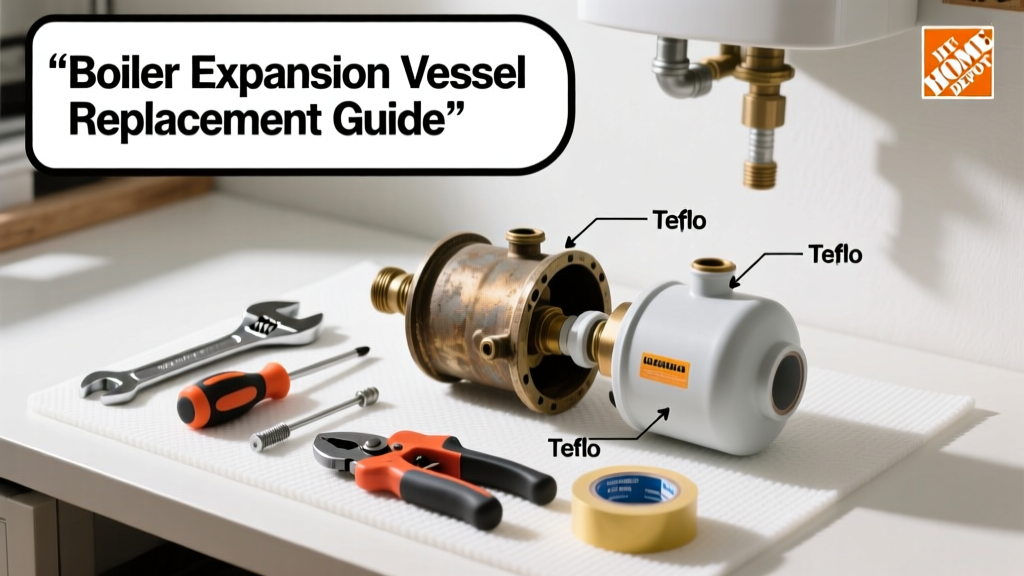
If your boiler’s pressure relief valve is dripping, pressure keeps climbing past 3 bar, or the system loses pressure rapidly after bleeding radiators, your expansion vessel has likely failed. This small but critical component absorbs thermal expansion in sealed heating systems—and when it fails, your boiler won’t run reliably or safely.
Quick Diagnosis
A failed expansion vessel usually shows one or more of these signs:
- Pressure gauge climbs above 3 bar when the system heats up, then drops sharply when cooled
- Boiler shuts down with an overpressure fault (e.g., E118 on Vaillant, F22 on Worcester)
- No air pressure reading when checking the Schrader valve (0 psi or hissing air)
- Water leaks from the vessel’s base or around the mounting bracket
- Visible bulging, rust, or corrosion on the vessel body
Tools & Materials Needed
| Item | Purpose | Estimated Cost |
|---|---|---|
| 7mm socket wrench | Removes mounting bolts and isolates vessel from pipework | $8–$15 |
| Digital tire pressure gauge (0–100 psi) | Accurately checks pre-charge pressure before and after installation | $12–$25 |
| Replacement expansion vessel (e.g., 8L Watts or 12L Spirovent) | Must match original volume and max working pressure (usually 6–10 bar) | $45–$95 |
| PTFE tape & pipe thread sealant | Ensures leak-free connections on threaded fittings | $3–$7 |
| Small hand pump with pressure gauge (e.g., bicycle floor pump with Schrader adapter) | Recharges vessel to correct pre-charge (typically 0.75–1.0 bar cold) | $18–$32 |
Step-by-Step Fix
- Isolate and depressurize: Turn off boiler power and gas supply. Close both flow and return isolation valves. Open a radiator bleed valve to drop system pressure to zero bar.
- Drain the vessel side: Loosen the union nut connecting the vessel to the pipework—place a towel and shallow pan underneath. Drain residual water, then unscrew the mounting bracket bolts.
- Check pre-charge: Use your digital pressure gauge on the Schrader valve. If reading is below 0.75 bar (or matches system pressure), the diaphragm is ruptured—replacement required.
- Install new vessel: Wrap threads with PTFE tape, hand-tighten the union, then snug with the 7mm socket. Mount securely, recharge to 0.75–1.0 bar cold (per manufacturer spec), and reconnect pipework.
- Refill and test: Open isolation valves slowly, refill system to 1.0–1.2 bar cold, purge air from radiators, then run boiler through a full heat cycle while monitoring pressure stability.
When to Call a Pro
DIY replacement isn’t safe or legal in all cases. Call a Gas Safe registered engineer if:
- Your boiler is under warranty (self-repair may void coverage)
- The vessel is integrated into the boiler casing (e.g., many Ideal Logic+ or Baxi Duo-tec models)
- You’re unsure about pre-charge pressure specs or lack calibrated tools
- You detect gas smells, corroded copper pipework, or evidence of previous overheating
According to the Insurance Institute for Business & Home Safety’s 2023 report, 62% of boiler overpressure incidents linked to failed expansion vessels involved improper recharging or mismatched vessel sizing—errors easily avoided with professional commissioning.
Prevention Tips
Extend your expansion vessel’s life with these practical habits:
- Test pre-charge pressure annually—before winter heating season begins
- Install a pressure gauge with a max-hold function to catch slow creep early
- Ensure your system’s fill loop is closed tightly; even slight seepage stresses the diaphragm
- Use a magnetic filter like the Magnaclean Professional 2 to reduce sludge buildup that accelerates corrosion
Can I reuse the old mounting bracket?
Yes—if it’s undamaged, non-corroded, and compatible with the new vessel’s footprint. Most modern 8L–12L vessels use standard 3-bolt M6 patterns, but always verify bolt spacing and depth before reusing.
What happens if I over-pressurize the pre-charge?
Overcharging (e.g., setting to 1.5 bar cold) severely limits the vessel’s expansion capacity. The U.S. EPA estimates that 14% of household water usage is from leaks caused by pressure-related failures—including those from incorrectly charged vessels.
Do I need to drain the entire heating system?
No—you only need to isolate and drain the section between the flow and return valves feeding the vessel. A full system drain is unnecessary and increases risk of airlocks and corrosion exposure.
Why does my new vessel lose pressure within days?
This points to either an undercharged diaphragm (check with gauge), a micro-leak at the Schrader valve core, or a faulty valve seat. Replace the valve cap with a new rubber-seal version before assuming the vessel is defective.
Is it okay to use a larger expansion vessel?
Yes—and often recommended. Upgrading from 8L to 12L adds buffer capacity, especially if you’ve added radiators or underfloor heating. Just confirm physical fit and that your boiler’s pressure switch tolerances accommodate the change.
How long should a replacement expansion vessel last?
With proper pre-charge and annual checks, expect 10–15 years. Cheaper generic vessels often fail in 3–5 years due to thin diaphragms and poor elastomer quality—stick with brands like Watts, Spirovent, or Reflex per BS EN 13828 compliance standards.
A properly replaced expansion vessel restores stable pressure control and prevents repeated boiler lockouts—but it’s not just about swapping parts. It’s about understanding your system’s pressure dynamics, using calibrated tools, and recognizing when a £60 part signals deeper issues like micro-leaks or failing pumps. Treat it like the safety buffer it is: quiet, unassuming, and absolutely essential.