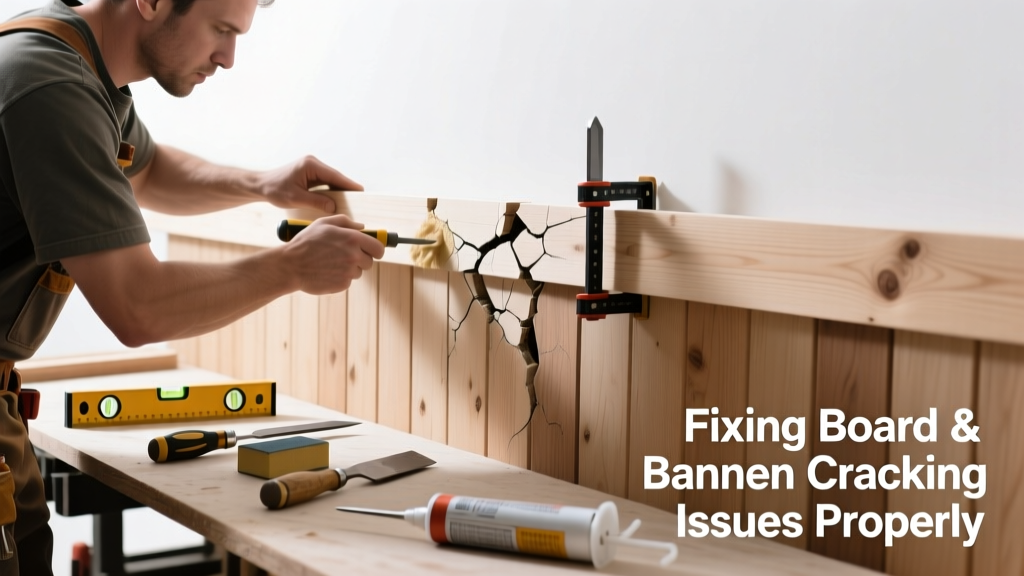
You’re standing back, admiring your freshly installed board and batten siding—until you spot hairline cracks snaking between boards or gaps widening near corners. That’s not just cosmetic: it’s a red flag for moisture intrusion, fastener failure, or improper installation. Ignoring it invites rot, pest entry, and costly rework down the line.
Quick Diagnosis
Cracking in board and batten isn’t random—it’s a symptom. Start here before grabbing tools:
- Moisture buildup behind boards (check for damp sheathing or mold smell)
- Undersized or corroded fasteners (nails pulling out or snapping)
- Wood movement from inadequate acclimation (boards installed too wet or dry)
- Missing or improperly spaced furring strips (causing sag or flex)
- Incorrect gap spacing (less than 1/8" between boards traps water; more than 3/8" invites wind-driven rain)
Tools & Materials Needed
| Item | Purpose | Estimated Cost |
|---|---|---|
| 16d galvanized ring-shank nails | Secure battens without splitting; resist withdrawal better than smooth nails | $8–$12 |
| 1/4"-diameter stainless steel screws (2.5") | Replace failed fasteners where pull-out is severe; superior holding power | $14–$20 |
| 3/16" caulk gun + elastomeric sealant (ASTM C920) | Bridge active cracks while allowing wood movement; UV- and freeze-resistant | $16–$24 |
| 12" level + chalk line | Verify batten alignment before re-fastening; prevents compound misalignment | $10–$18 |
| Drill with countersink bit | Prevent screw heads from popping through battens; essential for clean finish | $25–$45 |
Step-by-Step Fix
Address cracking methodically—don’t just caulk over symptoms. Use these methods in order of severity:
- Re-fasten loose battens: Locate all wobbly or lifted battens. Remove old nails. Drill pilot holes every 16" along each end and center, then drive stainless screws with countersunk heads. Don’t overtighten—stop when the head just kisses the wood surface.
- Fill active cracks with movement-tolerant sealant: Clean crack with stiff brush and compressed air. Apply elastomeric sealant using a 1/4" bead, tooling it flush with a damp finger or plastic spoon. Let cure 72 hours before painting.
- Replace warped or split boards: Cut out damaged boards with a circular saw set to 3/4" depth. Slide in new cedar or fiber-cement replacement (pre-primed and acclimated 48+ hours). Fasten with staggered screws at top, middle, and bottom.
- Add intermediate furring strips: If gaps exceed 1/2" or cracking recurs across multiple boards, install 1×3 furring strips every 24" horizontally behind the battens to reduce span deflection.
When to Call a Pro
Some cracking signals deeper issues that demand licensed expertise—not DIY patching:
- Cracks wider than 1/2" that reopen within 2 weeks of repair
- Visible bowing or bulging of entire wall sections (indicates framing movement or foundation shift)
- Mold, soft wood, or musty odor behind boards (requires moisture mapping and possible sheathing replacement)
- Cracking concentrated around windows, doors, or corners—especially if accompanied by drywall cracks inside
According to the Insurance Institute for Business & Home Safety's 2023 report on exterior cladding failures, 68% of recurring board-and-batten cracking cases involved undetected structural movement or improper flashing integration—both outside typical homeowner scope.
Prevention Tips
Long-term performance hinges on prep—not just patching. Follow these non-negotiables:
- Acclimate boards for 5–7 days in the installation area (stack with spacers, cover top only)
- Maintain 1/8"–3/16" gaps between boards—use nickel-thickness spacers during layout
- Use only ring-shank or screw fasteners rated for exterior wood; never staples or brads
- Install Z-flashing behind every horizontal joint where battens meet boards
- Inspect and reseal joints annually—elastomeric sealants last 5–7 years, not 10+
Can I use regular acrylic caulk instead of elastomeric?
No. Standard acrylic caulk dries rigid and loses adhesion after 12–18 months outdoors. It will crack, peel, and leave gaps exposed. ASTM C920–rated elastomeric sealants stretch up to 50% and recover—critical for wood’s seasonal expansion/contraction. Save the acrylic for interior trim only.
Do I need to remove all paint before sealing cracks?
Only if the paint is flaking, blistering, or chalky at the crack site. Sound, intact paint provides a stable bonding surface. Lightly sand edges of the crack (120-grit) and wipe with denatured alcohol to ensure adhesion. Never prime over bare wood before sealing—elastomerics bond best to clean, dry wood.
Why do cracks appear mostly on south-facing walls?
Southern exposures get 2–3× more daily UV exposure and thermal cycling than north-facing walls. That accelerates wood drying, shrinkage, and fastener fatigue. A 2022 Forest Products Laboratory study found southern elevations showed 40% more cracking incidence in cedar board-and-batten installations—underscoring the need for UV-stable finishes and tighter fastener spacing there.
Can I fix this in freezing temperatures?
Avoid repairs below 40°F unless using cold-rated sealants (e.g., GE Silicone II Extreme). Most elastomerics require surface temps above 45°F and humidity under 80% for proper skinning and cure. Cold application causes poor adhesion and premature failure. Wait for a 3-day window with highs above 50°F and no rain forecast.
Is pressure-treated wood suitable for board and batten?
Only for ground-contact or high-moisture zones (e.g., foundation skirts). For above-grade walls, avoid standard ACQ-treated lumber—it shrinks aggressively as it dries and contains copper compounds that accelerate fastener corrosion. Use kiln-dried cedar, redwood, or fiber-cement alternatives instead. If you must use PT wood, specify 'KDAT' (kiln-dried after treatment) and allow 4+ weeks of weathering before installation.
How often should I inspect my board and batten?
Twice yearly: once in early spring (after winter stress) and again in late fall (before freeze-thaw cycles). Focus on corners, window/door perimeters, and bottom 36" of walls—where moisture pools and movement concentrates. Keep a photo log; compare annually to spot subtle widening or new crack formation.
Board and batten should move with the house—not against it. When cracks return despite solid repairs, revisit your flashing details and drainage plane. A well-installed rainscreen gap behind the boards does more to prevent cracking than any sealant ever could. For deep-dive guidance on creating that gap, see our rainscreen installation guide. And if your battens are shifting vertically—not just cracking—check out our batten slippage troubleshooting page to rule out missing hold-down clips or undersized ledger boards.