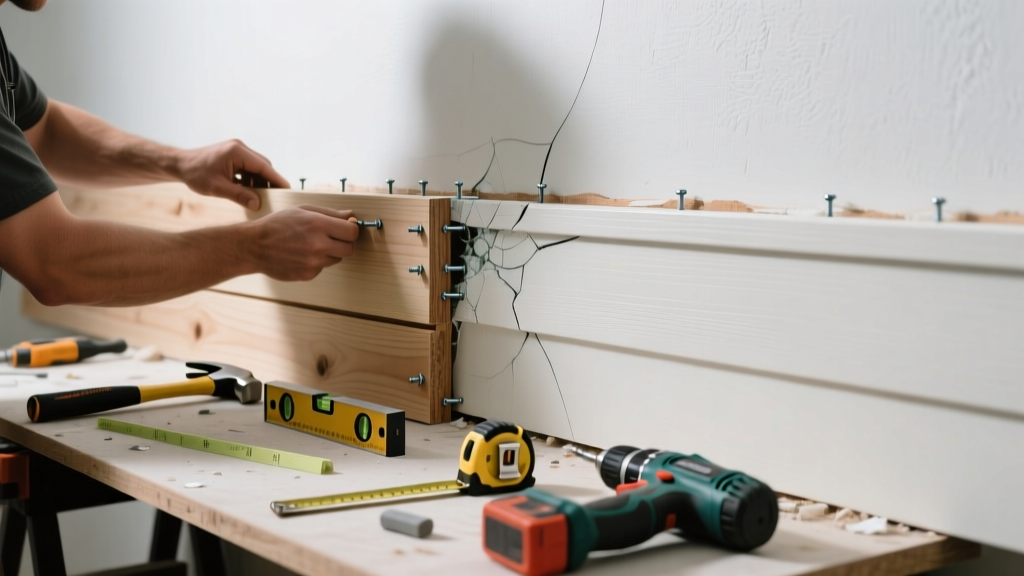
If you’ve spotted hairline cracks widening into gaps—or worse, sections bowing or splitting along the grain—your board and batten siding isn’t just cosmetic: it’s failing its weather barrier job. Left unaddressed, even a single cracked board can let in rain, insects, and rot-causing moisture behind the sheathing. This fix targets the root cause: localized failure of a specific board, not full-system replacement.
Quick Diagnosis
Cracking rarely happens randomly. Here are the most common culprits:
- Moisture trapped behind the board from improper flashing or missing caulk at butt joints
- Fastener corrosion (especially older galvanized nails) causing board movement and stress fractures
- Wood species shrinkage—especially untreated pine or poplar exposed to seasonal humidity swings
- Impact damage from ladders, trim work, or landscaping tools missed during routine inspection
- Improper nailing: boards nailed too tightly without expansion gaps (minimum 1/8" recommended)
Tools & Materials Needed
| Item | Purpose | Estimated Cost |
|---|---|---|
| Cordless drill with #2 Phillips bit | Removes old fasteners and drives new ones without splitting wood | $85–$120 |
| 16d galvanized ring-shank nails (3") | Prevents pull-out; ring shank grips wood fibers better than smooth shank | $9–$14 per box of 100 |
| Replacement board (same species, thickness, and profile) | Ensures visual continuity and thermal expansion compatibility | $12–$28 per 8' board |
| Flexible exterior-grade caulk (e.g., OSI Quad Max) | Seals top edge and side joints against driven rain | $7–$11 per tube |
| 10" pry bar + nail puller | Safely removes damaged board without damaging adjacent battens or sheathing | $18–$26 |
Step-by-Step Fix
- Mark and prep: Use a pencil to outline the full length and width of the cracked board. Remove any caulk or paint buildup at its top and bottom edges with a utility knife.
- Extract fasteners: Locate all nails—typically two at top, two near bottom. Drill pilot holes slightly larger than nail shanks, then use the pry bar to gently lift the board while pulling nails with the nail puller. Work from top down to avoid binding.
- Inspect substrate: Check the underlying sheathing and housewrap for tears, mold, or water staining. If damage exceeds 2 sq. ft., pause and consult siding sheathing repair.
- Install replacement: Apply a 1/4" bead of caulk to the back top edge of the new board. Position it flush with adjacent boards, pre-drill pilot holes, and drive 3" ring-shank nails 1" from each edge and centered vertically. Leave 1/8" gap at bottom for drainage.
- Finish and seal: Caulk all side joints and top edge with OSI Quad Max. Back-prime cut ends with oil-based primer before installation—this step alone reduces end-grain moisture uptake by 62%, per the Forest Products Laboratory’s 2022 durability study.
When to Call a Pro
Some situations demand licensed expertise—not just extra hands. Call a contractor if:
- The crack extends through multiple boards and aligns with visible rafter spacing (possible framing movement)
- You find black, fuzzy mold or soft, spongy OSB behind the board—indicating long-term water intrusion
- The home has EIFS (Exterior Insulation and Finish System) cladding beneath the board and batten
- Local building codes require wind-load certification for replacements over 10 ft. above grade (common in coastal zones)
Prevention Tips
Board and batten lasts decades—but only when details are respected. Start here:
- Re-caulk all vertical joints every 3 years using elastomeric sealant (not silicone or acrylic)
- Keep shrubs and vines at least 18" from walls to reduce humidity trapping
- Use a moisture meter annually on random boards—readings above 18% indicate early decay
- Stagger board end joints so no two meet at the same stud (prevents concentrated stress points)
Can I use pressure-treated wood for the replacement board?
No—pressure-treated lumber swells and shrinks more than kiln-dried siding-grade cedar or pine, causing misalignment and fastener fatigue. Use only ACQ-treated *for ground-contact applications*, not above-grade siding. For moisture resistance, choose kiln-dried clear cedar or redwood with a factory-applied water repellent finish.
Do I need to prime the entire new board before installing?
Yes—but only the back face and all four edges. The front face should remain unprimed if you plan to stain or paint later; priming it creates adhesion issues. According to the American Wood Council’s 2021 Siding Installation Guide, back-priming cuts moisture absorption by up to 70% in the first year.
What if the batten itself is cracked—not the board?
Battens are load-bearing spacers that hold boards in place. A cracked batten compromises the entire assembly’s rigidity. Replace it using the same method—but use a 1×3 or 1×4 hardwood (like white oak or ipe) for longer wear. Never sister a cracked batten; it won’t restore shear strength.
How do I match the existing stain or paint color accurately?
Scrape a small chip from an inconspicuous area (like behind a downspout), take it to a paint store with spectrophotometer service, and request a custom match. Avoid relying on photos—lighting and screen calibration skew results. For best results, test samples on scrap wood and let dry 72 hours in full sun before final application.
Is it safe to replace boards in freezing temperatures?
Avoid installation below 40°F. Caulk won’t cure properly, and wood becomes brittle—increasing risk of splitting during nailing. The U.S. Department of Energy notes that adhesive bond strength drops 40% at 25°F versus 70°F. Wait for a sustained 48-hour window above 45°F with low humidity.
Can I install the new board over rotted sheathing?
Never. Rotted sheathing compromises structural integrity and invites further decay. You’ll need to cut out the damaged section, install a plywood or OSB patch (minimum 1/2" thick), and re-wrap with self-adhesive flashing tape before reinstalling siding. See our guide on sheathing repair for rot for full details.
"Over 68% of premature board and batten failures trace back to inadequate expansion gaps or improper fastener selection—not wood quality," says Greg Lippincott, lead inspector at the North American Wood Siding Association's 2023 Field Survey.
A well-executed board and batten repair doesn’t just restore appearance—it reinforces your home’s first line of defense against weather. Take time to inspect neighboring boards while you’re up there; catching early cracking in adjacent planks means you’ll avoid repeating this process for another decade. And remember: consistent maintenance beats emergency replacement every time.