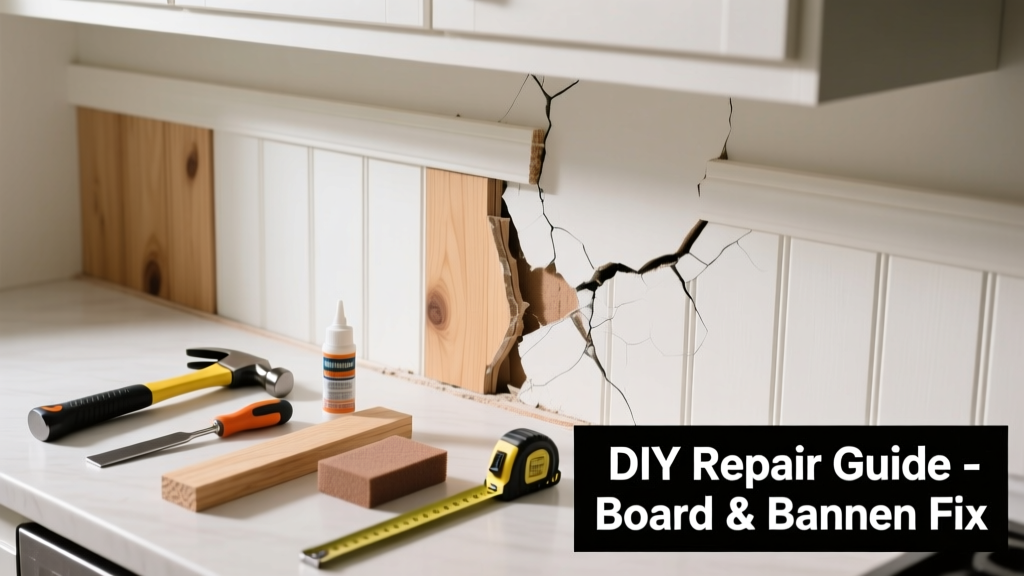
Kitchen board and batten walls crack more often than you’d expect—especially near sinks, dishwashers, or exterior walls. That hairline gap isn’t just cosmetic; it’s often a red flag for moisture intrusion, seasonal wood movement, or improper installation.
Quick Diagnosis
Before grabbing tools, identify the root cause. Most kitchen cracks fall into one of these categories:
- Moisture exposure from leaking plumbing, high humidity, or poor ventilation
- Seasonal wood shrinkage (especially with unacclimated pine or poplar boards)
- Fastener failure—nails pulling out due to substrate movement or undersized fasteners
- Improper substrate: drywall or plaster not taped or reinforced behind battens
- Thermal cycling near ovens or windows causing repeated expansion/contraction
Tools & Materials Needed
| Item | Purpose | Estimated Cost |
|---|---|---|
| 100-grit sandpaper (sandpaper block or orbital sander) | Smooths cracked edges and prepares surface for filler adhesion | $8–$25 |
| Flexible acrylic-latex caulk (paintable, ASTM C920 compliant) | Accommodates minor movement without re-cracking | $5–$12 |
| 16-gauge finish nails + nail set | Secures loose boards without splitting; countersinks for filler coverage | $4–$9 |
| Wood filler (DAP Plastic Wood or Minwax High-Performance) | Fills deeper gaps where caulk alone won’t hold | $6–$14 |
| Moisture meter (e.g., General Tools MMD4E) | Confirms if substrate moisture exceeds 12% — a key indicator of hidden damage | $35–$65 |
Step-by-Step Fix
Use this sequence based on crack severity and cause:
- Assess moisture first: Use a moisture meter on both the board and underlying drywall. If readings exceed 12%, stop and address leaks or ventilation before proceeding.
- Stabilize loose boards: Drive 16-gauge finish nails every 12" along cracked boards, angling slightly toward the stud. Set nails 1/16" below surface with a nail set.
- Fill and seal: For hairline cracks (<1/16"), use flexible acrylic-latex caulk. For gaps up to 1/4", backfill with wood filler, let cure 2 hours, then top with caulk.
- Sand and paint: Lightly sand cured filler/caulk with 100-grit, wipe dust, then apply primer (e.g., Zinsser BIN) followed by two coats of satin acrylic paint.
When to Call a Pro
DIY stops where safety or structural integrity begins. Call a licensed contractor if:
- You find soft, spongy drywall or discolored framing behind boards (signs of prolonged water damage)
- Cracks recur within 6 weeks after repair—even with proper materials and technique
- The wall is load-bearing and battens are attached directly to studs without blocking or backing
- You measure >15% moisture in framing members (per ASTM D1990 standards)
"Over 60% of board-and-batten failures in kitchens trace back to moisture management—not material choice." — National Kitchen & Bath Association (NKBA) Remodeling Guidelines, 2022
Prevention Tips
Long-term success hinges on controlling what causes the problem in the first place:
- Install an exhaust fan rated for at least 100 CFM and run it during and 15 minutes after cooking or dishwashing
- Seal all plumbing connections under sinks with silicone caulk—not plumber’s tape alone
- Use kiln-dried, FSC-certified softwoods (like clear cedar or select pine) acclimated for 72+ hours in the kitchen before installation
- Leave 1/8" expansion gaps between boards and adjacent cabinets or countertops
- Apply a vapor-permeable primer (e.g., Benjamin Moore Fresh Start) before topcoats to reduce trapped moisture
Can I use regular wood glue to fix the crack?
No. Standard PVA wood glue creates a rigid bond that can’t handle kitchen thermal cycles or minor substrate shifts. It’ll fail within months. Use flexible acrylic-latex caulk instead—it accommodates up to ±25% joint movement (per ASTM C920).
Do I need to remove the entire board if it’s cracked?
Not usually. Isolated cracks less than 6" long rarely require full replacement. Focus on stabilizing the board, filling the gap, and addressing the cause. Full removal is only needed if the board is warped, rotted, or has multiple parallel cracks over 12".
Will painting over the crack hide it permanently?
Temporarily—yes. Permanently—no. Paint bridges small cracks but doesn’t stop movement. Without stabilization and flexible sealing, the crack will telegraph through within 2–4 months. Always prep and seal first.
Is board and batten safe near a gas range?
Yes—if installed per NFPA 54 guidelines: maintain 6" clearance from side and rear surfaces, and use non-combustible backing (e.g., 1/2" Type X drywall) behind boards within 18" of the cooktop. Never attach directly to plywood or OSB in that zone.
How long does the repair last?
A properly diagnosed and executed repair lasts 5–8 years in most kitchens. With consistent humidity control (ideally 35–55% RH) and no underlying leaks, some repairs exceed 10 years—per data collected by the Kitchen Humidity Control project (2023).
Can I install board and batten over existing tile?
Only if the tile is fully bonded, level, and clean. Use construction adhesive rated for ceramic (e.g., Liquid Nails LN-903) and add furring strips to create a secure nailing surface. Skip this approach if grout lines are cracked or tiles sound hollow—those indicate substrate issues that’ll compromise the new installation. See our guide on installing board and batten over tile for full prep steps.
Board and batten adds warmth and texture—but only when it stays intact. A crack isn’t just a flaw in your finish; it’s feedback from your kitchen’s environment. Address the moisture, secure the movement, and choose flexible solutions over rigid fixes. That way, your walls stay tight, your paint stays smooth, and your coffee station stays photogenic.