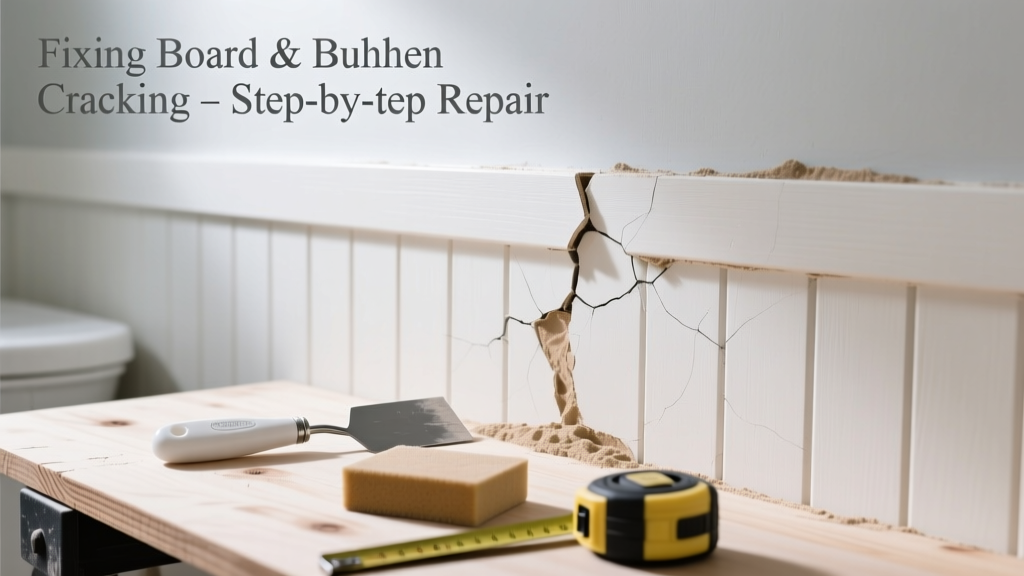
That hairline crack snaking up your bathroom’s board and batten wall isn’t just ugly—it’s a red flag. In high-moisture zones like bathrooms, wood expands, contracts, and warps faster than in other rooms, making cracks common but rarely harmless.
Quick Diagnosis
Before grabbing caulk or sandpaper, identify the root cause. Most bathroom board and batten cracks stem from one (or more) of these:
- Excessive humidity from poor ventilation (e.g., no exhaust fan or fan used <5 minutes post-shower)
- Undersized or improperly spaced fasteners—especially near seams or corners
- Wood installed without acclimation (less than 48 hours in the bathroom environment)
- Structural settling or framing movement behind the drywall or substrate
- Use of non-moisture-resistant wood (e.g., pine instead of kiln-dried cedar or primed MDF)
Tools & Materials Needed
| Item | Purpose | Estimated Cost |
|---|---|---|
| 100-grit sandpaper + sanding block | Smooths cracked edges and prepares surface for filler | $4–$8 |
| Flexible acrylic-latex caulk (paintable, mildew-resistant) | Seals active cracks without cracking again under movement | $6–$12 |
| Wood filler rated for high-moisture areas (e.g., DAP Platinum) | Fills deeper gaps where caulk alone won’t hold | $9–$14 |
| 3/4" galvanized finish nails + nail set | Re-secures loose boards without splitting wood | $5–$7 |
| Moisture meter (e.g., General Tools MMD4E) | Measures wood moisture content—anything >12% in bathroom walls is problematic | $35–$55 |
Step-by-Step Fix
Choose the method based on crack width, location, and whether movement is still occurring:
- For hairline cracks (<1/16"): Clean with vinegar-water solution, lightly sand, then apply flexible acrylic-latex caulk with a damp finger swipe. Let cure 24 hrs before painting.
- For open gaps (1/16"–1/8"): Backfill with moisture-resistant wood filler, let dry, sand flush, then top-coat with caulk at the seam for flexibility.
- For recurring cracks at board ends: Remove existing fasteners, drill pilot holes, and re-nail every 8" along the board using ring-shank nails angled slightly into the stud. Counter-sink and fill nail holes.
- If multiple cracks align across battens: This often signals framing shift—check for bowed studs with a straightedge, then reinforce with sistered 2x4s or structural screws (see bathroom wall framing repair).
When to Call a Pro
DIY stops where safety and code compliance begin. Call a licensed contractor if you notice:
- Cracks wider than 1/4" that reopen within 72 hours of repair
- Adjacent tiles cracking, grout crumbling, or baseboard pulling away—signs of deeper structural movement
- Musty odor or visible mold behind boards (requires containment and remediation per IICRC S520-2023 standards)
- Moisture meter readings above 19% in framing lumber—this indicates chronic water intrusion needing plumbing or envelope inspection
Prevention Tips
Preventing recurrence means managing moisture *and* movement—not just covering it up:
- Run your bathroom exhaust fan for at least 20 minutes after every shower (not just during). The U.S. EPA estimates 14% of household water usage is from leaks—but unseen humidity does equal damage over time.
- Use only primed, kiln-dried softwood or PVC board and batten in bathrooms—never raw pine or particleboard.
- Leave 1/8" expansion gaps between boards and at ceiling/floor transitions; conceal with quarter-round trim nailed separately.
- Install a hygrometer; keep relative humidity between 30–50%. Above 60%, wood swells rapidly.
"In bathrooms, board and batten failures are rarely about bad wood—they’re about bad moisture management. If you fix the crack but ignore the vapor drive, you’ll be back in six months." — Sarah Lin, Certified Remodeling Contractor & NAHB Moisture Task Force Member, 2022
Can I use regular wood filler instead of moisture-resistant filler?
No. Standard filler absorbs humidity, swells, and crumbles within weeks. Use only fillers labeled for “high-moisture areas” or “bathrooms”—DAP Platinum and Minwax High-Performance Wood Filler both passed ASTM D2202-21 wet-cycle testing.
Do I need to remove all the boards to fix this?
Almost never. Unless you find rot or mold behind them (confirmed with a moisture meter and probe), targeted repair preserves integrity and avoids unnecessary demolition. Focus on securing loose sections and sealing movement-prone seams.
Will painting over the caulk hide the repair?
Yes—if you use paintable, mildew-resistant caulk and prime before topcoating. Skip the primer, and you’ll get yellowing or peeling within 3 months. Always use 100% acrylic primer (e.g., Zinsser Bulls Eye 1-2-3) on filled/caulked areas.
Is board and batten even appropriate for bathrooms?
Yes—but only when installed correctly. According to the National Association of the Remodeling Industry’s 2023 Bathroom Design Survey, 68% of moisture-related board and batten failures involved improper substrate prep or missing vapor barriers behind the boards.
How long should repairs last?
A proper repair lasts 5–7 years in well-ventilated bathrooms. With consistent humidity control and annual visual checks, some installations exceed 10 years. Track cracks with a permanent marker line—if it widens >1/32" in 6 months, revisit your ventilation strategy.
Can I install board and batten over existing tile?
Not safely. Tile creates an uneven, non-porous surface that traps moisture between layers. Remove tile down to clean drywall or cement board first—or choose a different accent wall treatment like waterproof shiplap panels. See our guide on waterproof bathroom wainscoting options.
Board and batten can add serious character to a bathroom—if it’s built to handle steam, not fight it. Every repair you do is a chance to upgrade ventilation, refine installation technique, or swap in smarter materials. Don’t just patch the symptom: treat the environment, and the wood will thank you for years.