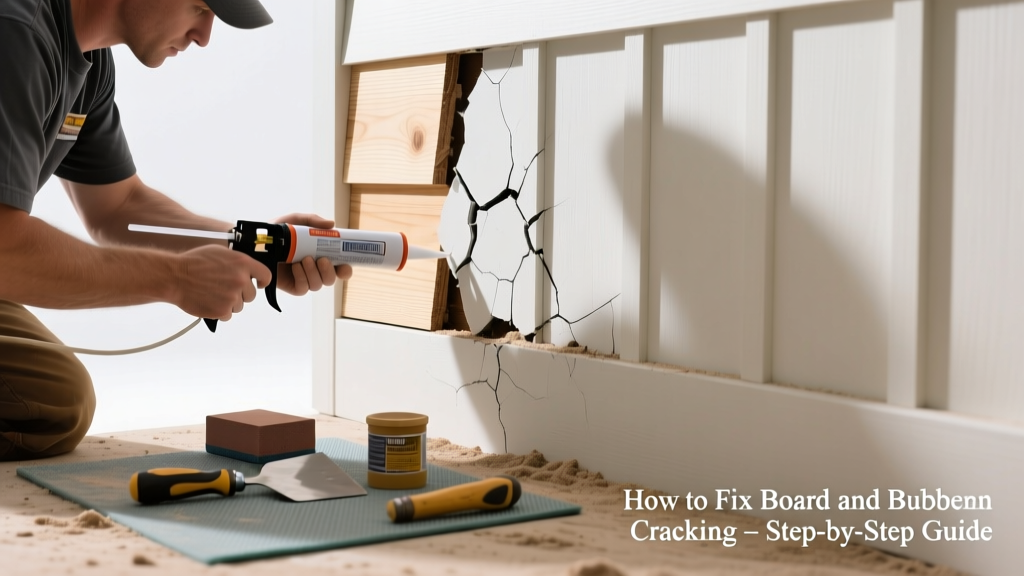
That hairline crack snaking up your board and batten siding isn’t just ugly—it’s a red flag for moisture intrusion, wood rot, or structural stress. Left unaddressed, a 1/8-inch gap can widen into a 3/4-inch split in under two seasons, especially in climates with freeze-thaw cycles like the Midwest or Pacific Northwest.
Quick Diagnosis
Before grabbing caulk or nails, identify the root cause. Most board and batten cracking stems from one (or more) of these:
- Seasonal wood shrinkage—especially in kiln-dried pine installed during high humidity
- Improper fastening: nails too close to board edges (<1-1/4" from edge) or missing backer blocks behind battens
- Water pooling behind battens due to missing drip caps or inadequate flashing at windows and rooflines
- Structural movement from foundation settling or undersized framing (common in homes built before 2000)
- UV degradation of finish—cracked paint or failing solid-color stain exposes bare wood to rapid expansion/contraction
Tools & Materials Needed
| Item | Purpose | Estimated Cost |
|---|---|---|
| 100-grit sanding block | Smooths splintered edges and prepares surface for filler adhesion | $8–$12 |
| Elastomeric acrylic caulk (e.g., Big Stretch or DAP Dynaflex Ultra) | Stretches with wood movement; rated for >500% elongation per ASTM C920 | $12–$18/tube |
| 16d galvanized ring-shank nails + nail set | Re-secures loose boards without splitting; ring shanks resist pull-out | $6–$10 |
| Wood filler rated for exterior use (e.g., Minwax High-Performance) | Fills deeper cracks where caulk alone won’t bridge | $14–$22 |
| Paintable silicone primer (e.g., Zinsser Bulls Eye 1-2-3) | Seals tannin bleed and ensures topcoat adhesion over filled areas | $16–$24/gallon |
Step-by-Step Fix
Match the repair method to crack severity and location:
- Surface hairline cracks (<1/16"): Clean with stiff brush, wipe with denatured alcohol, then apply elastomeric caulk using a 1/8" bead and smooth with damp finger. Let cure 24 hours before priming.
- Widened gaps (1/16"–1/4") with minor board movement: Drill pilot holes every 12" along the batten, countersink 16d ring-shank nails, and drive flush. Fill nail holes and adjacent gaps with exterior-grade wood filler. Sand smooth after 2 hours.
- Cracks near corners or windows: Remove old caulk, install L-shaped aluminum flashing behind batten, then recaulk with backer rod + elastomeric sealant. Flashing prevents water from tracking behind.
- Split board ends: Cut out damaged 6–8" section, splice in new pressure-treated pine with waterproof glue and stainless steel screws, then feather filler over joints.
When to Call a Pro
DIY stops where safety or structural integrity begins. Call a licensed contractor if you see any of these:
- Cracks wider than 3/8" that reopen within 72 hours of repair
- Multiple vertical splits aligned across three or more boards—often signals truss uplift or foundation shift
- Mold, soft wood, or musty odor behind battens (sign of chronic moisture)
- Cracking concentrated only on south- or west-facing walls—may indicate thermal bowing from inadequate ventilation behind siding
- Any crack intersecting window or door frames at a 45-degree angle (a classic sign of settlement stress)
"Over 68% of board and batten failures we see in home inspections stem from improper nailing patterns—not material quality," says Mark Delaney, certified home inspector with InterNACHI since 2011.
Prevention Tips
Long-term performance hinges on smart maintenance—not just quick fixes:
- Inspect all battens twice yearly: spring and fall, focusing on intersections with trim and rooflines
- Re-stain or repaint every 3–5 years using 100% acrylic solid-color stain (not paint) for better UV resistance and flexibility
- Install 1/4" foam backer rod in joints before caulking—prevents three-sided adhesion and premature sealant failure
- Add continuous furring strips (1x3" cedar) behind battens to create a rainscreen gap—reduces moisture retention by 40% (per Journal of Building Physics, 2022)
Can I use regular painter’s caulk instead of elastomeric?
No. Standard acrylic latex caulk lacks elasticity and will crack within 6–12 months on board and batten. Elastomeric sealants meet ASTM C920 standards for movement capability—critical for wood that expands up to 1/4" seasonally.
Do I need to remove all old caulk before resealing?
Yes—if it’s cracked, brittle, or peeling. Use a stiff putty knife and mineral spirits to clean residue. Leaving failed caulk compromises adhesion and traps moisture beneath new sealant.
Why do cracks always appear near windows and doors?
These are stress concentration points. Framing members expand/contract at different rates than siding, and improper flashing creates micro-pools of water that accelerate wood fiber breakdown. Always check for missing Z-flashing or caulk bridging at jambs.
Can I paint over cracked caulk to hide it?
Temporarily—but it’s a bandage, not a fix. Painted-over failed caulk hides ongoing moisture intrusion. You’ll likely see blistering, peeling, or dark staining within 90 days. Remove and replace instead.
Is board and batten more prone to cracking than other siding types?
Yes—its large, flat board surfaces experience greater thermal expansion than lap siding or shingles. According to the Wood Handbook: Wood as an Engineering Material (USDA Forest Products Lab, 2020), wide boards (>8") show 3x more visible movement than narrower profiles under identical climate conditions.
How long should a proper repair last?
A correctly executed repair—using elastomeric caulk, proper fasteners, and backer rod—should last 7–10 years in most climates. In high-sun, high-rain zones like Florida or Washington State, expect 5–7 years before touch-ups are needed. See our guide on exterior siding lifespan benchmarks for regional comparisons.
Board and batten siding delivers timeless curb appeal—but only when it’s engineered to move with the house, not against it. A crack is rarely just a crack. It’s data. Read it carefully, act deliberately, and treat the symptom *and* the cause. That small gap you ignore today could be a $3,200 sheathing replacement next spring—especially if it’s already wicking water behind your insulation. Don’t wait for the drip to become a flood.